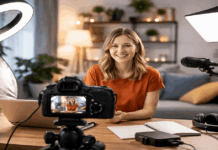
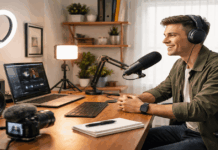
Solo creators spend hours watching gear reviews. Then they buy a camera, prop it up on some books, hit record, and wonder why the footage still looks rough.
The problem is rarely the camera. Filming yourself at home falls apart when the setup order is wrong, or when lighting and audio fight each other.
A repeatable system fixes this. Lock in stability, then sound, then light, and the camera almost takes care of itself.
This guide breaks down that system piece by piece so every solo recording session feels less like guesswork and more like a routine.
Pick One Filming Spot and Stop Rearranging Your Room
The fastest way to cut your setup time in half is to stop treating every shoot like a brand-new project. One dedicated corner or wall section, kept tidy between sessions, does more for consistency than any ring light ever will.
A repeatable filming spot means the background stays the same, your lighting position stays locked, and viewers start associating that frame with your content. That consistency builds familiarity. And familiarity builds trust over time.
Avoid Bright Windows Behind the Camera
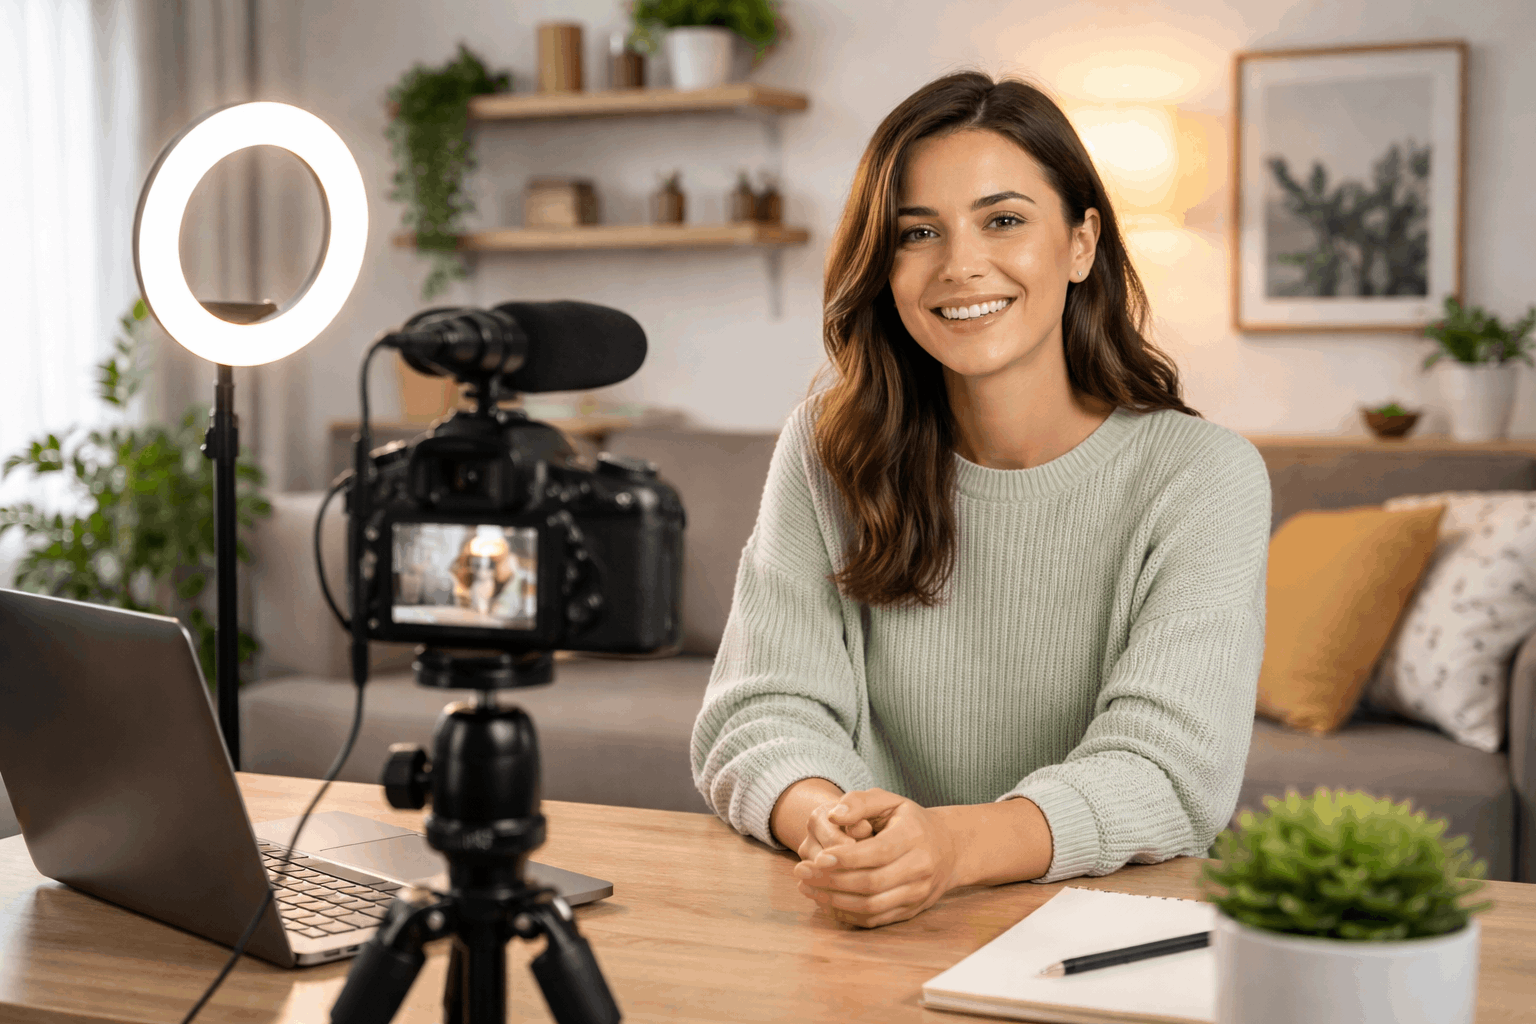
A window behind you turns your face into a silhouette. The camera’s auto-exposure reads that bright background and darkens everything else. So your face disappears.
If a window is the only light source, sit facing it instead. That way the natural light falls on your face.
But keep in mind: window light changes constantly. Clouds roll in. Sunset shifts the color. This makes window-only setups unreliable for anyone who wants every video to match.
What Makes a Good Background for Video
Simple beats fancy. A plain wall, a bookshelf with a few items, or a curtain works well. Remove anything reflective or bright that competes with your face for attention.
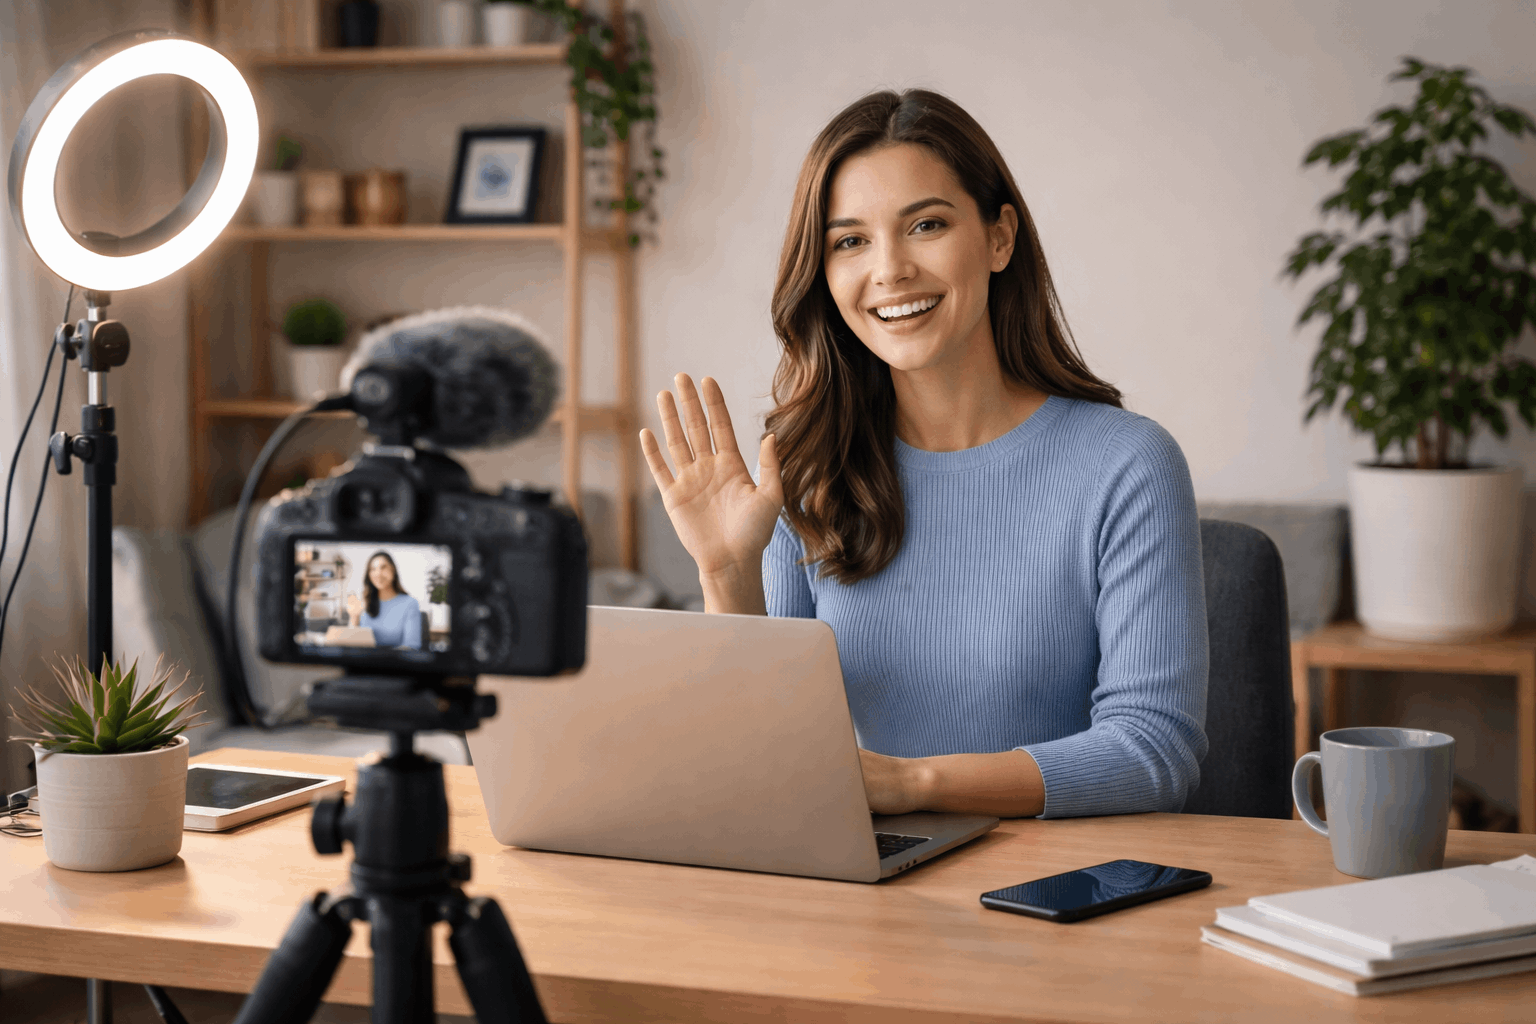
I would skip the fake plant-and-neon-sign combo that YouTube thumbnails love because on camera, busy backgrounds pull focus away from your expressions. A clean background lets viewers concentrate on what you’re saying. That matters more than aesthetics.
Audio Setup for Solo Filming at Home
Bad sound kills good video faster than anything else. A viewer will tolerate a slightly soft image. A distant, echoey voice? They click away in seconds.
This is why the microphone should be your first real upgrade after a tripod. The raw footage from a smartphone with a $40 lavalier mic attached looks and sounds better than footage from a $600 camera with the built-in mic picking up room echo.
I think spending money on a camera upgrade before fixing audio is the single biggest mistake solo creators make, because Shure’s microphone basics guide confirms that mic-to-source distance matters more than mic price.
Lavalier, Shotgun, or USB: Which Mic Fits Your Setup
Each mic type works best for a specific filming situation. Picking the wrong one creates problems that no amount of post-production can fix.
Here’s a breakdown of the three common options for solo creators:
| Mic Type | Best For | Placement | Weakness |
|---|---|---|---|
| Lavalier (clip-on) | Standing or moving videos | Clipped to shirt, 6-8 inches below chin | Can pick up clothing rustle |
| Shotgun (small on-camera) | Desk or tripod setups | Mounted on camera or desk arm, pointed at mouth | Picks up more room noise if placed too far |
| USB microphone | Seated desk recordings | On desk, slightly off-center, angled toward mouth | Visible on camera unless carefully positioned |
A lavalier mic gives the cleanest signal for anyone who moves around during recording because it stays close to your mouth regardless of position.
Also read: How to Record Professional Audio in a Small Room
Kill Echo Before It Ruins Your Audio
Echo comes from hard surfaces bouncing sound around the room. Empty walls, tile floors, and bare desks are the worst offenders.
Quick fixes that cost almost nothing:
- Hang a thick blanket or heavy curtain on the wall behind or beside the camera
- Place a rug or carpet square under your filming area to absorb floor reflections
- Position soft furniture like a couch or stuffed chair near your recording zone
- Close windows and turn off fans, AC units, and buzzing light fixtures before each take
Record a 10-second test clip and listen through headphones. If your voice sounds like it’s bouncing off walls, add more soft material. If you hear a low hum, check cables and move away from power adapters.
Lighting That Looks the Same Every Single Take
Lighting controls more of your image quality than your camera does. A bright, soft light source makes skin tones look natural. It also helps phone cameras and webcams produce cleaner images with less digital noise.
The problem with relying on daylight alone is that it changes every few minutes. Cloud cover shifts, the sun moves, and suddenly the left half of your face is brighter than the right. Artificial light, even a basic LED panel, gives you a locked-in look.
One-Light Setup That Works for Solo Creators
Place a single LED panel or softbox slightly to one side of your camera. Keep it a few inches above eye level, angled downward toward your face.
If the light hits too hard and creates sharp shadows, do one of two things: move the light farther back (then increase brightness to compensate), or attach a diffusion panel.
Softboxes come with built-in diffusion. For bare LED panels, even a sheet of white baking parchment taped to a frame can soften the output.
Color temperature consistency matters here. Mixing a warm desk lamp at 2700K with a cool LED panel at 5600K creates a color cast that makes skin look unnatural. Stick with one temperature across every light source in the room. Most LED panels have a dial for this.
Add Fill Light Without Buying a Second Light
A white poster board or foam board placed on the opposite side of your face from the main light bounces enough light back to reduce harsh shadows. This is called bounce fill, and it costs under $5.
Tape it to a chair, prop it against a stack of books, or clip it to a light stand. The board doesn’t need to be visible on camera. It just needs to be close enough to catch light and redirect it toward the shadow side of your face.
Tripods and Mounts That Keep Solo Shots Steady
A shaky shot looks amateurish no matter how good everything else is. Stability is the foundation of the whole setup.
For standing videos, a full-size tripod that reaches eye level without extending the center column all the way up is the right pick. Center columns wobble when fully extended. That wobble ruins sharpness, especially on long takes.
Matching Your Mount to Your Filming Style
Different shooting positions need different support:
- Seated desk work: A compact tabletop tripod or weighted desk stand keeps the camera at eye level without taking up floor space
- Standing presentations: A floor tripod rated for your camera’s weight, set to eye height, prevents mid-take drift
- Overhead shots (crafts, cooking, drawing): A horizontal arm or boom mount that locks firmly and won’t slowly droop under the camera’s weight
For phones specifically, get a clamp with a cold shoe mount. This lets you attach a small mic or LED light directly to the phone holder, which keeps everything compact and reduces cable mess.
Use a Monitor or Preview Screen to Check the Frame
Filming blind is one of the biggest time wasters for solo creators. Ten takes of off-center framing could be one take if you can see yourself while recording.
Options that work: a camera with a flip-out screen, a phone used as a wireless monitor app, or the webcam’s built-in preview on your laptop screen.
Keep your eyes near the upper third of the frame with a sliver of space above your head. That framing looks natural and draws viewers to your face.
A wireless remote or keyboard shortcut for start/stop also saves time. Walking back and forth to the camera between takes breaks your flow and your energy. Staying in position keeps the rhythm going.
A Solo Filming Routine That Prevents Wasted Sessions
Every session should follow the same sequence. This removes decision fatigue and catches problems early, before you’ve recorded 20 minutes of unusable footage.
The order matters: stability first, then framing, then lighting, then audio, then a test clip. Skipping the test clip is how creators end up with a full recording where the mic wasn’t turned on or the focus locked on the background wall.
Five-minute setups prevent forty-minute reshoots.
The Pre-Record Checklist
Lock the tripod and frame the shot. Turn on your light and adjust brightness. Set the microphone, check cable connections, and arm the recording software.
Record a 10-second test clip. Check three things in this order:
- Audio clarity: Does your voice sound close and dry, or distant and echoey?
- Exposure: Is your face the brightest element in the frame, not the background?
- Focus: Is the camera locked on your face, or hunting between objects?
Fix any issue before the full take. Then press record, pause for one full second before speaking (this makes editing cleaner and prevents clipped first words), and go.
After the first minute, stop and review that short clip on the camera screen or monitor. Once confirmed, record the rest.
This routine takes five extra minutes and saves hours of reshooting. Wistia’s guide to DIY video production breaks down similar workflows for small teams and solo creators.
Fixing Grainy, Echoey, or Blurry Footage Fast
Grainy video almost always means the room needs more light. Adding a second LED panel or even a desk lamp near the camera will clean up the image more than any camera setting adjustment.
Echoey audio means the mic is too far from your mouth or the room has too many hard surfaces. Move the mic closer first. If that’s not enough, add soft material to the walls and floor.
Blurry or shifting focus usually means the camera is hunting. Lock focus manually if your camera supports it, or stay at a consistent distance and reduce your movement.
Questions People Ask About Filming Yourself at Home
Q: Can I film good video with just a phone in 2026?
Absolutely. A phone from the last three years shoots sharp video at 1080p or 4K. Pair it with a $15 phone tripod clamp and a clip-on mic, and the output looks better than webcam footage from a laptop that costs ten times more.
Q: Do I need a ring light to look good on camera?
Ring lights create a distinctive catchlight in your eyes that some viewers find distracting. A single rectangular LED panel or softbox gives a more natural, flattering light. Ring lights also struggle to light anything wider than a headshot.
Q: How do I stop my phone from overheating during long recordings?
Remove the phone case, film in a cool room, and lower the screen brightness. Shooting at 1080p instead of 4K reduces processor load and heat. Some creators also point a small USB fan at the back of the phone during takes.
Q: What’s the cheapest upgrade that makes the biggest difference?
A lavalier microphone. Wired versions run $20-$40 and plug directly into a phone or camera. The jump in audio quality is immediately noticeable, and better audio keeps viewers watching longer than any visual upgrade will.
Q: Should I edit my videos or post them raw?
Even a basic trim of the first and last few seconds makes footage feel more polished. Free editors like DaVinci Resolve or CapCut handle simple cuts, color correction, and audio leveling without a learning curve that eats your whole weekend.
Conclusion
Filming yourself at home gets easier once the setup becomes a fixed routine rather than daily improvisation.
Audio quality deserves your budget before cameras do, because viewers forgive soft images but leave over bad sound.
A 10-second test clip before every session prevents the kind of mistakes that waste entire recordings. Start with stability, add sound, build lighting around it, and let the camera be the last thing you worry about.