
A basic webcam can look noticeably better when the light is placed with intention. This guide explains lighting placement for webcam videos for people recording calls, tutorials, lessons, interviews, or short videos.
You do not need a full studio; a soft key light, a fixed camera angle, and a calm background cover most home setups. The goal is a repeatable arrangement that gives your face clear exposure without making the room look harsh or overproduced.
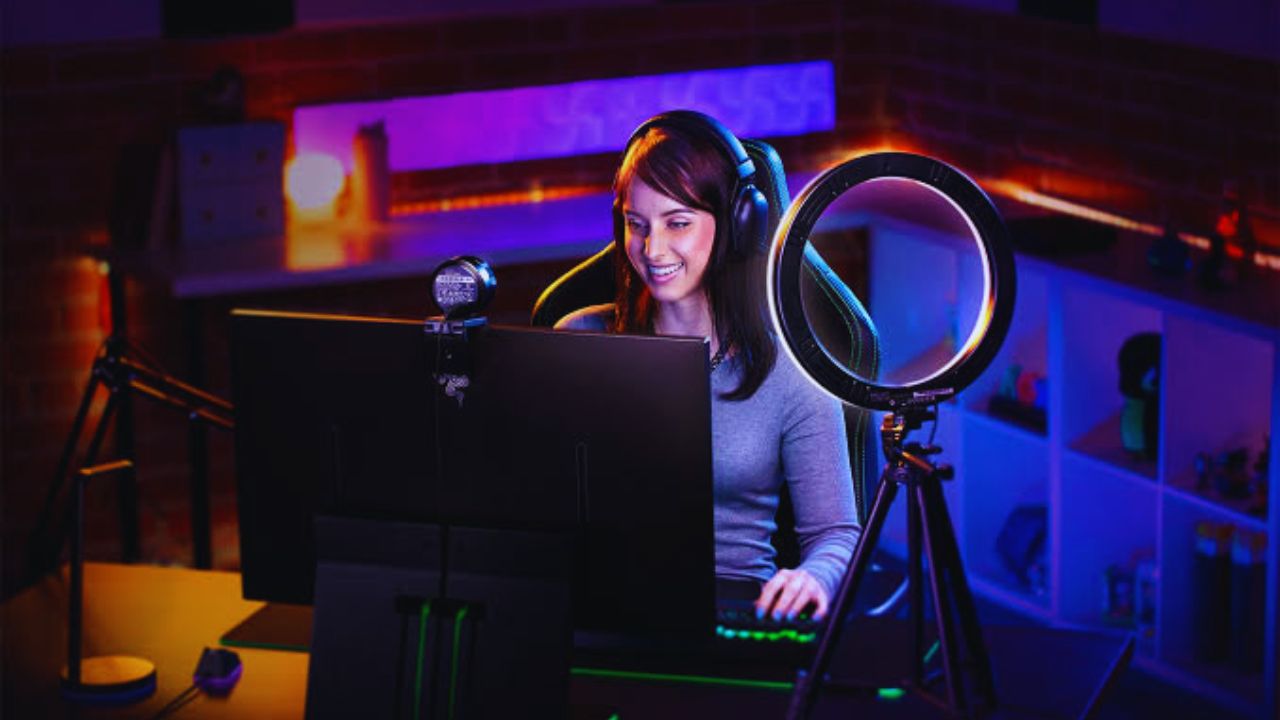
Let Light Fix the Image Before You Touch Webcam Settings
Grainy footage usually means the webcam needs more light, not more filtering. Add soft brightness to your face first, then make camera adjustments only after the image is already visible.
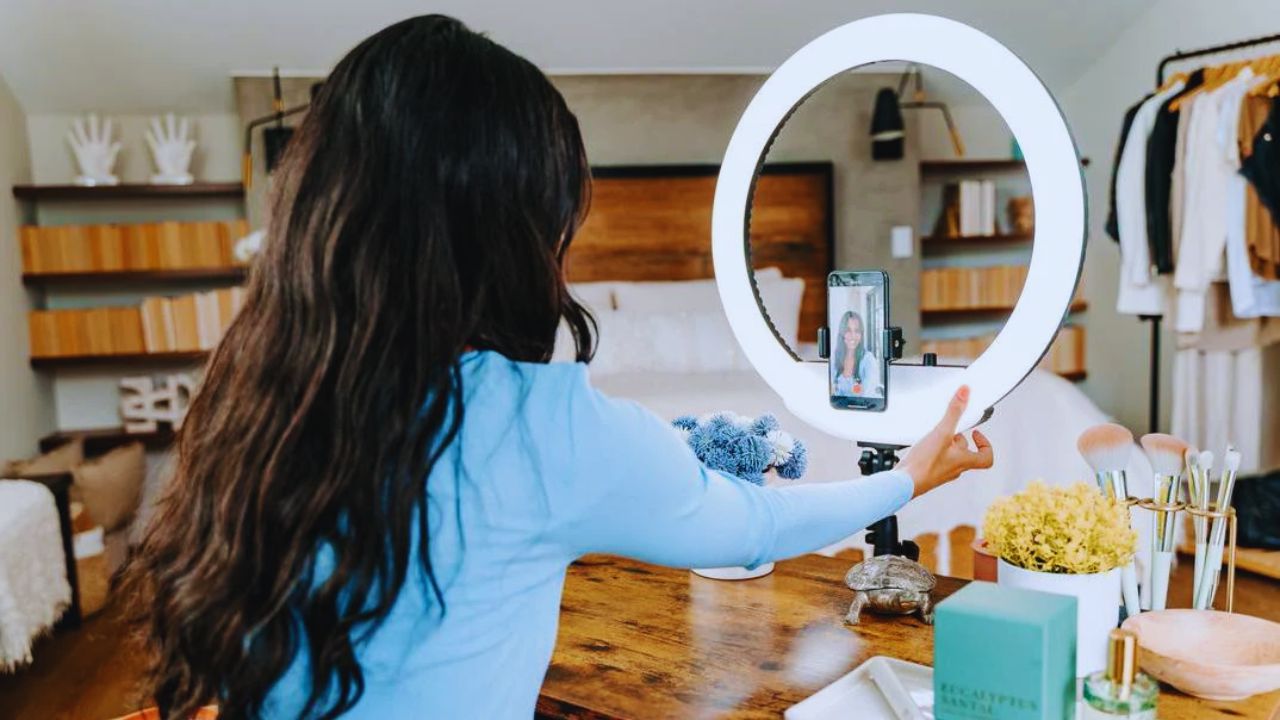
Bring the Main Light Closer, Then Soften It
Light strength changes quickly with distance. Move a small LED panel or softbox closer while keeping it outside the frame, instead of raising ISO.
If it feels too sharp, use a diffuser, a white curtain, or a nearby wall to soften it instead of moving it far away. This keeps the face bright while preserving natural skin tones and a more relaxed image.
Lock the Camera Frame Before You Move the Lights
Set your webcam at eye level and settle on the frame before adjusting the setup. Moving the camera to remove a shadow can create a worse angle, cluttered background, or awkward crop.
Keep the lens still while moving light around the scene. With the camera frame fixed, the light position becomes easier to judge.
Build a Useful One-Light Setup at Your Desk
One light can be enough for remote work, beginner content, and simple home recordings. Place that main source deliberately instead of leaving it wherever there is space.
Put the Key Light Slightly to One Side
Place your key light about 30 to 45 degrees left or right of the camera above eye level. Aim it down so shadows fall below the chin rather than looking heavy on the wall.
Start roughly an arm’s length away, then adjust for the fixture’s power and softness. This angle gives the face natural shape and avoids the flat look created by straight-on light.
Use a Ring Light Without Creating Glare
A ring light works well with a webcam because it sits near the lens and brightens the face evenly. Raise it slightly and tilt it down, rather than leaving it low.
Lower the output when skin becomes shiny, and shift the ring sideways if reflections appear in glasses. Small changes in height and angle usually work better than dropping the light output until the face becomes dim.
Before recording, check three details for image balance:
- Is your face brighter than the background?
- Are glasses reflections out of view?
- Is the light outside the frame?
Add a Fill or Back Light Only for a Clear Reason
More lights do not automatically create a better shot. Add another source only when it solves a visible problem, such as a heavy shadow, dark wall, or weak background separation.
Soften Heavy Shadows With a Fill Source
When one side of the face is much darker, add a weaker light opposite the key. Keep it near the camera axis and dimmer than the main light so it softens shadows without removing depth.
A white foam board or reflector can also bounce light into the darker side. This light balances contrast while keeping enough facial definition for a natural image.
Use a Gentle Back Light for Separation
A small light behind you can separate hair and shoulders from a dark or busy wall. Place it above and behind you, slightly to one side, then aim it down until it creates a subtle edge.
Keep it modest because a strong rim light can look artificial on webcam footage. Even without one, sitting farther from the wall improves subject separation and adds visual depth.
Also Read: Camera Placement Tips for Home Videos
Light the Background After the Face Looks Right
A clear face can still look odd when the background is brighter than the subject or the room mixes light colors. Treat your face as the main priority, then decide what the rest of the frame needs.
Keep Decorative Lamps Secondary
Do not try to brighten every corner of the room. Expose your face first, then add a small lamp only if the background looks empty or distracting.
Place it off to one side, not behind your head, and keep it dim enough not to compete with the subject. When the face remains clearly lit and the background stays less intense, the frame feels more intentional.
Match Light Colors Before You Start Recording
Warm household bulbs can clash with cooler LED panels or window daylight. When those sources hit the face from different directions, skin can look yellow, blue, or gray on camera.
Choose one main color temperature, remove competing light where possible, and set white balance after arranging the room. This produces consistent color and prevents odd skin tones caused by mixed lighting.
Work Around Glasses, Microphones, and Tight Spaces
Home setups have real limits: glasses reflect light, microphones cast shadows, and desk space runs out quickly. Solve issues with small placement changes before assuming you need more equipment.
Move the Light When Glasses Catch Reflections
Glare happens when light bounces from the lenses into the camera. Raise the key, move it farther to the side, or tilt it down so the reflection leaves the lens area.
You can angle the glasses slightly, but changing the light usually gives a cleaner result. Check from your usual sitting position because glasses glare can return with a change in posture.
Keep Mic Shadows Out of the Frame
Boom arms and desk microphones can create a hard shadow on the face or wall. Move the key light wider or higher, or reposition the microphone arm until that shadow disappears from the frame.
If the wall still looks harsh, sit farther away and bring the key light nearer to you. These adjustments improve frame cleanliness without sacrificing clear audio or moving the webcam.
Conclusion: Build a Setup You Can Repeat
Lighting placement for webcam videos is more about what the camera sees than the cost of the gear. Begin with one soft key light above eye level and slightly off camera, then bring it closer before raising ISO or adding filters.
Add fill, back light, or a background lamp only when it solves a real visual issue instead of making the desk more complicated. Once you have clean face lighting, stable color, and a quiet background, leave the setup in place so every recording starts from a reliable baseline.










