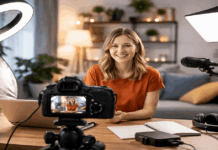
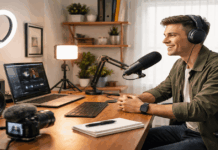
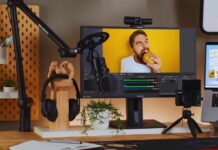
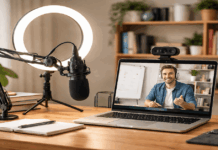
A beginner home studio does not need to be expensive, complicated, or perfectly designed from day one.
What matters more is having a quiet, usable space where your voice sounds clear, your video looks clean, and the setup does not take so much effort that you keep postponing recording.
This kind of setup is especially useful for people creating talking-head videos, tutorials, voiceovers, podcasts, livestreams, product demos, or short-form content at home.
If you are just starting, the goal is not to copy a professional creator’s room. It is to build something practical enough that you can record regularly, learn what actually affects quality, and upgrade more carefully later.
Plan Around the Content You Want to Make
Before you buy a microphone, tripod, or light, it helps to decide what kind of content you expect to make most often.
A setup for voiceovers will not have the same priorities as a setup for product demos, and someone making YouTube Shorts will not need the same layout as someone recording long-form tutorials at a desk.
Different Formats Need Different Priorities
If you mainly plan to make short videos for TikTok, Reels, or YouTube Shorts, a smartphone, clean light, and clear audio may already be enough.
If you want to record podcasts or voiceovers, your room sound becomes more important than your camera. If your content involves tutorials, reviews, or livestreams, you will need a space that supports repeatable framing and a stable working angle.
This is where many beginners make avoidable mistakes. They start shopping before they know what the setup is supposed to do. As a result, they end up with gear that looks useful but does not solve their real problem.
A creator recording voiceovers may get more value from a quieter corner and a better microphone than from buying a second light or a new camera body.
Choose a Space You Can Control Easily
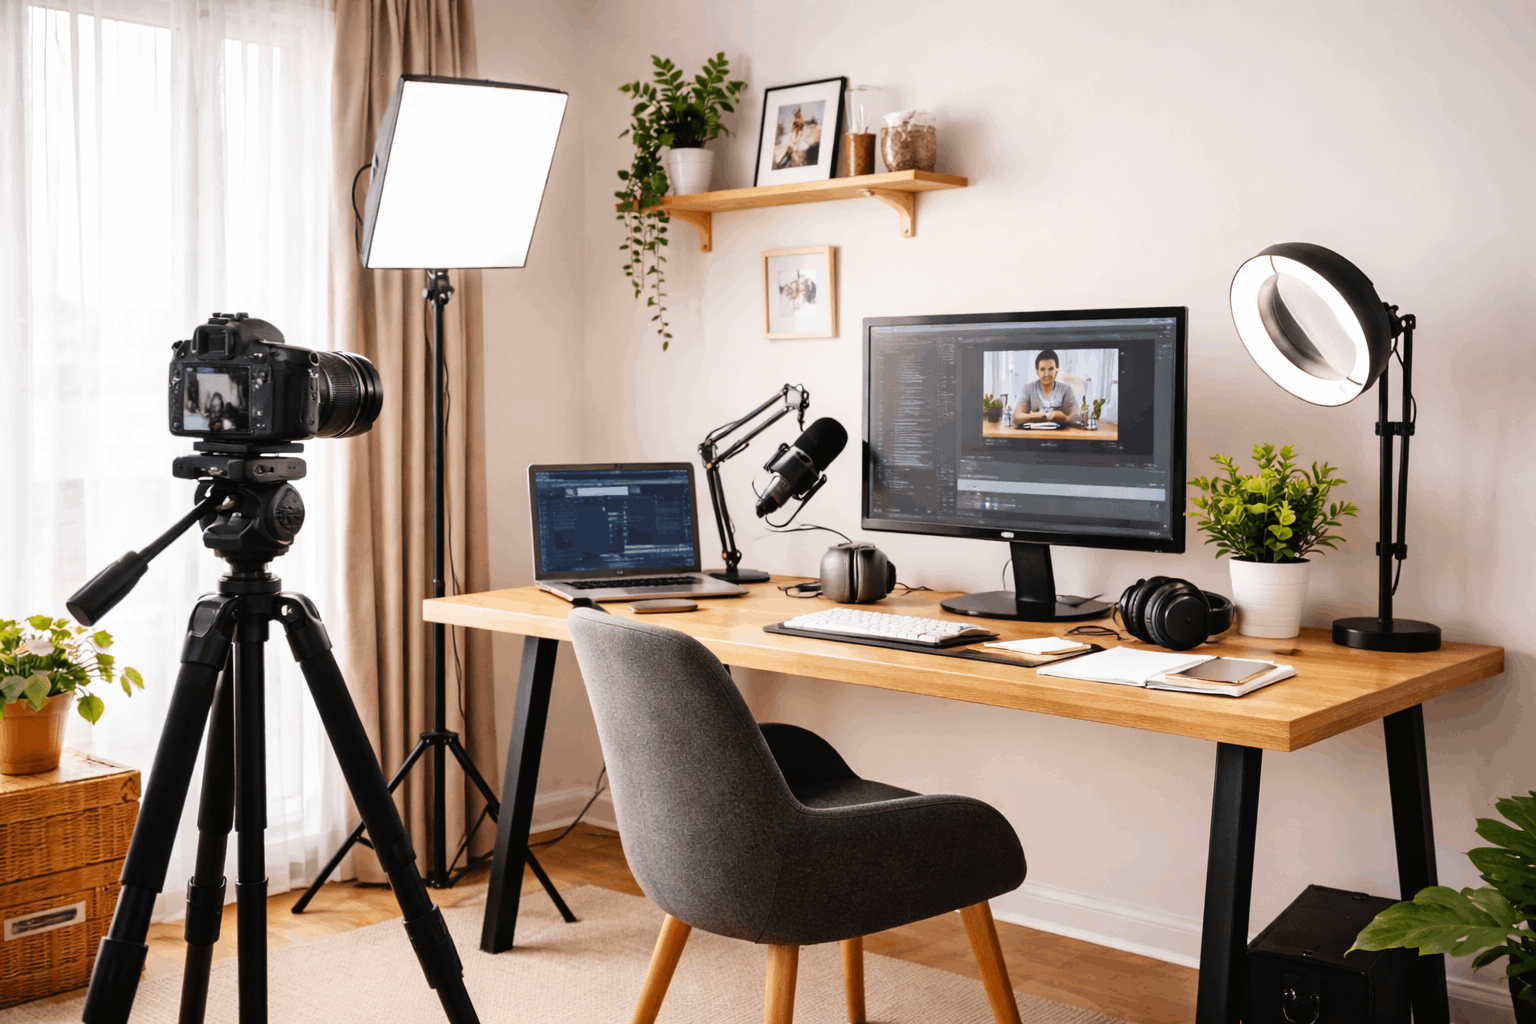
The room matters more than many beginners expect. You do not need a large studio, but you do need a space where noise is manageable and the background does not fight for attention.
A small corner of a bedroom, a desk near a window, or a quiet part of the house can work well if it gives you some control over sound, light, and camera placement.
Your Setup Should Be Easy to Repeat
One of the best things a beginner can do is choose one recording position and use it consistently. When your tripod, chair, microphone, and light stay roughly in the same place, recording becomes faster and less stressful.
It also makes your videos look more consistent, which matters more than most small gear upgrades.
A repeatable setup also saves time when you are busy. If every session starts with moving furniture, testing five angles, and searching for cables, content creation quickly becomes tiring.
A simple fixed layout removes that friction and makes it easier to hit record without overthinking the process.
Background Matters, But It Does Not Need to Be Fancy
A good background should look intentional without becoming distracting. That can be a tidy shelf, a plain wall, a curtain, or even a clean desk area with a little depth behind you.
You do not need decorative items just for the sake of filling space. In fact, an overly busy background can make beginner videos feel more cluttered, not more professional.
It also helps to leave a small gap between you and the wall behind you. Even a little distance can reduce harsh shadows, make the frame feel less flat, and help you stand out more clearly on camera.
Also Read: Home Creator Setup for Consistent Weekly Videos
Fix the Sound Before You Obsess Over the Camera
Many new creators think the camera should be the first priority, but viewers usually notice bad audio faster than average video quality.
A slightly basic image can still be watchable. Thin, echoey, or noisy sound usually feels unprofessional much more quickly.
A Better Room Often Beats More Expensive Gear
Before upgrading anything, listen to how your room sounds. Bare walls, tile floors, empty corners, and large open spaces can make your voice sound distant or hollow.
You can improve this without spending much. Curtains, rugs, blankets, soft furniture, and even clothing in a nearby closet can help reduce echo.
This is why some creators get disappointing results from decent microphones. The microphone may be fine, but the room is doing most of the damage. If the space sounds harsh, the recording will too.
A Practical Starter Gear Mix
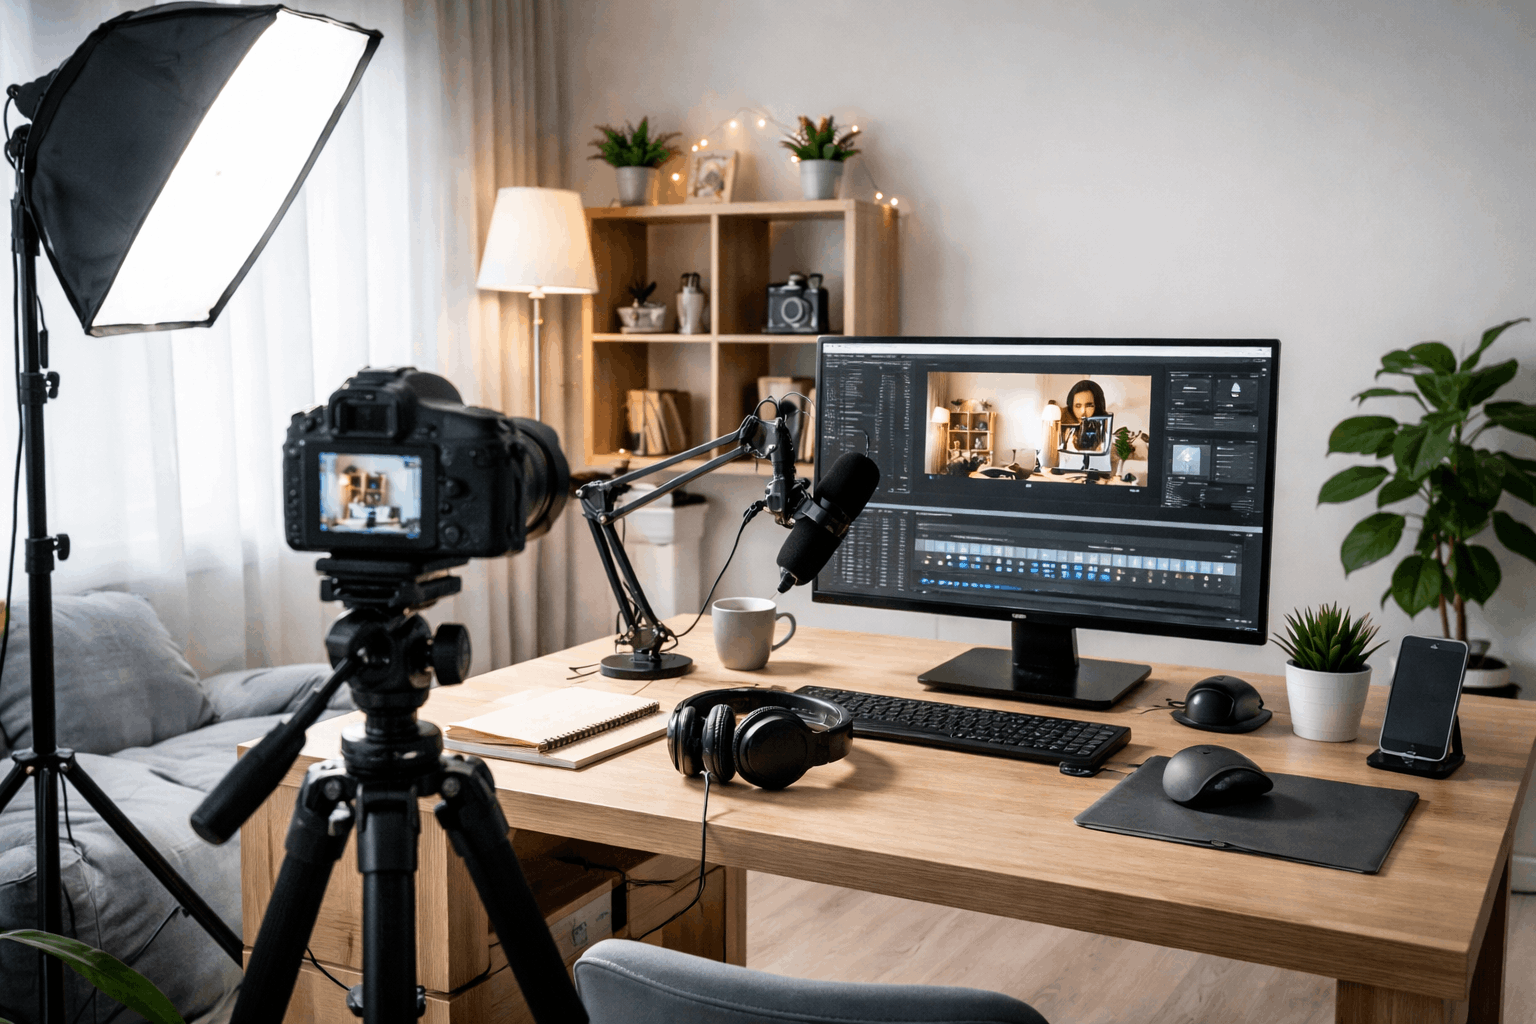
If you are building a beginner setup, it makes sense to focus on the items that improve quality without making the workflow harder. A simple starter setup may include:
- a USB dynamic microphone for clearer speech in untreated rooms
- a stable tripod or phone mount
- one basic soft light or LED panel
- closed-back headphones for checking audio
- a small external drive or organized storage system for your files
A USB dynamic microphone is often a strong beginner choice because it is easy to connect and tends to handle untreated rooms better than many cheap condenser microphones.
A stable tripod helps more than people think because shaky framing instantly makes a video feel less polished. Simple lighting also goes a long way. One soft light placed well can do more for your image than multiple lights used badly.
Keep Lighting Simple and Useful
Lighting does not have to be complex to be effective. The main goal is to make your face easy to see and to avoid harsh shadows or uneven brightness. Many beginners overcomplicate this part and assume they need a full lighting kit right away.
Natural Light Can Work Well at the Start
If you record during the day, a window can be a useful light source. Facing the window usually creates softer and more flattering light than having it behind you.
If the sunlight feels too strong, a thin curtain can help soften it. This kind of setup costs nothing and can look surprisingly clean if the rest of the frame is controlled.
If you record during the day, a window can be a useful light source; YouTube’s official mobile filming tips also explain how to make the most of natural light at home.
If natural light is inconsistent in your space, a basic LED light or softbox can make recording easier. The real advantage is not just brightness.
It is consistency. When the light stays the same from one session to the next, your videos become easier to edit and more professional to watch.
Do Not Build the Whole Setup Around the Camera
A smartphone or entry-level camera is enough for most beginners. Sharp video alone does not make content feel polished. A clear shot with poor sound, bad framing, or distracting lighting still feels unfinished.
Stability and Framing Matter More Than a Big Upgrade
A stable camera position, a clean lens, and a consistent distance from the subject often matter more than the difference between one beginner device and another.
If you are using a phone, the rear camera is usually better when possible, and keeping the shot steady will improve the result more than adding random accessories.
It also helps to avoid constant changes in angle. Once you find a framing style that works for your content, keep using it.
Consistency makes your content look more intentional and helps viewers focus on what you are saying instead of adjusting to a new look every time.
Build a Workflow That Helps You Record More Often
A beginner home studio is not only about gear. It is also about reducing the small frustrations that make recording feel difficult.
When your files are messy, your cables are everywhere, or your setup takes too long to prepare, your motivation drops fast.
Simple Routines Save More Time Than Fancy Tools
A short test recording before each session can prevent bigger problems later. Listening back for 20 seconds can reveal background noise, echo, clipping, or framing issues before you record an entire video. That habit is boring, but it saves time and frustration.
Editing should also stay simple at the beginning. Clean cuts, basic audio cleanup, and readable titles are usually enough.
Many beginners try to cover weak recordings with heavy effects, but that often slows the workflow and does not actually improve the content. Strong basics will carry you farther than complicated transitions.
Good Home Studio Ideas Usually Start Small
If you have a desk, you can create a reliable talking-head setup with a clean background and one good light. If your room is noisy, you can move closer to the microphone and soften the space around you.
If you make short-form content, a small grab-and-go kit with a phone tripod and clip-on light may suit your routine better than a permanent desk setup.
The best layout depends on how you actually work. Some people need a dedicated recording corner. Others do better with a simple setup they can move and reset quickly. The important thing is that the space supports your habits instead of slowing them down.
Make Gradual Upgrades Based on Real Problems
It is tempting to buy more gear early, especially when you see other creators with polished setups. But random upgrades can become expensive and confusing if you are not solving a specific issue.
Upgrade With a Purpose
If your room still sounds echoey, improve the sound treatment before changing the camera. If your face looks dark, work on lighting before buying more accessories.
If your files are getting lost, focus on storage and organization. The best upgrades are the ones tied to a clear problem you have already noticed in real use.
This approach keeps your budget under control and helps you build a setup that grows naturally with your content. It also keeps the workflow calmer, which matters just as much for beginners as image or sound quality.
Conclusion
A beginner-friendly home studio works when it supports consistency. You do not need the perfect room or a long equipment list to create useful, watchable content.
What you need is clear audio, stable light, a simple layout, and a setup that does not make every recording session feel like a chore.
If you start with the basics and improve one issue at a time, your space can become more effective without becoming overwhelming. The smartest way to build a home studio is to let your real recording habits show you what deserves an upgrade and what can wait.