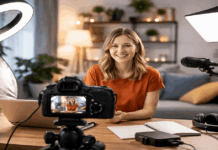
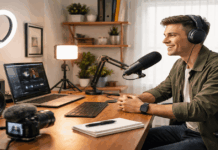
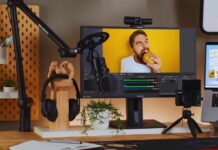
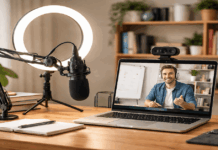
You do not need a full studio to record clear video and clean audio at home. What you need is a small area you can control, a simple gear plan, and a setup you can repeat without stress.
A good home recording space should help you start faster, not make recording feel like a big production every time. In one afternoon, you can create a corner that looks consistent, sounds solid, and fits your real routine.
Choose a Spot You Can Control
The best recording spot is not always the biggest room in the house. A smaller room with soft furniture can sound better than a large empty space because there are fewer hard reflections.
Your goal is to reduce noise, control the background, and keep the setup easy to rebuild. Once the space works, your camera, mic, and light will perform better.
Pick a Quiet, Repeatable Area
Start by choosing a place away from street-facing windows, kitchens, laundry machines, and loud appliances. A bedroom corner, home office, or calm living-room section can work if the background is controlled.
Try to face into the room instead of sitting with your back close to a bare wall. This small change can reduce the boxy sound that happens when your voice bounces straight back into the microphone.
Reduce Echo With Soft Materials
Echo can make home recordings sound cheap even when the microphone is decent. Before buying acoustic foam, use rugs, curtains, blankets, pillows, bookshelves, or hanging clothes to soften the room.
Add softness behind you and near the microphone because those reflections often return into the recording. You do not need a silent room, but your voice should sound direct, close, and easy to understand.
Build a Simple Gear Plan
A home recording setup works best when it stays minimal. Most creators only need clear audio, stable framing, and one dependable light to start.
A phone, webcam, or basic camera can look good when the sound and light are controlled. Spend your first effort on placement and repeatability before chasing expensive gear.
Start With Audio First
Audio should come first because it affects where you sit and how the rest of the setup fits together. If you record at a desk, a USB microphone is usually the easiest starting point.
If you move while filming, a lavalier mic can keep your voice close and steady. If you use a shotgun mic, remember that placement still matters and it will not automatically remove room echo.
Also Read: Simple Streaming Setup for Home Use
Keep the Microphone Close and Stable
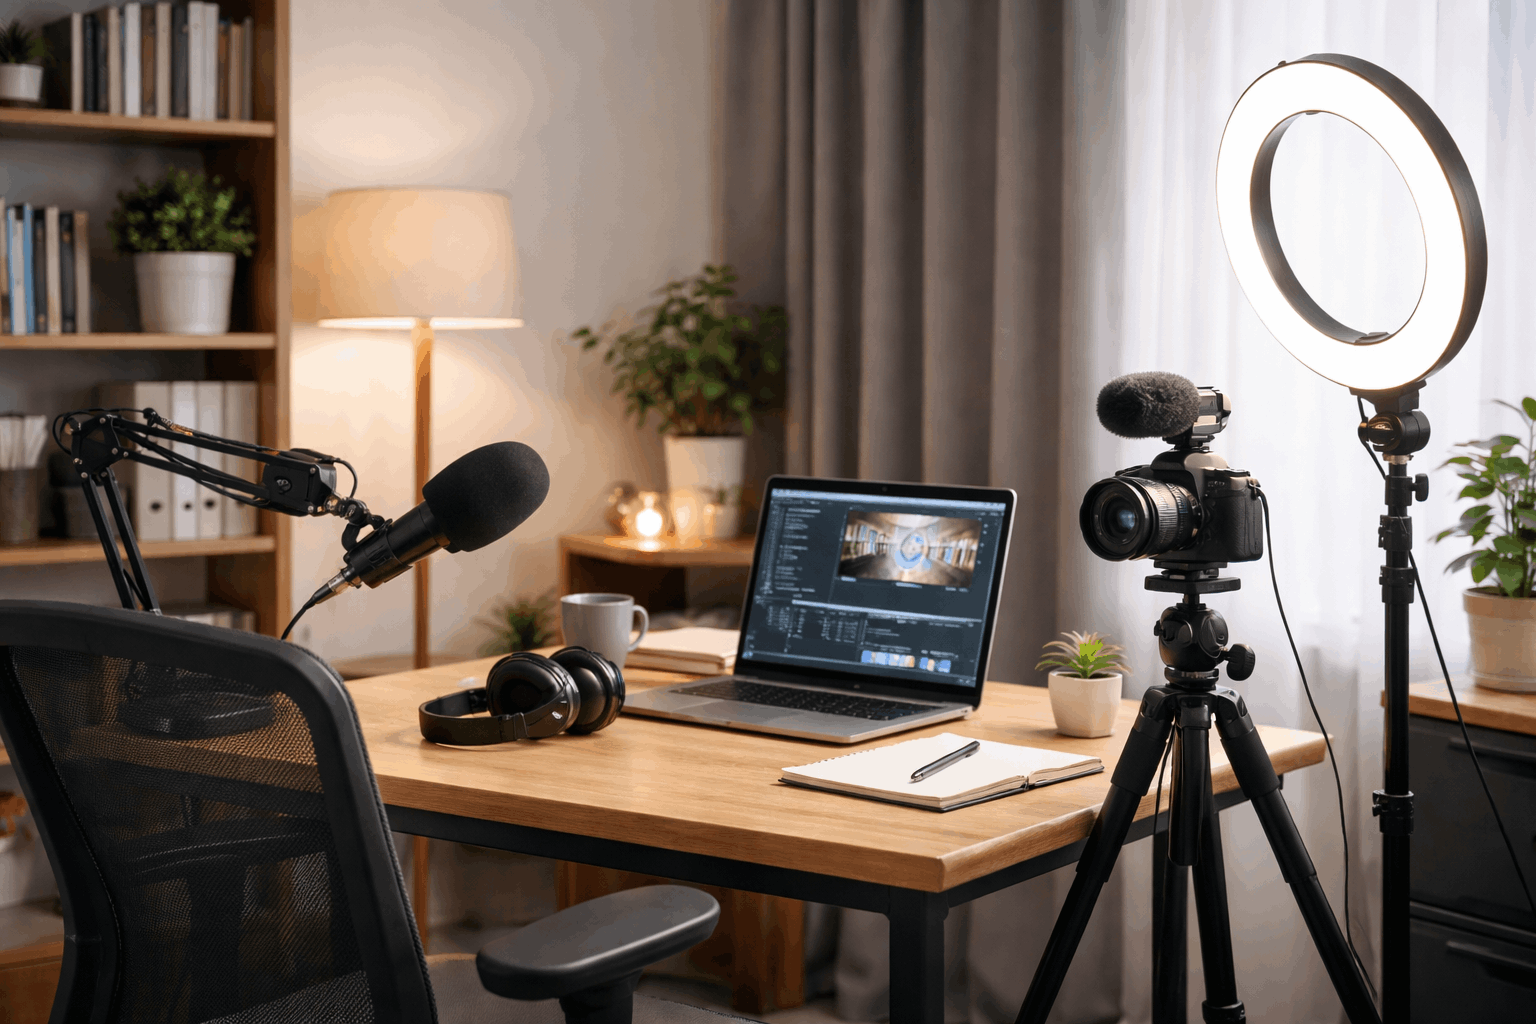
Place the mic close enough to capture your voice without raising the gain too much. A range of about six to ten inches works well for many desk microphones.
If your voice sounds quiet, move closer before increasing the gain. If desk bumps travel into the recording, move the mic to a stand or boom arm.
Use this quick audio check before recording:
- Turn off fans, loud appliances, and unnecessary notifications.
- Confirm the correct microphone is selected in your recording app.
- Record a short test in your normal speaking voice.
- Listen with headphones for echo, hum, or distortion.
- Fix the room or mic position before relying on software cleanup.
Add Lighting and Camera Control
Lighting makes your video look cleaner, even if you are using a basic camera. One well-placed light can improve skin tone, reduce noise, and help the camera expose your face correctly.
The goal is not maximum brightness, but soft and repeatable light. Once the light is stable, your videos become easier to match from one session to the next.
Use One Light Before Adding More
Place one main light in front of you, slightly above eye level, and a little to one side. This position usually lights the face naturally without creating harsh shadows.
If the light feels too strong, soften it with diffusion or bounce it off a wall. Avoid placing the main light behind you because it can turn your face into a silhouette.
Keep Color and Exposure Consistent
Mixed lighting can make skin tones look strange on camera. Try not to combine warm lamps, cool LEDs, and window light unless you can control the balance.
Turn off ceiling lights if they create shadows under your eyes or add an odd color. If your camera app allows it, lock exposure and white balance once the image looks right.
Frame the Shot and Control the Background
After audio and lighting are stable, set your camera angle. Eye-level framing usually looks natural and confident for talking-head videos, calls, lessons, and simple tutorials.
Use a tripod, clamp, or stable mount so the camera does not shift during recording. A steady frame makes the whole setup feel more intentional.
Make the Background Clean, Not Fancy
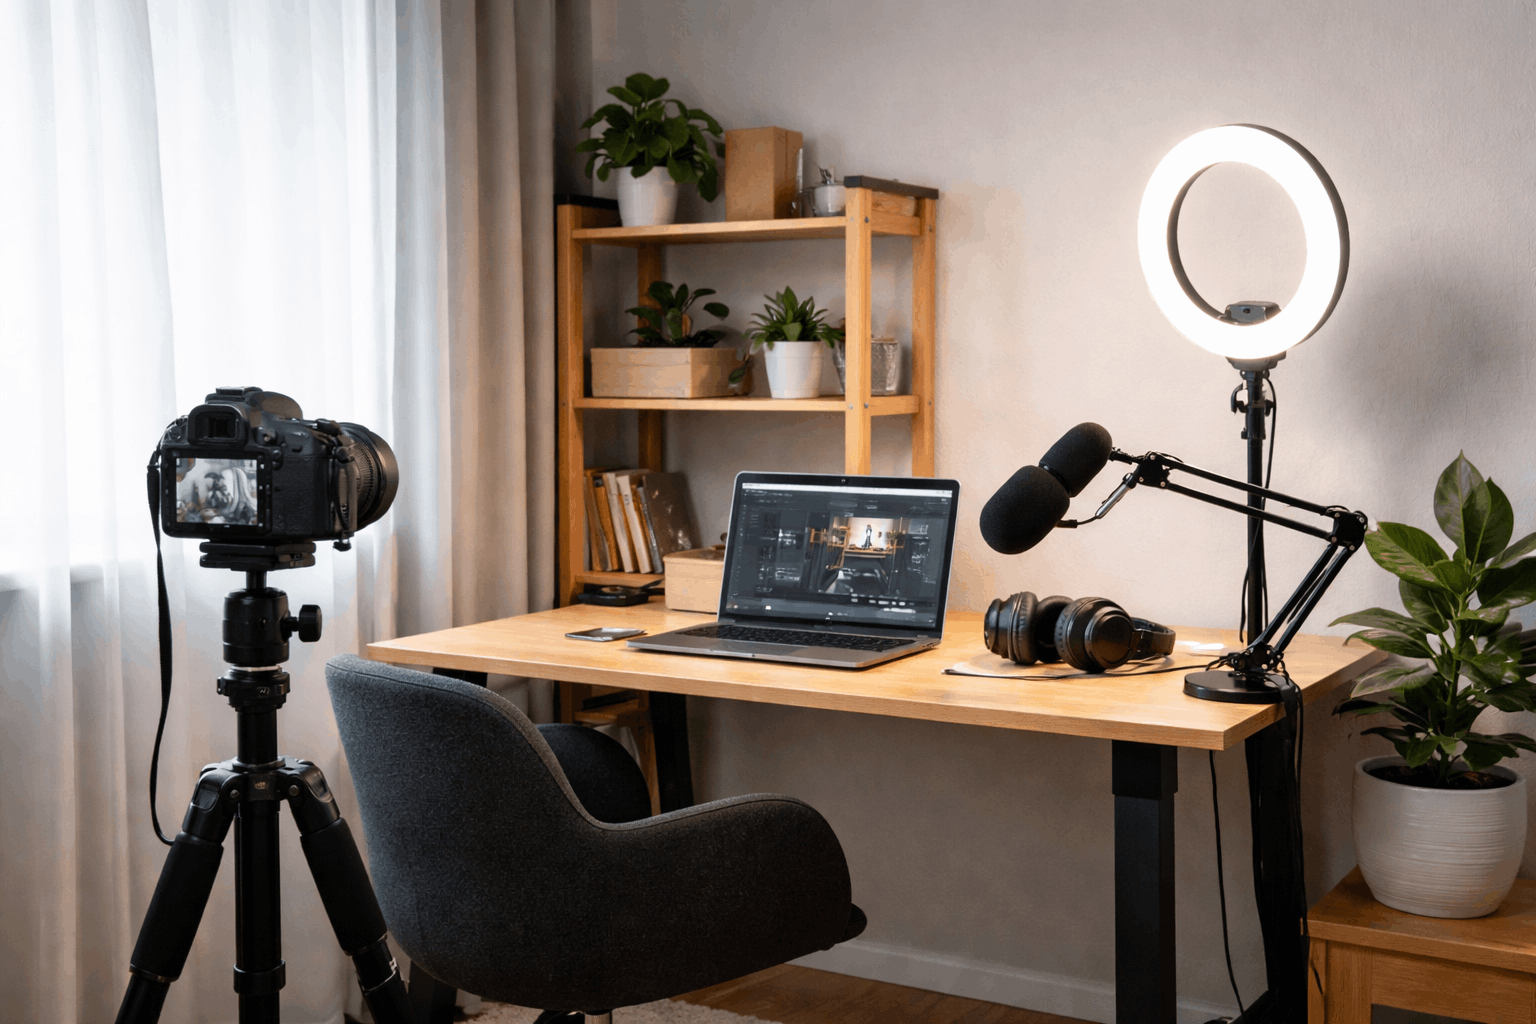
A clean background matters more than an expensive-looking background. Remove clutter, bright objects, and anything that pulls attention away from your face.
If the wall looks too plain, add one simple item like a plant, shelf, lamp, or framed piece. Leave some distance between you and the background when possible so the shot feels less flat.
Keep the Camera Position Repeatable
Once you find a good camera angle, save it instead of guessing next time. Mark the tripod position, desk position, or chair placement with small tape markers if the setup moves.
Take a quick reference photo from behind the camera so you can rebuild the same look later. This helps your videos stay consistent across different recording days.
Create a Workflow You Will Actually Use
A good recording setup should be easy to start in minutes. If it takes too long to prepare, you will record less often or rush through important checks.
Keep your cables, adapters, batteries, and small accessories in one place. The easier the workflow feels, the more likely you are to use the setup regularly.
Do a Short Test Before Every Session
A short test recording can prevent wasted time. Check your voice, lighting, framing, and background before filming the full take.
Speak at your normal volume and move slightly the way you would during the real recording. Fix the biggest issue first instead of changing everything at once.
Keep the Setup Ready When Possible
If you record often, leave part of the setup in place. Keeping the mic, light, or tripod ready can save time and reduce setup mistakes.
If you cannot leave everything out, store the gear together near the recording spot. A simple setup that is easy to rebuild will help you record more consistently.
Conclusion
A home recording setup does not need to be perfect to look and sound professional. Clear audio, stable framing, soft lighting, and a controlled background do most of the work.
Build the setup in one afternoon, test it, and record something real before overthinking the details. When the space becomes easy to use, creating content feels more natural and repeatable.