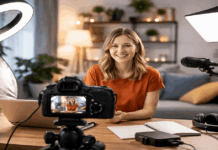
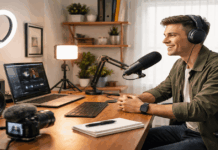
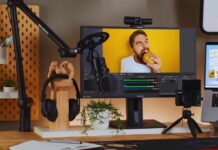
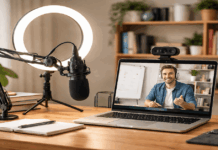
A useful recording setup does not depend on finding one perfect device. The best accessories for home recording setups solve repeat problems: unclear voice, shaky framing, harsh light, or a cable that fails halfway through a take.
This guide is for podcasters, streamers, voiceover beginners, musicians, and video creators building a practical space at home.
It explains what deserves attention first, what can wait, and how to avoid buying gear that does not match your actual workflow or turn a small recording corner into expensive clutter.
Fix the Audio Problems That Ruin Takes First
People will forgive an ordinary camera more easily than speech they cannot understand.
Start with clear voice capture and stable microphone placement before adding accessories that only look impressive on a desk, because poor source audio remains difficult to repair after the take is finished.
Keep the Microphone Close, Still, and Protected
A pop filter can reduce hard “P” and “B” bursts when you speak close to the microphone. Pair it with a boom arm or sturdy desk stand so the mic remains at mouth level instead of shifting between sessions.
That consistency helps with voiceovers, livestreams, and long tutorials because tone and volume remain easier to manage.
Check that the arm does not carry desk bumps into the recording, since reduced vibration and steady placement matter more than a premium mount.
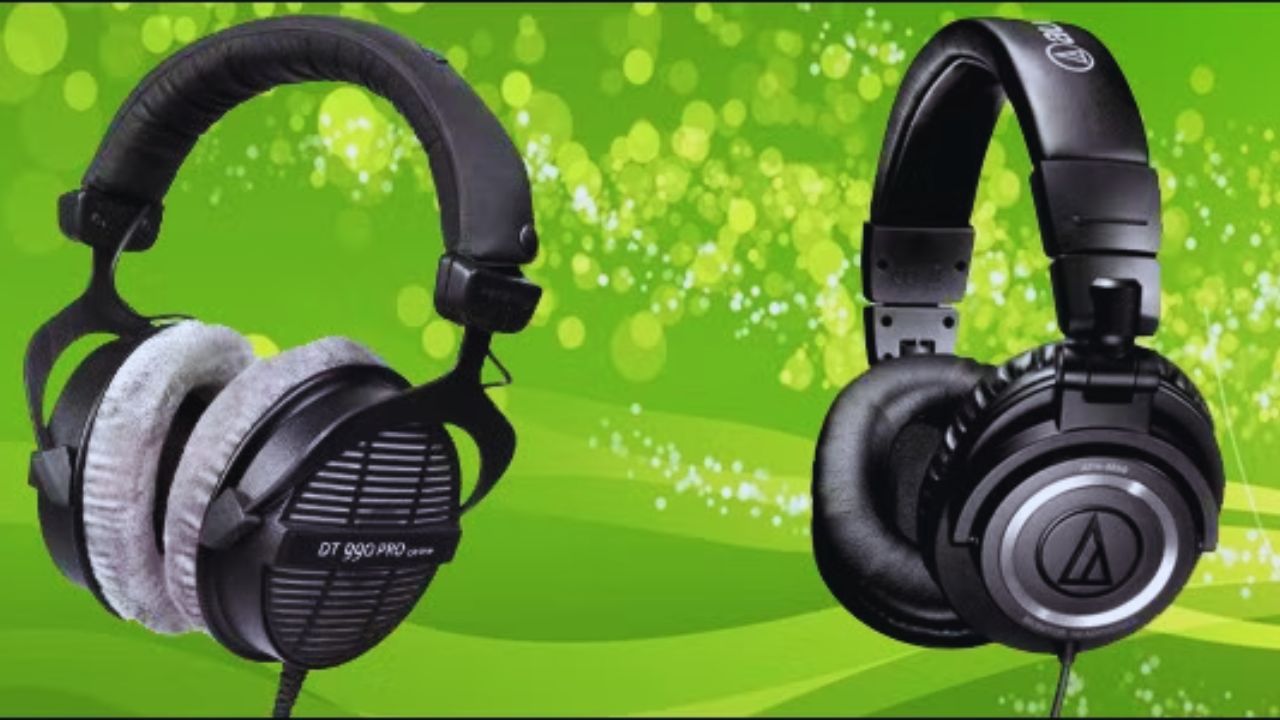
Use Closed-Back Headphones to Hear Trouble Early
Closed-back headphones make hum, harsh consonants, mouth noise, and room sounds easier to hear before editing begins.
They also reduce sound leaking back into the microphone while you monitor a voice track or interview. Comfort matters during long edits, so do not choose a pair only because it is popular with other creators.
Look for clear midrange detail and comfortable fit, then test the headphones with the kind of content you make.
Match Your Microphone and Interface to the Room
A sensitive microphone may capture useful detail, but it can also capture traffic, computer fans, and reflections from bare walls.
Choose equipment around room conditions and real recording habits, not a studio specification sheet.
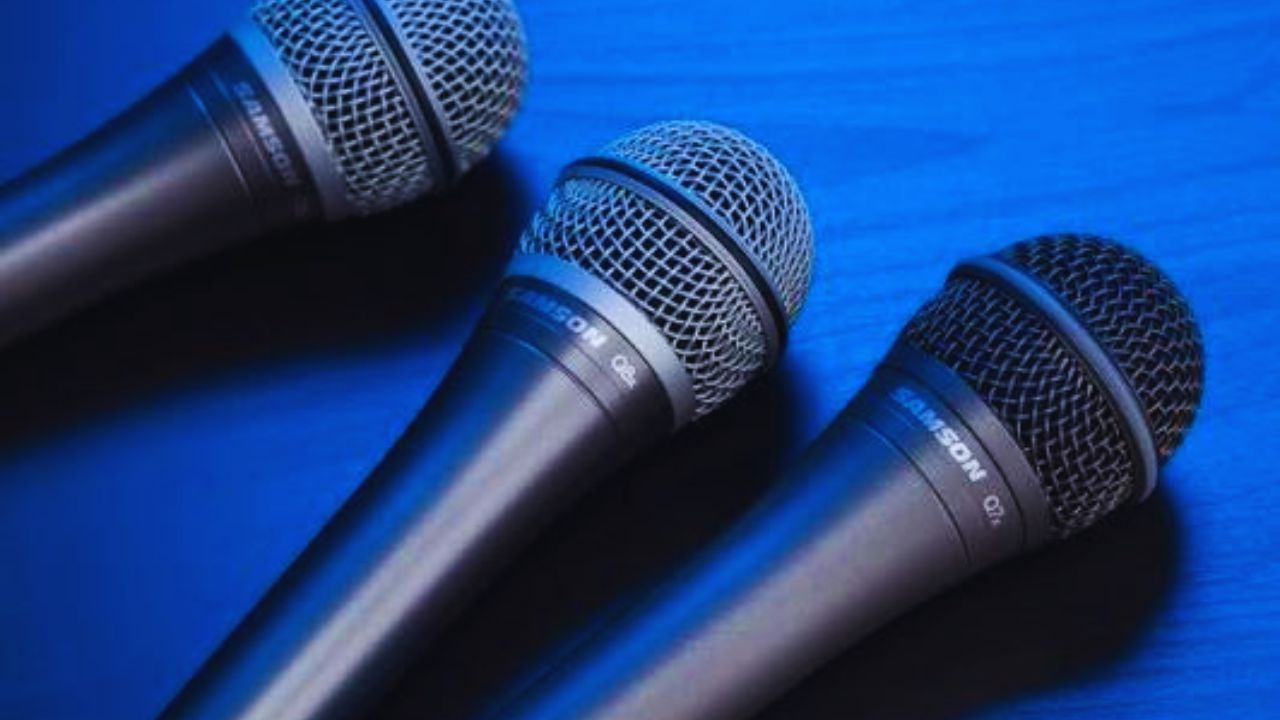
Consider a Dynamic Microphone in a Noisy Space
A dynamic microphone may be suitable for spoken-word recording near household noise or a reflective wall. It usually works best close to the mouth, which helps your voice stay stronger than the room around it.
Some broadcast-style dynamics have low output, so a weak preamp can force you to add gain until background noise becomes obvious.
Check gain requirements and mount compatibility before ordering, especially if you already own an interface and record in a room where steady household noise remains audible.
Add an Interface or Booster Only When It Solves Gain Issues
An audio interface is useful for XLR microphones, direct headphone monitoring, clean level control, and dependable computer connection.
A booster can add gain to a low-output dynamic mic, but it cannot correct poor placement, echo, or a damaged cable.
Choose the number of inputs you need today, leaving room for another source only when future use is realistic. This keeps signal quality high and unnecessary spending lower for creators who record one voice at a time.
Also Read: How to Reduce Echo and Reverb in Home Recordings
Improve the Image With Light Before Replacing the Camera
Many grainy webcam clips are really lighting problems. Use controlled light and stable framing before assuming that a new camera will change everything.
Start With a Soft, Adjustable Key Light
A diffused LED panel, small softbox, or adjustable key light can brighten your face without forcing the camera to raise sensitivity, show grain, or smooth useful detail too aggressively.
Place it slightly above eye level and to one side, then test shadows, glasses, and skin shine in a saved clip.
A ring light is convenient for tight spaces, though it can look flat and create circular reflections in lenses. Prioritize soft illumination and matched color temperature over maximum brightness.
Keep the Camera Position Consistent Between Sessions
A tripod, clamp mount, or compact desk stand prevents the frame from shifting when you touch the desk or move a cable. This matters for tutorials, product clips, and livestreams because viewers notice a shaky crop before they notice most camera specifications.
Mirrorless cameras may need a capture adapter to send video into a computer, so confirm the camera, cable, and software work together first. The goal is steady framing and repeatable angles, not a larger equipment collection.
Treat Cables and Small Hardware as Recording Insurance
Cables and spare parts are easy to overlook until they create buzzing, crackles, or an unexplained signal loss during a time-sensitive client call, live lesson, or daily recording session.
Keep the setup easy to troubleshoot and ready to recover when a small part fails.
Store Reliable Cables and One Backup Nearby
A worn USB or XLR cable can cause dropouts, noise, or a dead microphone during the middle of a session. Use a reliable cable length, avoid bending connectors sharply, label similar leads if several devices are connected, and keep power cables separated when possible.
Keep one spare USB cable and one spare XLR cable in the same storage spot, rather than hunting for one when something breaks.
This supports clean connections and faster recovery when a technical problem appears before a client call, scheduled stream, or limited recording window.
Build a Vinyl Chain Only When You Have a Clear Purpose
Some creators record personal vinyl collections for reviews, private archiving, or permitted sampling. The signal may need a phono preamp before it reaches an audio interface, unless the turntable or receiver already includes that stage.
A clean stylus and well-maintained records also reduce crackle that software cannot completely remove later. Prioritize signal routing and record cleaning, then confirm the rights for any music you plan to share publicly.
Before buying another item, check whether one of these real limits is affecting your recording quality:
- Unsteady positioning during normal movement
- Harsh lighting or grain in saved video
- Noise or dropouts during playback
Conclusion: Buy for the Recording Problem You Have
The best accessories for home recording setups are the ones that solve an issue you can see or hear in recent footage. Start with stable audio, soft light, secure framing, and reliable cables before adding advanced tools or duplicate devices.
Test each new accessory in the room where you normally record, because specifications cannot predict every echo, reflection, or connection problem.
A smaller setup that works every week is usually more valuable than a crowded desk full of equipment you rarely use, especially when you need to record without a lengthy setup or unplanned troubleshooting.