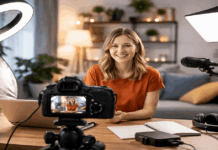
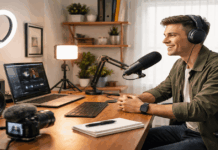
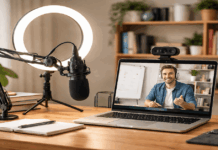
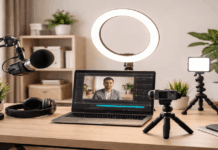
A room can work well for sleeping or studying and still look distracting once a webcam turns it into a video set.
This guide to reducing visual clutter on camera is for creators, teachers, remote workers, and anyone filming in a bedroom, desk area, or shared living space.
The goal is not a studio background or a perfectly empty room; it is a clear, repeatable frame that keeps attention on your face, hands, or message. Most improvements come from framing, light, and gear placement, not extra equipment.

Begin With the Lens, Not a Full Room Cleanup
The camera often sees more mess than you do. It captures wide corners, open doors, desk edges, and floor space that may not matter in everyday life.
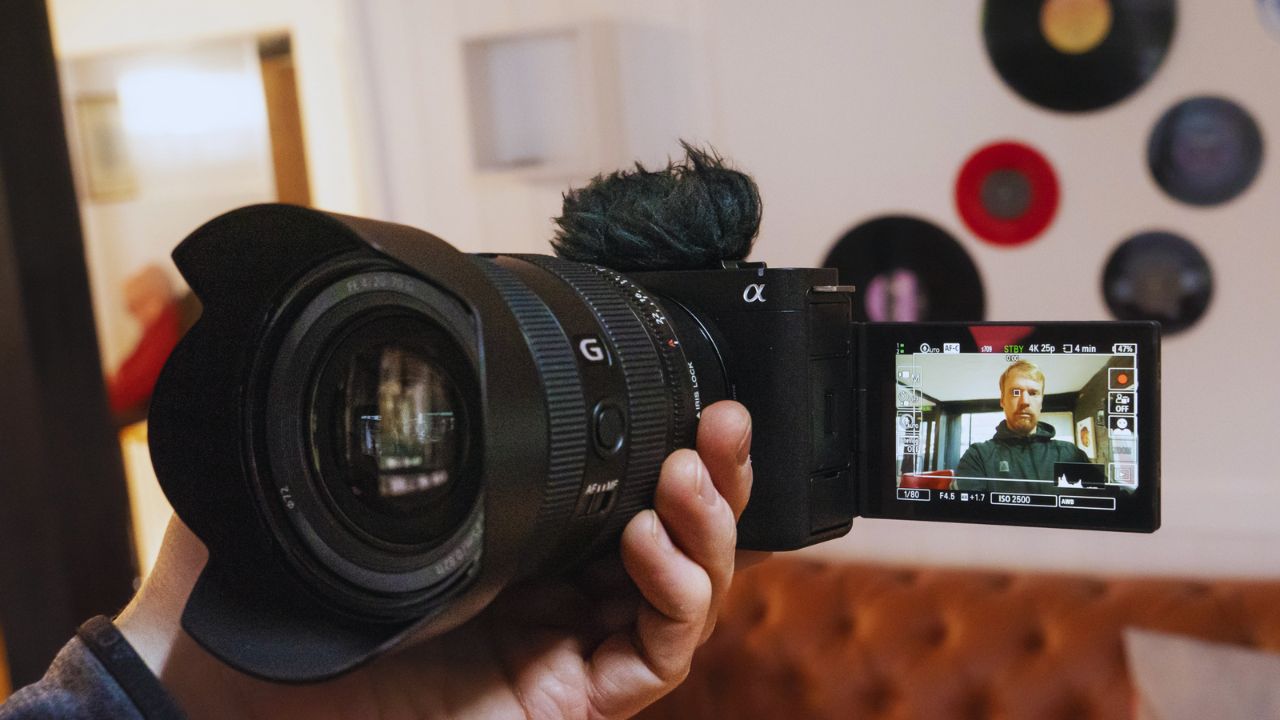
Use the preview before moving anything to decide what belongs inside the camera frame. That creates a practical visual boundary and prevents an unnecessary room-wide cleanup.
Turn Toward a Quieter Part of the Room
A camera aimed into a room often collects too many competing lines: doorways, shelves, furniture, and the view into another area.
Rotate your desk or tripod slightly until it faces a wall, curtain, or cleaner corner instead. A small turn can hide the busiest part of the room without changing your living space.
This is useful in shared homes, where finding a calmer angle is easier than doing a complete reset before every recording.
Tighten the Frame Before Rearranging Furniture
Webcams and phones often capture background clutter at the edges because their default view is wide.
Crop or zoom a little if your camera software allows it, while leaving space for normal head movement and gestures. With a separate camera, avoid an extreme wide angle that stretches walls and makes furniture look closer than it is.
A tighter image keeps the main subject visible and removes unnecessary detail before you move a single object.
Also Read: How to Light Your Face Evenly for Videos
Give the Background One Quiet Job
A background does not need to be blank, but it should not invite viewers to inspect every shelf or surface.
Choose an area that adds a little depth or texture while staying quieter than the person or product on screen. The strongest backgrounds use controlled detail rather than a perfect room.
A simple wall, neutral curtain, or limited shelf often works better than a full view of a carefully organized space.
Build Around One Clean Surface
Pick one wall, curtain, or short stretch of shelving that can stay tidy during most recordings. Remove the small items that catch the eye first: bright packaging, loose papers, reflective objects, tangled cords, and personal clutter.
If you use shelves, keep only a few larger objects with similar colors and spacing. One clean backdrop makes a stronger video than several half-organized zones competing for attention.
Add Depth by Moving Away From the Wall
Sitting a little farther from the background can make even a compact room look calmer. A modest gap softens wall shadows and stops every object from appearing equally sharp on camera. Software blur can add depth, but a real background is usually more stable.
This creates better subject separation and makes small spaces feel less flat without adding decorative items.
Use Light to Guide the Viewer’s Eye
Lighting controls more than brightness. It affects contrast, shadows, and how much background detail the camera tries to show.
Light the person or object that matters first, then let the rest of the room stay slightly quieter.
That simple priority creates stronger separation and stops a bright lamp or wall from becoming the main distraction.
Keep One Soft Light Close to Your Face
A single soft light slightly above eye level and a little off to one side is easier to control than several lamps around the room.
Bring it close enough to brighten the face evenly, then soften it with diffusion or reduce the output if highlights look shiny.
Overhead lighting alone often creates heavy under-eye shadows and exposes more desk clutter. Consistent face lighting helps the camera expose for you rather than for random bright objects behind you.
Stop Mixed Colors From Making the Room Look Busy
Daylight, warm household bulbs, and cool LEDs can leave several color casts in one frame. Skin may look yellow on one side and blue on the other, while ordinary furniture becomes oddly noticeable.
Use one dominant source, block unwanted window light when needed, and match other lights as closely as possible. A consistent color temperature gives the frame a settled look and makes clips easier to edit together.
Keep Recording Gear Present but Unobtrusive
Microphones, tripods, chargers, and screens are normal parts of a home setup. They become distracting only when they cover the face, throw strong shadows, or take up more space than the subject.
Decide what needs to stay visible because it supports the recording, then move the rest outside the frame. Gear looks intentional when it has a clear position and a specific role.
Let the Microphone Support the Shot
A boom microphone can stay close to your mouth without blocking your face when it enters from the side of the frame.
A desktop microphone should sit low enough that viewers are not watching its reflections or logo instead of listening to you.
Check the preview for shadows from the boom arm and shift the light or mic slightly if needed. This protects clear audio while keeping a calm composition.
Route Cables Along One Hidden Path
Loose cables can make a clean desk look unfinished, especially when they cross a wall, hang from a monitor, or gather below the frame.
Send them behind furniture when possible and use ties or a sleeve to run them down one desk leg.
Store chargers and adapters in a small organizer rather than leaving them beside the recording area. Basic cable control is quiet frame management that reduces visual noise without making your setup hard to adjust.
Use this short check before an important recording:
- Is the background quieter than the subject?
- Are cables and screens out of view?
- Does the microphone support the frame?
Conclusion: Let the Subject Carry the Frame
Reducing visual clutter on camera is about deciding what earns the viewer’s attention. Use the lens position to hide what is unnecessary, keep one background area calm, light the subject first, and stop microphones or cables from becoming accidental focal points.
When the room cannot cooperate, a simple physical divider usually works better than a heavy effect. With a clear visual hierarchy and a repeatable setup, viewers can focus on your message instead of everything around it.