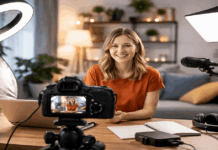
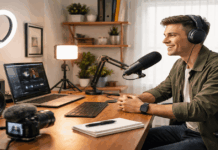
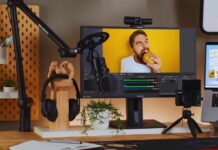
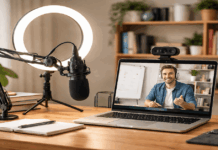
A basic streaming setup works best when it is simple, stable, and easy to repeat. Your first stream does not need to feel like a full production; it can be a test run that helps you learn what works.
The goal is to create a setup that lets you go live without spending too much time fixing gear, settings, or cables. Once the basics feel reliable, you can upgrade slowly based on what your stream actually needs.
Plan the Stream Before Choosing Gear
A beginner stream becomes easier when you know what you are trying to do before buying anything.
Different streams need different priorities, so the setup for gaming may not be the same as the setup for teaching, chatting, music practice, or product demos.
A clear format helps you choose the right camera angle, audio setup, platform, and schedule. It also keeps you from adding tools that make the process harder than it needs to be.
Choose One Main Streaming Format
Start with one main format instead of trying to do everything at once. If you want to teach, your screen, voice, and notes may matter most.
If you want to stream games, performance and audio balance become more important. If your stream is mostly chatting, a clean camera angle, clear voice, and simple background may be enough.
A short outline can also help your first stream feel more controlled. You do not need a full script, but writing down what you will do for 15 to 30 minutes keeps you from freezing once you are live.
This is especially useful when chat is quiet or when you are still getting used to speaking on camera. A simple plan makes the stream feel less stressful.
Pick One Platform and a Realistic Quality Setting
Choose your platform based on where your audience already spends time. YouTube Live can work well for searchable content and longer streams people may watch later.
Twitch is often a natural fit for gaming, live interaction, and community-style streaming. TikTok Live may suit creators who already have short-form viewers and want a more casual live format.
Resolution should match your internet and device, not just what sounds impressive. A stable 720p stream is better than a 1080p stream that freezes, drops frames, or loses audio sync.
If your computer or connection is average, start lower and improve later. Stability matters more than sharpness when people are watching in real time.
Use the Device and Gear You Already Trust
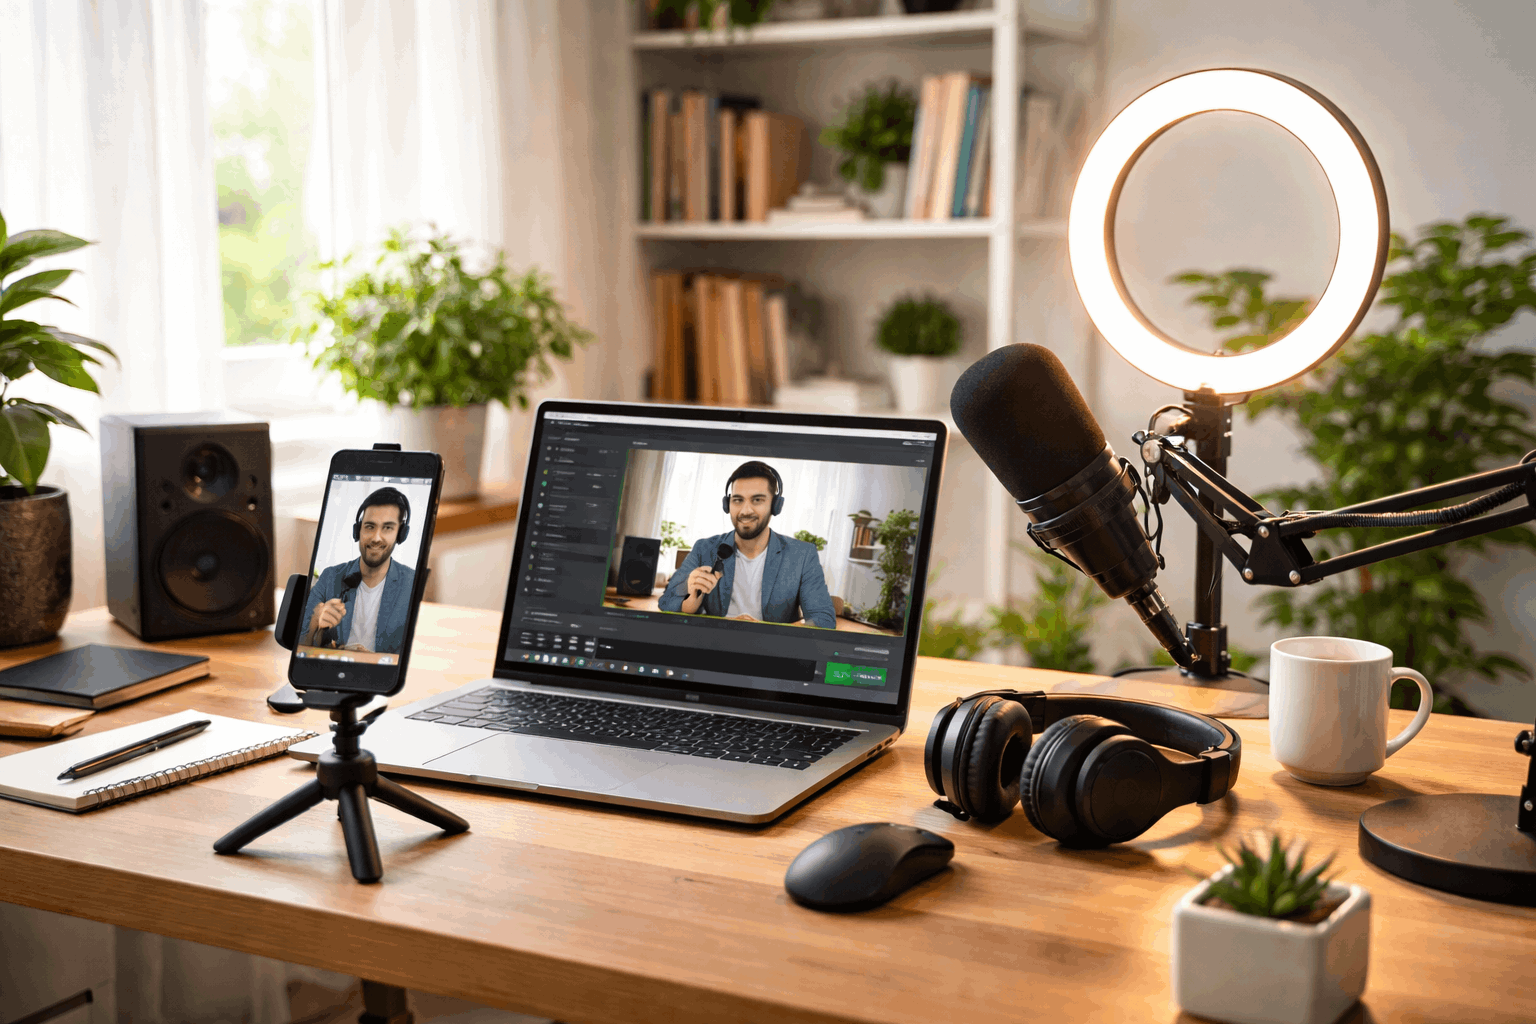
Most beginners can start streaming with a phone, laptop, desktop, or console. The best device is the one that can run for the full stream without overheating, crashing, or draining too fast.
Fancy equipment will not help much if the stream keeps failing. A reliable device with simple accessories is often the better first setup.
Start With a Phone, Laptop, Desktop, or Console
A modern phone can produce good-looking streams when it is placed on a stable stand and kept plugged in. Use the rear camera when possible because it often looks sharper than the front camera.
Turn off unnecessary notifications before going live so calls and alerts do not interrupt the stream. A phone setup works especially well for casual talking, demos, quick updates, and mobile-friendly content.
A laptop is convenient because it already includes a screen, camera, microphone, and browser access. It may be enough for teaching, chatting, presentations, or simple livestreams.
A desktop can be better for gaming or heavier software, but it also needs more setup around camera, microphone, and monitoring.
Consoles can be the easiest option for gaming because many streaming tools are already built in.
Upgrade Audio Before the Camera
Audio is usually the first upgrade worth making. Viewers may accept a basic webcam, but they are less patient when speech is unclear, distant, or covered by room noise.
A basic USB microphone, lav mic, or decent headset mic can make your stream easier to follow. The microphone should stay close enough to capture your voice clearly without blocking your face or keyboard.
Lighting comes next because it helps any camera look better. A simple lamp, LED panel, or ring light can make your face clearer if it is placed in front of you instead of behind you.
Avoid strong backlight from windows or bright lamps because it can make your face look dark. Good light can make a basic camera look more polished without forcing you to buy a new one.
Also Read: How to Build a Lighting Setup Step by Step
Build a Space That Stays Stable While You Stream
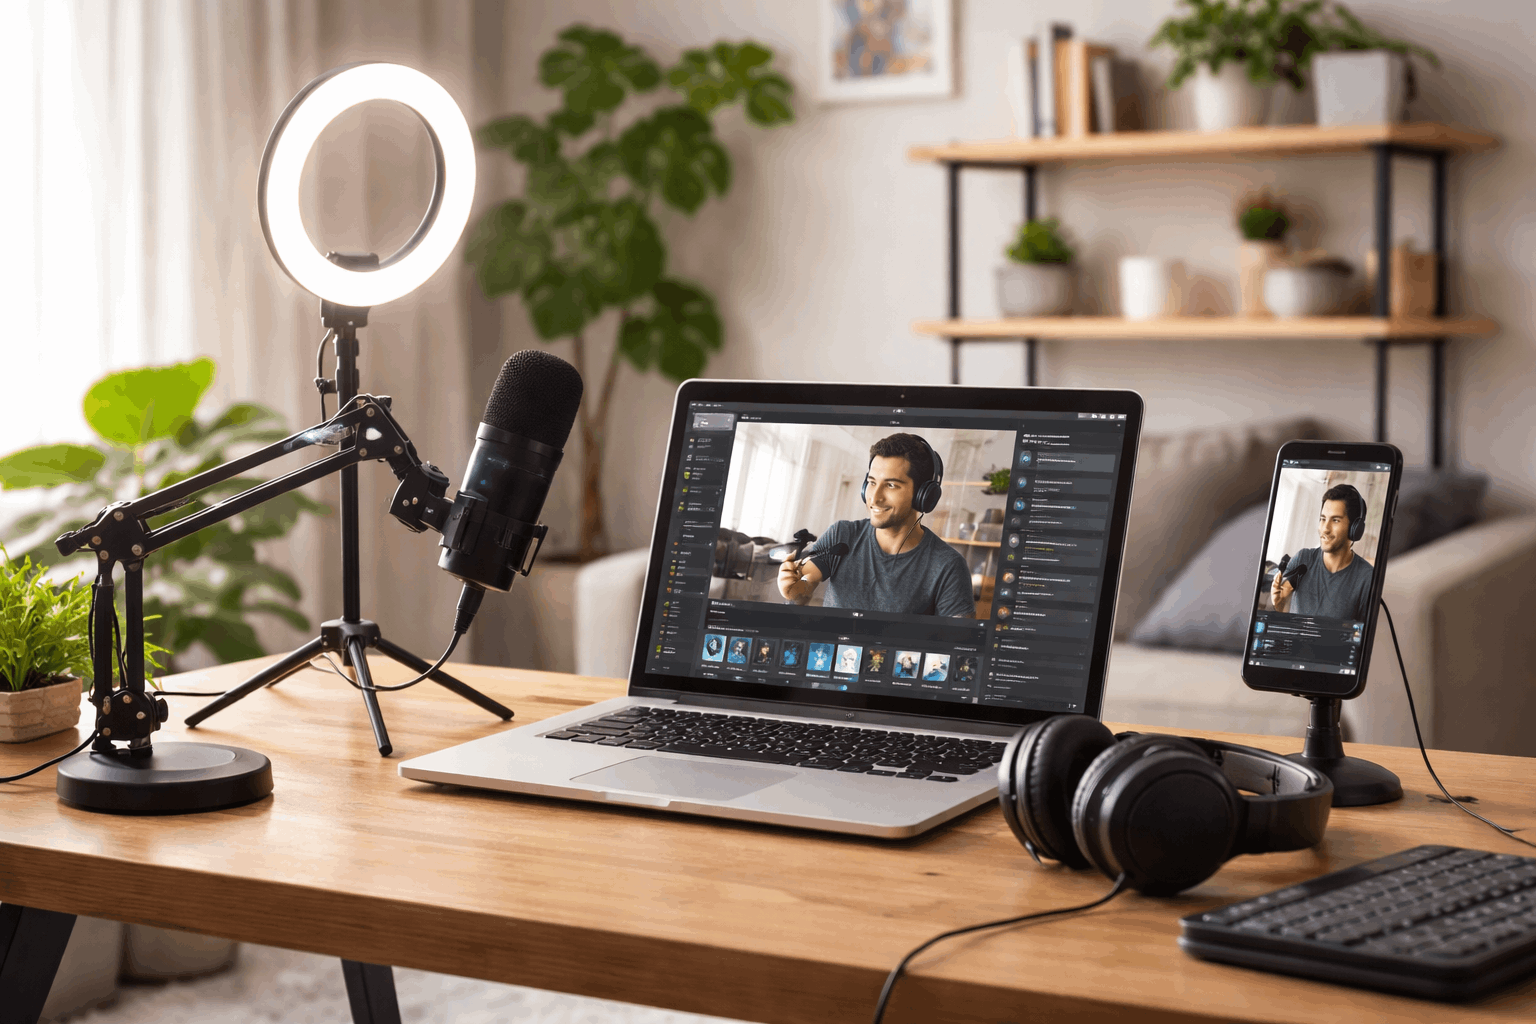
Your streaming space does not need to be perfect, but it should be calm enough for viewers to focus. A clean background, steady camera, and stable internet connection can prevent many common problems.
Streaming is live, so small issues feel bigger when you cannot easily edit them out. A predictable space helps you avoid panic during the session.
Keep the Camera, Background, and Cables Under Control
A tripod, phone stand, or desk mount helps your frame stay steady. Avoid holding the camera by hand unless the stream format really needs movement.
A fixed camera angle also makes it easier to look natural because you are not constantly checking whether the frame has shifted. Keep the camera at a comfortable height so the shot does not feel too low or awkward.
Your background should be simple and not too busy. A plain wall, tidy shelf, curtain, or clean desk area can work well.
Remove bright objects, personal clutter, or anything that may distract viewers while you are talking.
Cables should also be easy to reach and not tangled, especially charger cables, microphone cables, and internet cables.
Make Internet Stability a Priority
A stable connection is one of the most important parts of a live setup. If possible, use Ethernet because it is usually more reliable than Wi-Fi.
If you need to use Wi-Fi, stay close to the router and avoid streaming through several walls or crowded rooms. Run a quick test before going live if your connection changes often.
Lowering the bitrate or resolution can help if your upload speed is unstable. Many beginners try to stream at higher quality than their connection can support, which leads to freezing or dropped frames.
It is better to stream smoothly at a slightly lower resolution than to constantly buffer at a higher one. Viewers usually notice interruptions more than they notice small resolution differences.
Choose Simple Software and a Repeatable Routine
Streaming software should match your comfort level. OBS Studio gives strong control and is popular because it is free and flexible, but it can feel overwhelming at first.
Built-in platform tools or simpler apps may be better if your goal is to go live quickly. Start with fewer settings, then adjust once you understand what each setting does.
Keep Your Settings Simple
Use 30 fps for most beginner streams because it is easier on the computer and usually looks smooth enough.
Choose a bitrate that your upload speed can handle with a safety buffer. Test your microphone level so your voice is not too quiet or too loud. If you use overlays, alerts, or scenes, keep them minimal until the basic stream is stable.
A private or unlisted test stream is useful before your first public session. It lets you check audio, video, lighting, chat, and internet stability without pressure.
Watch the test afterward and note what needs fixing. This is better than changing settings while people are already watching.
Use a Short First-Stream Checklist
A checklist keeps your setup repeatable and helps you avoid small mistakes. Use one simple list before every stream:
- Plug in your device and check battery or power.
- Test your microphone, camera, lighting, and internet connection.
- Close unused apps, tabs, and notifications.
- Confirm your stream title, platform, and privacy setting.
- Record or run a short private test before going public.
This routine does not need to be complicated. The point is to catch problems before the stream starts. Over time, you can adjust the checklist based on the mistakes you actually make.
A repeatable routine makes streaming feel less like a big event and more like a normal creative habit.
Conclusion: Keep the First Setup Affordable
A basic streaming setup does not need to be expensive. If you already have a phone or laptop, your first useful purchases may be a stand, microphone, and simple light.
Upgrade only when the same problem keeps appearing in your streams. Spending slowly helps you build a setup that fits your real workflow instead of collecting gear you rarely use.