A beginner setup works best when you pick one use case, like voiceovers, meetings, or talking-head videos.
Your biggest quality jump usually comes from clear audio, not a more expensive camera.
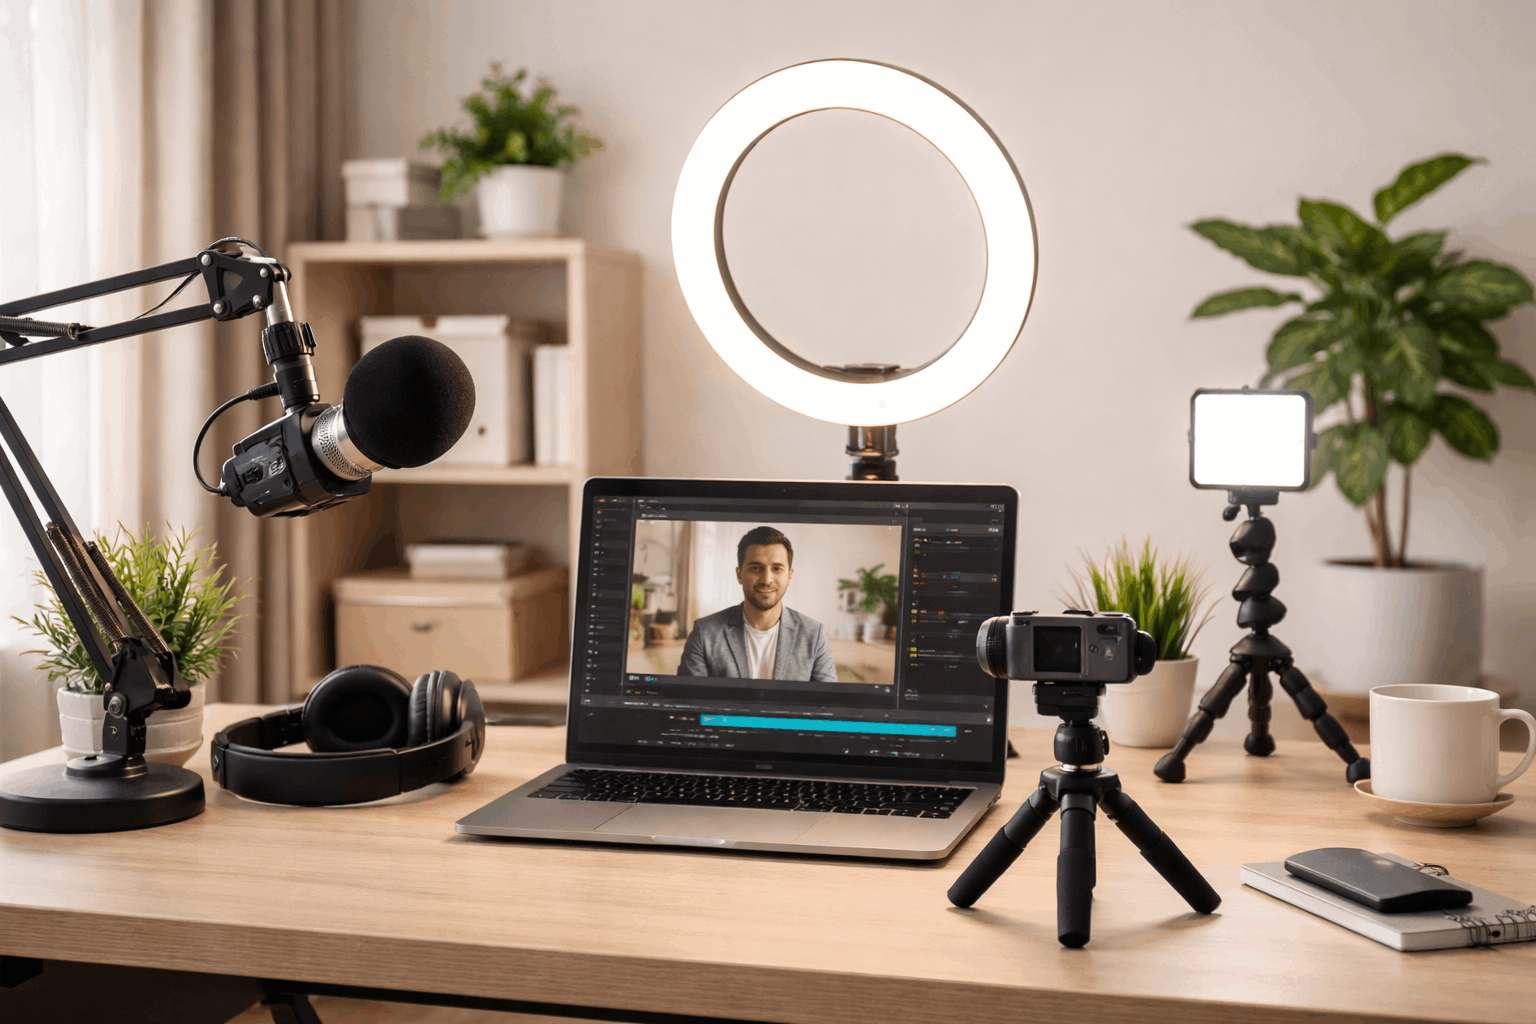
You can build a reliable starter kit by choosing one solid item each for mic, light, camera, and support.
Microphones First: Your Voice Is the Product
A good microphone makes your content feel “finished” even when everything else is basic.
For most everyday creators, a USB microphone is the easiest first step.
If you want room to grow, an XLR microphone plus an audio interface is the upgrade path.
Your goal is consistent speech clarity, not studio perfection.
Beginner USB Microphones That Work Immediately
A popular budget pick is the Samson Q2U, which B&H lists at $99.99, and it’s often recommended because it can work as a USB now and an XLR later.
Another straightforward option is the RODE NT-USB Mini, which B&H lists at $102.00, and it’s built for quick podcasting and streaming setups.
If you want a mic designed for both USB and XLR with more “broadcast” style flexibility, the Shure MV7 is listed at $249.00 at B&H.
When XLR Makes Sense for Beginners
XLR becomes useful when you want more control, better upgrade options, or longer cable runs.
The tradeoff is that you add one more device, the audio interface, and a couple more cables.
A common beginner interface choice is the Focusrite Scarlett Solo (4th Gen), listed at $149.99 on B&H.
A lower-cost option is the Behringer UMC22, listed at $52.90 on B&H, and it can power a basic XLR mic while keeping the setup simple.
Small Mic Accessories That Make a Big Difference
A pop filter and boom arm help you place the mic close without it blocking your screen or keyboard.
These accessories matter because mic placement is often more important than mic brand.
B&H lists the Auray PFNY-6 nylon pop filter at $19.99, and it’s a simple add-on that improves voice recordings quickly.
For a desk-mounted arm, B&H lists the Samson MBA38 boom arm at $79.95, which can help keep the mic positioned consistently from session to session.
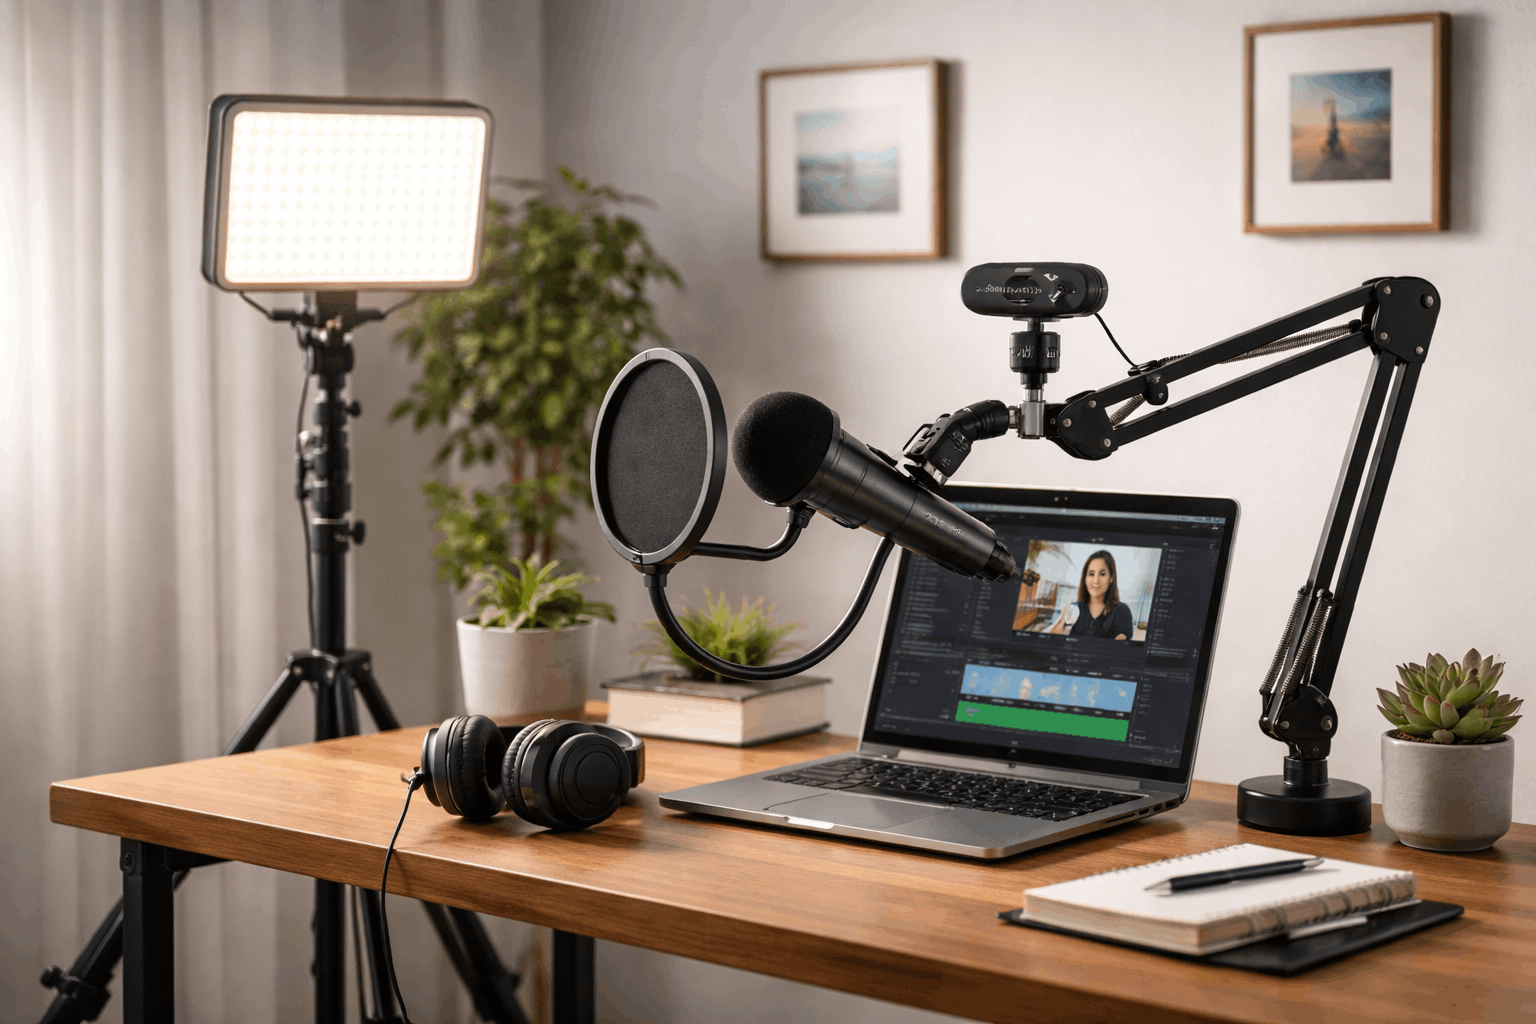
Lighting: The Fastest Way to Look More Professional
Lighting matters because cameras struggle when a scene is dim or uneven. A single soft light placed well can look better than multiple harsh lights.
You do not need a studio, but you do need a consistent, repeatable light position.
Your target is a bright face on a non-distracting background.
Webcams and Cameras: Keep It Clean and Stable
A good camera helps, but a stable frame and good lighting help more. For beginners, a solid 1080p webcam is often the easiest choice.
If you already own a phone with a good camera, it can outperform many entry-level webcams.
The key is to keep the camera steady, level, and at eye height.
Reliable Beginner Webcams With Clear 1080p Video
A good webcam is mainly about consistent focus, decent low-light performance, and easy setup.
A webcam should be treated like a fixed camera, not something you keep moving every day.
B&H lists the Logitech C920s at $59.99 on its comparison page, and it remains a common entry webcam for everyday creators.
Phone as a Camera: A Beginner Shortcut That Works
Most newer phones have strong cameras and built-in image processing that looks good on social platforms.
A phone is especially useful when you want a shallow depth of field or sharper detail than a basic webcam.
The limitation is that you need a stable mount, and you must keep notifications from interrupting recording.
Tripods and Mounting: Stability Is a Quality Feature
A stable camera makes your video feel intentional, even if the setup is simple. Tripods also help you repeat the same framing every time you record.
A mount that holds position saves time and reduces setup frustration.
Your best “beginner upgrade” is often just getting the camera to eye level.
Small Tripods for Desks and Tight Spaces
Desk tripods are useful for webcams, phones, and lightweight cameras. They are also easy to store, which makes them practical for everyday creators.
A small tripod is often enough if your camera is close and your framing is fixed.
B&H lists the JOBY GorillaPod 3K Kit at $69.99, and flexible legs can help when your desk space is limited.
Two Simple Starter Builds With Realistic Budgets
A starter build helps you avoid random purchases that do not work together. The goal is a setup you can assemble in minutes and repeat every day.
These examples focus on the core items most everyday creators actually use.
The prices below are drawn from current retailer listings and may change with sales and stock.
Budget USB Setup for Talking-Head Videos
This build is designed for quick setup with minimal wiring. It’s aimed at creators who record on laptops or desktops and want clean speech.
It keeps upgrades open while avoiding complicated audio routing.
A sample build is Samson Q2U ($99.99) plus Logitech C920s ($59.99) plus Godox LEDP260C ($90.00) plus SmallRig tripod ($39.90) for a gear total around $289.88 before tax and shipping.
If you add a pop filter like the Auray PFNY-6 ($19.99), you improve speech clarity and reduce plosives for a small extra cost.
This setup works well for YouTube explainers, online classes, and basic product demos when your lighting is positioned correctly.
Upgrade-Ready XLR Setup for Better Control
This build is designed for creators who want to grow into different microphones and workflows.
It works well for voiceover, streaming, and podcasting where audio consistency matters.
It costs more, but it makes later upgrades easier and more flexible.
A sample build is Focusrite Scarlett Solo 4th Gen ($149.99) plus an affordable XLR mic like Audio-Technica AT2020 ($99.00) plus a stable tripod like the JOBY GorillaPod 3K Kit ($69.99) for a starting gear total around $318.98 before adding a light.
If you pair that with a creator light like the Elgato Key Light Air MK.2 ($169.99), your video becomes more consistent in any room lighting.
This setup is a practical “small studio” foundation because the interface stays useful even when you replace the mic later.
Conclusion
Start by placing the light first, because it changes how every camera looks.
Next, place the camera at eye height, then lock framing and avoid moving the tripod afterward.
Finally, place the microphone close to your mouth, do a 10-second test recording, and adjust the gain so you do not clip or sound distant.


