Many creators buy a new camera hoping their videos will look instantly “pro,” but most quality gains come from controllable setup choices.
Video quality is the combination of light, sound, stability, settings, and story clarity, not just the price of the camera body.
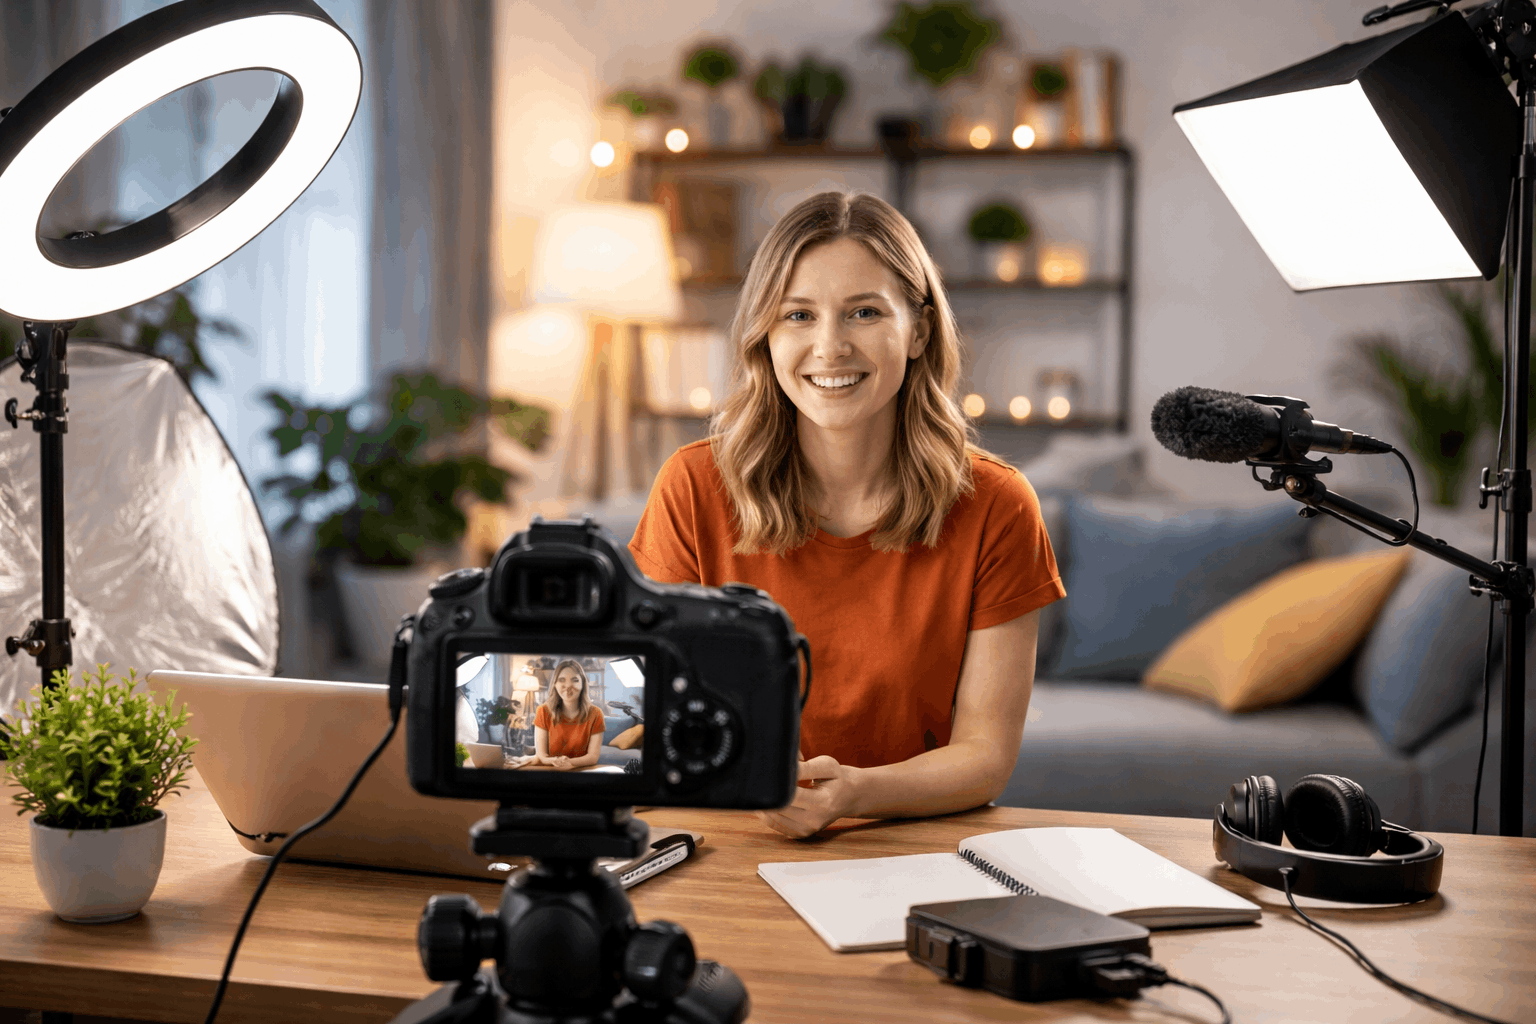
A simple creator setup can make an older phone, webcam, or entry-level camera look cleaner, sharper, and more consistent in real-world posting.
The Danger of Low Video Quality
Low video quality makes viewers work harder to understand what you are saying, and many people leave before your message is clear.
Bad lighting creates noisy shadows and blown highlights, which can make even a good camera look cheap and untrustworthy.
Poor audio is often the real dealbreaker, because viewers tolerate imperfect visuals more than they tolerate unclear speech or harsh noise.
Inconsistent quality across uploads can slow growth, because your channel looks unpredictable and new viewers do not know what to expect.
Is the Problem the Camera?
In most beginner setups, the camera is not the main problem because the image is limited by lighting direction, exposure choices, and distance.
A simple change can make skin tones and backgrounds look more natural.
Many cameras look soft or noisy when underexposed indoors, so adding light is often a bigger upgrade than buying a more expensive camera.
Before replacing gear, test one setup with the same framing, light, and settings, so you can see what is actually holding your image back.
Here’s a practical baseline you can use as minimum quality requirements, followed by camera models that meet them.
Minimum quality requirements (creator baseline)
- Clean 1080p at 30fps (60fps is a plus) with consistent exposure control.
- 4K is optional, but helpful for cropping, sharper detail, and future-proofing.
- External microphone support (ideally a 3.5mm mic input) so your voice stays clear.
- A screen you can monitor while recording (flip/vari-angle/tilt or reliable app monitoring).
- Reliable autofocus for faces (or stable fixed focus at your filming distance).
- Simple mounting/stability support (tripod socket or a setup that stays steady).
Camera models that meet those minimums:
- Sony ZV-1 (includes a 3.5mm microphone jack).
- Canon PowerShot G7 X Mark III (4K and 3.5mm mic input).
- Interchangeable-lens creator cameras (more upgrade room)
- Sony ZV-E10 (listed as 4K/30p on Sony’s product page; also has a 3.5mm mic terminal).
- Sony ZV-E10 II (supports up to 4K 60p and includes a 3.5mm mic terminal).
- Canon EOS R50 (has an external microphone input).
- Canon EOS R10 (has an external microphone input via 3.5mm jack).
- Nikon Z30 (4K/30p and support for external microphones, plus a fully articulating screen).
- Panasonic Lumix G100 (4K options and 3.5mm external mic input).
When is Really Necessary Replace Your Camera and When Not?
Replacing your camera becomes reasonable when you repeatedly hit hard limits.
- Unusable low-light performance
- No clean HDMI for streaming
- Missing autofocus tracking for moving shots
- Heavy overheating
Keeping your camera makes sense when your biggest problems are dim rooms, shaky handheld footage, or echoey audio.
Messy backgrounds or incorrect settings are problems that follow you to any new camera.
A simple rule helps
f your footage looks bad in a well-lit, stable, quiet setup, your camera may be the bottleneck.
But if it looks good there and bad everywhere else, your setup is the bottleneck.
Keep your Camera and Improve Quality
Start with lighting, because good light improves sharpness, reduces noise, and makes colors look cleaner even on basic cameras.
Improve audio next by moving the microphone closer, reducing room echo with soft materials, and recording in a quiet space.
Stabilize your shot with a tripod, desk mount, or steady support. Stability makes footage feel more professional than higher resolution with camera shake.
Then lock in simple settings like correct frame rate, safe shutter speed, consistent white balance, and exposure that protects highlights.
Quality Improvements More Affordable than a New Camera
A small LED key light or window-based setup with a white curtain and a cheap reflector can create soft, flattering light.
This makes faces and products look higher quality.
A budget lav mic or compact shotgun mic usually improves your videos more than a new lens does, because clear speech and low noise make viewers stay longer.
A basic tripod, phone clamp, or small gimbal reduces micro-shakes, and stable framing also helps autofocus work better and makes editing easier.
Small extras
They add polish fast, including cleaning your lens, using a simple background, and adding practical lights in the scene.
Consider controlling exposure with an inexpensive ND filter outdoors, and recording at the highest stable bitrate your device allows.

Quality Problem, Main Cause and Affordable Solution
| Quality problem | Main cause | Affordable solution |
|---|---|---|
| Washed-out highlights | Overexposure or strong light behind you | Lower exposure, move light, or turn so the bright source is in front of you |
| Soft/blurry image | Dirty lens or missed focus | Clean lens, tap-to-focus, and keep a consistent focus distance |
| Shaky footage | Handheld shooting and no support | Use a tripod, desk mount, or brace elbows on a stable surface |
| Background noise (hiss/fan/traffic) | Noisy room and automatic gain | Record in a quieter spot, reduce fan noise, and use a simple noise reduction in editing |
| Video looks “jittery” | Wrong frame rate or shutter settings | Match your lights (50/60 Hz) and use 1/50–1/60 shutter for 25/30 fps |
| Flickering lights | LED/fluorescent mismatch with shutter | Use one stable light source, change shutter to 1/50 or 1/60, or replace bulb with a better LED |
| Colors look flat/dull | Low contrast lighting and incorrect profile | Add fill/reflector, increase light control, and use a standard picture profile |
| Face looks dark, background bright | Strong backlight | Move away from the window or use a fill light/reflector on your face |
| Choppy streaming/webcam look | Low bitrate or poor connection | Lower resolution to 720p, use wired internet, and improve lighting to reduce compression |
| Compression/blocky artifacts | Low bitrate + dark scenes | Add more light and avoid noisy shadows; record at higher bitrate if available |
| Out-of-sync audio | Separate recording without sync point | Do a quick clap at the start and sync in editing |
| Distracting background | Clutter and bright objects | Use a clean wall, hang a sheet/curtain, or add one simple practical light |
| Over-sharpened “crispy” look | In-camera sharpening too high | Reduce sharpening in settings and add light for natural detail |
| Autofocus hunting | Low contrast and poor lighting | Add light, keep face centered, and enable face/eye detect if available |
| Outdoor exposure shifts | Auto exposure reacting to movement | Use AE lock, manual exposure, or a cheap ND filter for bright sun |
Conclusion
Better quality usually comes from improving light, audio, stability, and settings, which are cheaper and faster than replacing your camera.
A simple creator setup can turn your current phone, webcam, or camera into a reliable production tool that looks clean in real viewing conditions.
Use one controlled test recording, upgrade one weak point at a time, and publish the improved results.
Consistent small steps are the quickest path to better videos without a new camera.


