A minimalist creator setup is a small system that lets you publish without clutter.
When your setup is simple, you spend less time troubleshooting and more time creating.
Start with what you own, then upgrade only when a real limitation keeps repeating.
1) Define your creator goal before you buy anything
A minimalist setup starts with purpose, because vague goals create random purchases.
You move faster when you choose what you will publish most and what “good enough” looks like.
You save money when you fix the biggest bottleneck first instead of chasing trendy gear.
You create more when you set a realistic schedule that fits your life.
Choose one primary output format
You can pick video, audio, writing, or streaming as your main format for the next 30 days.
A single format tells you what matters most, like lighting for video or a mic for voice work.
When you focus, you build a repeatable routine and improve quality through practice, not constant switching.
Set a budget and a footprint
You can set a clear budget and a space limit, like “one desk and one shelf.”
A footprint rule keeps minimalism real, because new items must replace old items.
If you share your home space, a small footprint also makes packing up quick and stress-free.
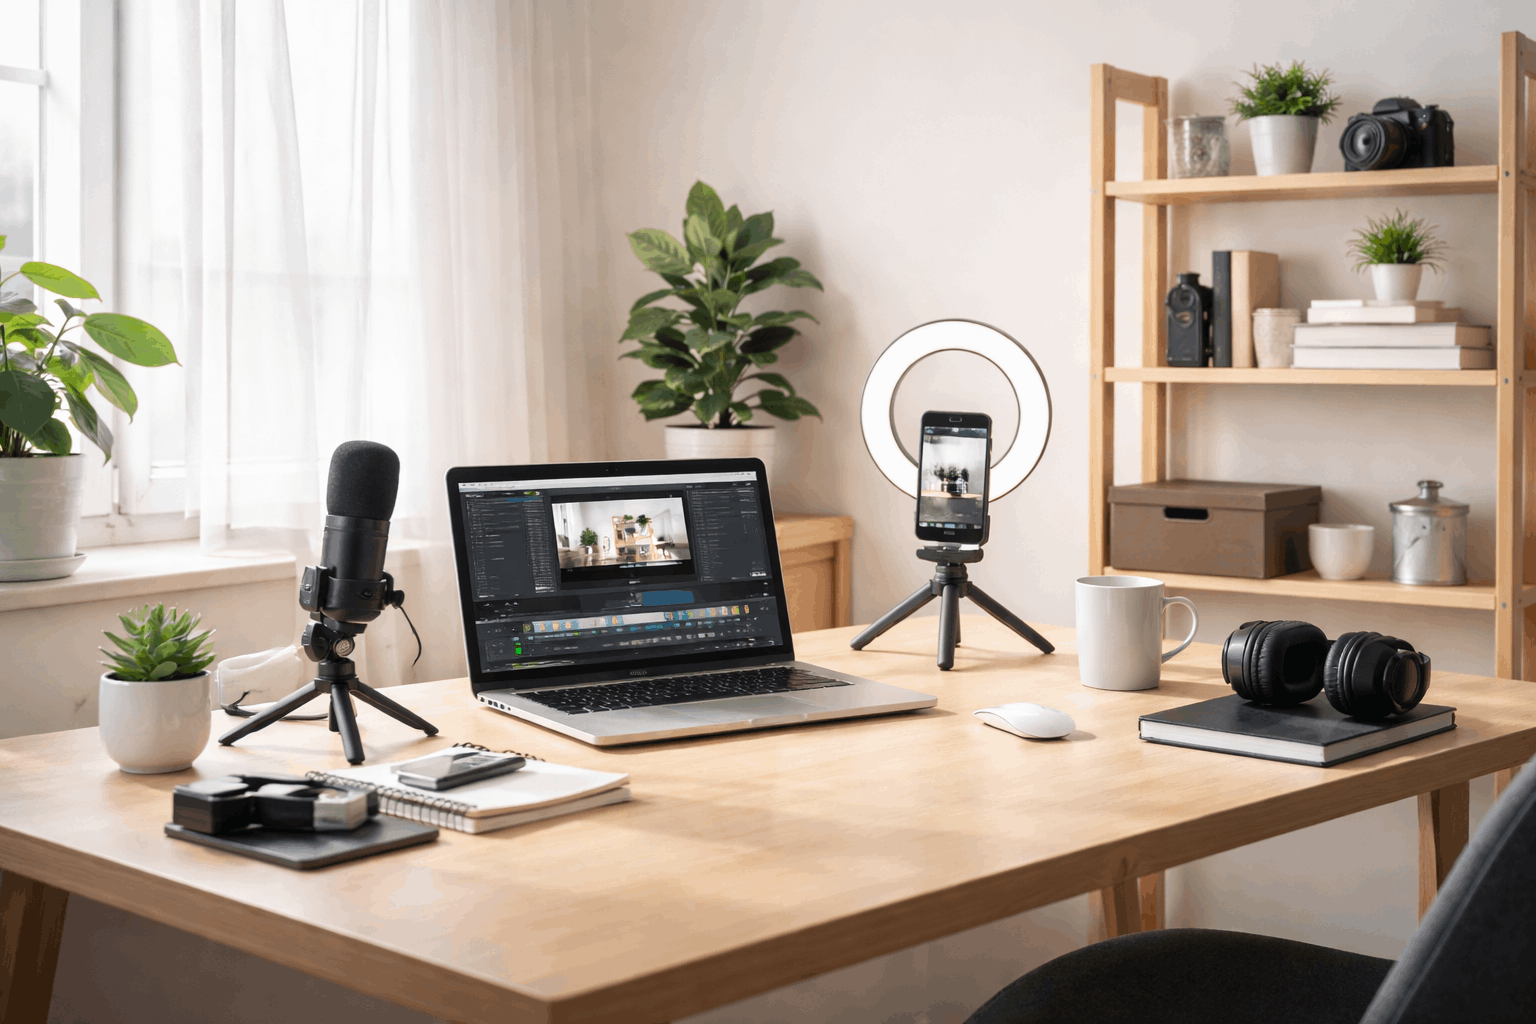
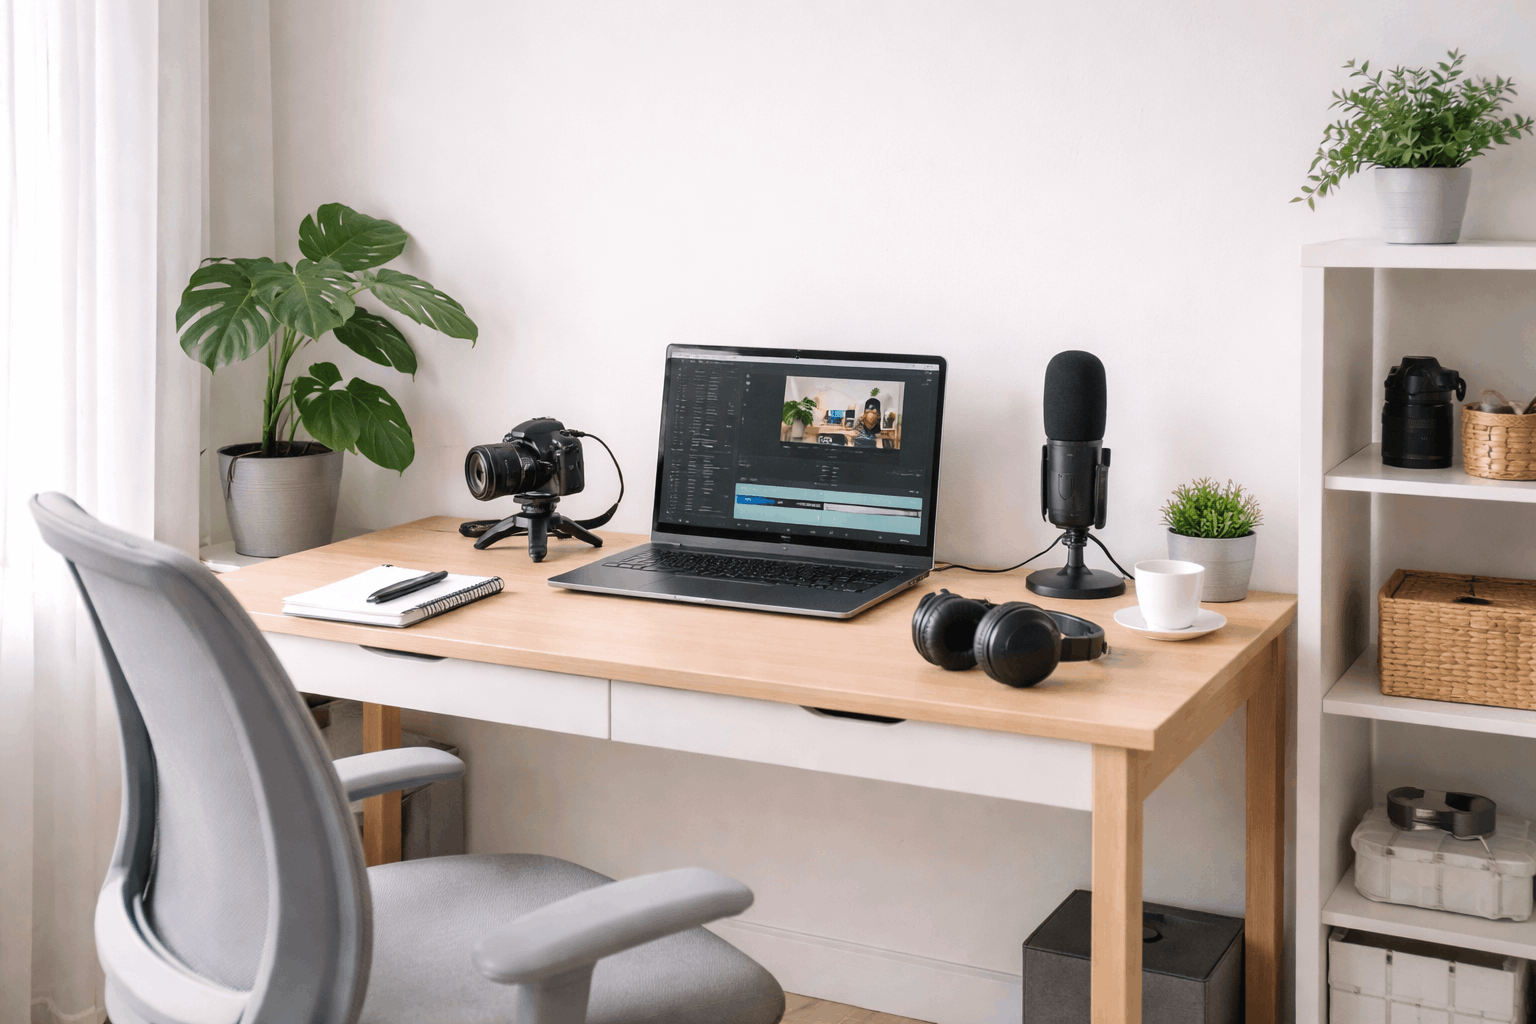
2) Pick a corner and make the space work for you
You do not need a full room, but you do need a consistent corner you can return to.
A consistent spot reduces friction because you stop moving gear and re-checking angles every session.
You can raise quality by controlling light and noise more than by buying a new camera.
The best space is quiet, comfortable, and simple enough that you sit down daily.
Use natural light first, then add one lamp
You can face a window for soft front light, because overhead light often makes shadows look harsh.
If daylight changes, you can add one lamp or ring light and keep the setup fast.
You can soften light with a thin curtain or white fabric, because softer light looks cleaner on skin.
Keep the background and sound clean
You can choose a plain wall, a tidy shelf, or a curtain to keep the background calm.
You can reduce echo with a rug, blanket, or soft chair, because fabric absorbs sound.
If outside noise is common, you can record at quieter times, because clean takes beat-perfect visuals.
3) Build your core gear around one strong device
Your phone or laptop can be the center, because modern devices record and edit well.
You can test your device first, because many “quality issues” are really lighting, framing, or audio problems.
A minimalist kit prefers tools that do more than one job, so every item earns space.
If you upgrade, choose the one change that removes your biggest pain point, not the flashiest option.
Upgrade audio before camera quality
People forgive soft video, but they leave fast when the audio is noisy or hard to understand.
You can start with wired earbuds or a basic lav mic, because they often beat built-in mics.
If you record at a desk, a simple USB mic is a clean next step that stays consistent.
Stabilize your camera with one simple support
Shaky video distracts viewers, so stability is a high-value upgrade in small setups.
You can use a small tripod, a phone clamp, or stacked books for a steady frame.
A fixed frame also speeds editing, because cuts look cleaner when the camera does not drift.
4) Make the desk comfortable so you can create longer
A minimalist setup should feel good to use, because discomfort kills consistency.
You can aim for a clear desktop, because open space reduces distractions and mistakes.
You can raise your screen and support your back, because posture affects focus and energy.
If you share the desk, a small tray can hold essentials and be moved away in seconds.
Manage power and cables the simple way
You can use one power strip and route cables behind the desk to keep surfaces clear.
You can label key cords, because swapping chargers in a rush wastes time.
If you move between rooms, you can keep a small pouch with the few cables you always need.
Store small tools where your hands naturally reach
You can keep a small box for batteries, cards, and adapters, because tiny items disappear easily.
A drawer tray can hold tape, scissors, and a cloth, because quick fixes keep sessions moving.
When storage is predictable, you stop searching, and searching is one of the biggest time leaks.
5) Create a simple workflow you can repeat every week
A minimalist setup is not only gear, because workflow is what turns ideas into posts.
You can reduce stress by deciding what happens before, during, and after recording.
A consistent workflow helps you batch work, like recording twice and editing later.
The simplest workflow is one you can do on a busy day, because consistency beats perfection.
Use clear file names and a basic backup plan
You can name files by date and topic so you can find them quickly in the future.
You can separate the “raw” and “export” folders to prevent duplicates and lost versions.
If you can, back up weekly to the cloud or an external drive, because losing work is costly.
Build templates and checklists for speed
You can reuse an outline, intro script, or edit preset, because repeatable parts save time.
A short checklist can cover light, audio level, and background, because prevention beats fixing later.
When your setup is stable, templates keep your style consistent, and consistency builds trust with viewers.
6) Keep it minimalist as you grow and upgrade
A minimalist setup is a living system, so you should remove what no longer helps.
You can upgrade without clutter by replacing tools instead of stacking them whenever possible.
You can avoid “just in case” purchases, because unused gear becomes visual and mental noise.
If you feel overwhelmed, you can reset by clearing the desk and rebuilding from your core device outward.
Use a rule of three for upgrades
You can list the top three problems you face each month, because upgrades should solve real pain.
You can upgrade only after the same issue repeats, because one bad day is not a pattern.
If a new item cannot replace an old item, you can pause, because limits protect minimalism.
Maintain the setup with tiny weekly habits
You can wipe your lens and desk weekly, because dust and fingerprints quietly lower the quality.
You can charge gear and update apps on one set day, because surprises show up right before recording.
When maintenance is routine, your setup stays ready, which makes creating feel easier.
Conclusion
You can choose one corner today, set up your basics, and publish one small piece this week.
You can improve gear later, but you improve skill only by creating and sharing more often.
A simple creator setup works when it stays small, clear, and ready whenever you are.


