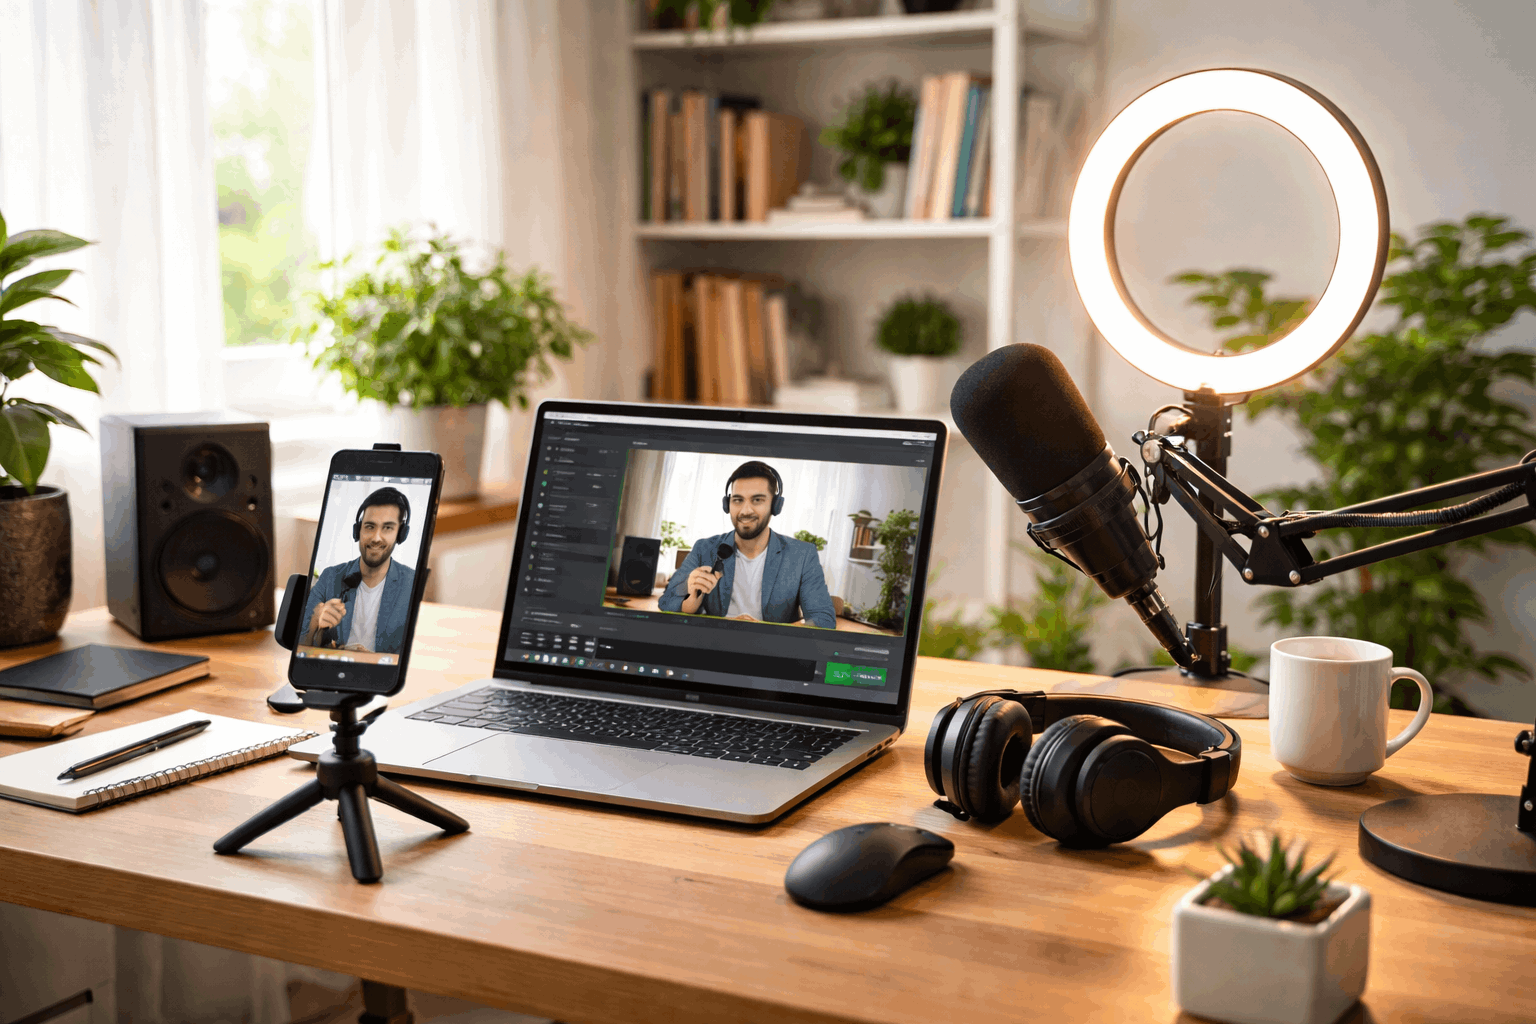
A basic streaming setup can be simple if you keep the plan small and repeatable.
Think of your first stream as a test run, not a perfect show.
Your goal is a simple setup for live streaming that works every time, even on busy days.
Decide What You’re Streaming
Pick one main format like gaming, teaching, chatting, music practice, or product demos.
Choose one camera view that stays steady so you do not fight angles during the stream.
Write a short outline of what you will do for 15 to 30 minutes so you stay focused.
Choose the Platform and Resolution
Select a platform based on where your audience already is, such as YouTube, Twitch, or TikTok Live.
Start at 720p if your internet or computer is average, because stability matters more than sharpness.
Set a simple schedule like one day per week so your setup stays consistent and easy to repeat.
Choose the Hardware You Already Have
Most people can stream well using a phone, a laptop, or a basic desktop without buying much.
Your best device is the one that runs smoothly for an hour without overheating or crashing.
If you keep the gear minimal, you spend less time fixing problems and more time going live.
Using a Smartphone
A modern phone can stream in good quality when it is placed on a stable stand and kept plugged in.
Use the rear camera when possible because it often looks sharper and handles light better.
Turn on airplane mode with Wi-Fi enabled to reduce interruptions from calls and notifications.
Using a Laptop or Desktop
A laptop is convenient because it already has a camera, mic, and screen for monitoring chat.
A desktop can be stronger for games, but a laptop is often enough for simple talking or teaching streams.
Close unused apps and browser tabs so your computer saves power for the stream.
Using a Console
Consoles can be the easiest option for gaming because streaming tools are built into the system.
Use a headset mic at first, then upgrade to a USB microphone when you want clearer voice audio.
Keep your overlays minimal because many console workflows are meant to stay simple and stable.
Add a Few Key Accessories
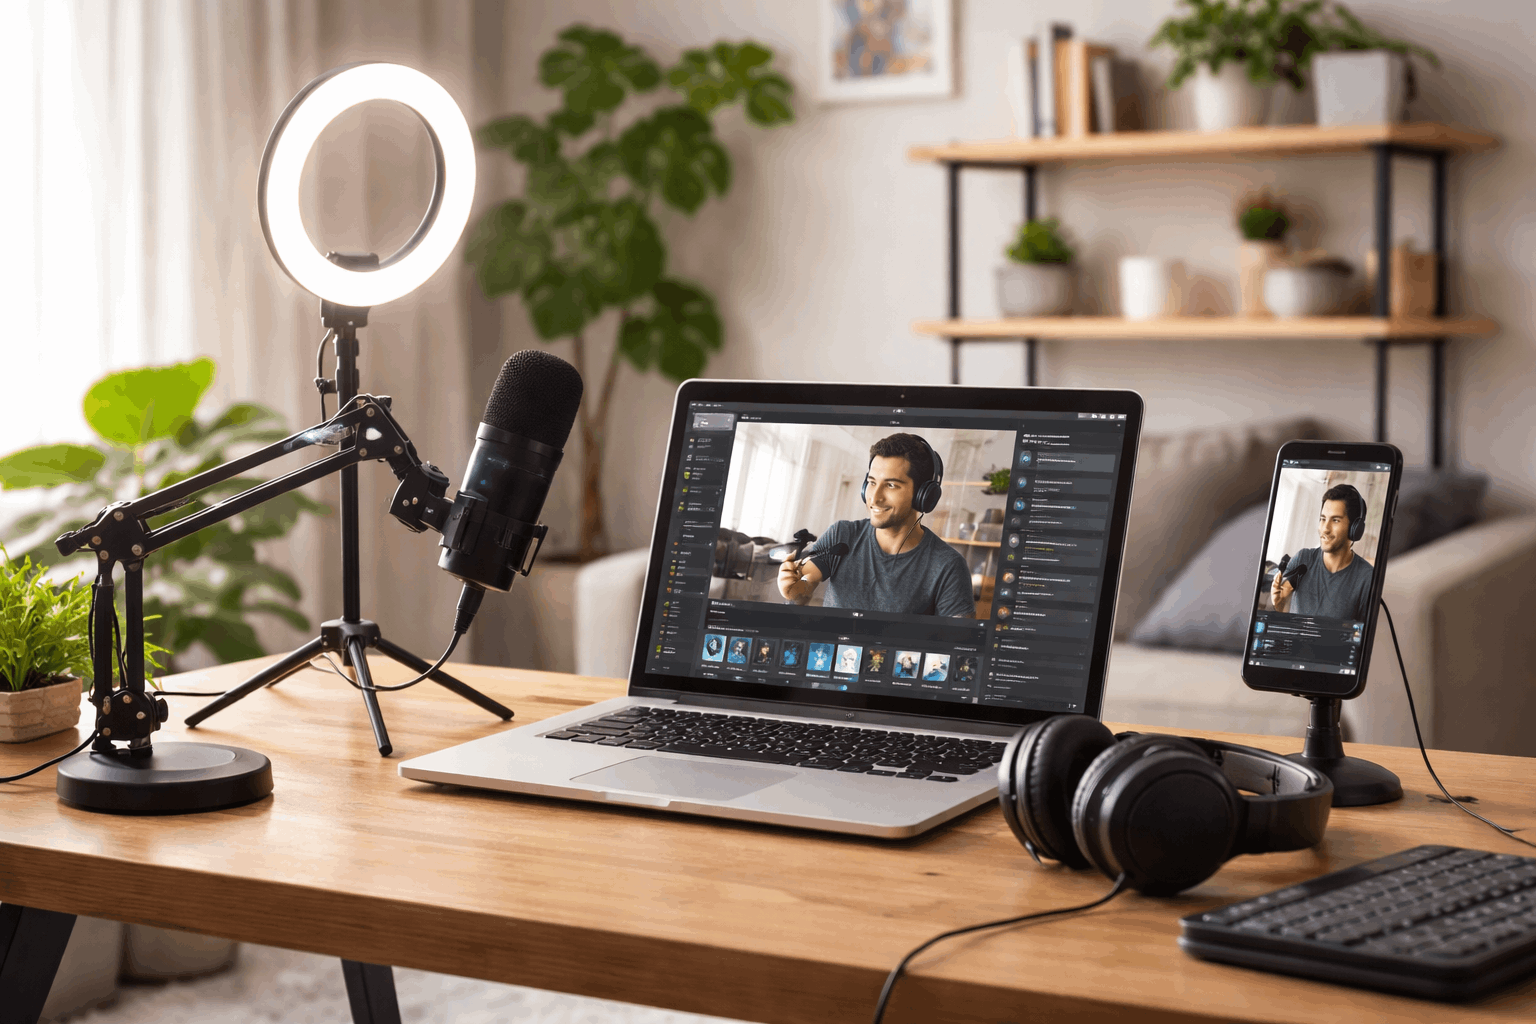
The fastest improvement usually comes from adding one good microphone and simple lighting.
You do not need a large studio kit to look and sound professional at home.
Buy gear slowly and only after you stream enough to notice what is actually missing.
A few smart accessories can make your stream feel clean without complicating your routine.
Microphone First, Then Camera
A basic USB microphone often improves clarity more than upgrading your camera.
If you must use a headset mic, speak consistently and lower the background noise in the room.
Lighting That Looks Natural
Good lighting helps your camera look clear, even if the camera itself is basic.
Avoid bright lights behind you because backlighting can turn your face into a dark silhouette.
Tripods, Stands, and Cables
A simple tripod or desk stand prevents shaky video and keeps your framing consistent.
Use a charger cable long enough to reach your device comfortably so you do not move things mid-stream.
Label cables or use a small organizer so setup takes minutes instead of becoming a daily mess.
Set Up Your Space and Internet
A calm, quiet space is a bigger upgrade than most people expect.
Keep your background simple so viewers focus on you and what you are doing.
A stable connection reduces stress because drops and freezes are the fastest way to lose viewers.
Once your space is consistent, streaming feels like turning on a routine instead of building a set.
Internet Speed and Stability
Use a wired connection when possible because Ethernet is usually more stable than Wi-Fi.
If you must use Wi-Fi, move closer to the router and avoid streaming through walls and crowded rooms.
Run a quick speed test before you go live, and lower the bitrate if your upload speed looks unstable.
Room Sound and Background
Soft items like curtains, rugs, and pillows reduce echo and make your voice sound more direct.
Turn off fans, loud air conditioners, and noisy appliances because microphones catch them easily.
Choose a background with a clean wall, bookshelf, or simple curtain so your video looks intentional.
Pick Software and a Streaming Service
Software choices should match your skill level, because complicated tools can slow you down.
Start with defaults, then change settings only when you understand what they do.
The best workflow is the one you can repeat without anxiety or constant troubleshooting.
A good combination of tools creates a smooth stream without forcing you to learn everything at once.
Simple Streaming Software Options
If you want control and flexibility, OBS Studio is popular, free, and works on most computers.
If you want fewer settings, use built-in platform tools or lighter apps that focus on quick go-live workflows.
Choose simple streaming software that lets you set the camera, mic, and bitrate once, then reuse the same profile.
Simple Streaming Service Choices
YouTube Live works well for searchable content and longer streams that people can watch later.
Twitch is built around live interaction and is often a natural fit for gaming and chat-based streams.
Pick one simple streaming service first, so you learn one dashboard, one chat flow, and one upload routine.
Settings That Prevent Glitches
Set your bitrate to match your upload speed, keeping a safe buffer so small drops do not break the stream.
Use 30 fps for most home setups because it is easier on your computer and often looks smooth enough.
Record a short private test stream to check audio levels and sync before your first public session.
Budget and First-Stream Checklist
Your budget stays under control when you buy only what fixes the biggest problem you notice.
A realistic setup starts small, then grows with your confidence and consistency.
Many creators succeed with affordable gear because reliability beats fancy equipment.
When you plan for the basic streaming setup cost, you avoid surprise purchases and build steadily.
Basic Streaming Setup Cost Breakdown
A low-cost start can be a phone plus a stand, while a mid-range start can be a laptop plus a USB mic.
Expect the basic streaming setup cost to rise mainly from audio gear, lighting, and small accessories like stands and cables.
If money is tight, upgrade in this order: microphone, lighting, camera, and only then extra visuals like overlays.
Conclusion
A simple streaming setup for live streaming works best when you keep your gear minimal and your routine repeatable.
Use a basic streaming setup with stable internet, clear audio, and simple lighting before you chase extra features.
Choose one simple streaming service and simple streaming software, then reuse the same settings so you stay consistent.


