Creating a clean and professional-looking video at home does not require a complex studio or expensive gear.
A one-light setup video approach is often enough to achieve consistent results for YouTube, online courses, podcasts, and livestreams.
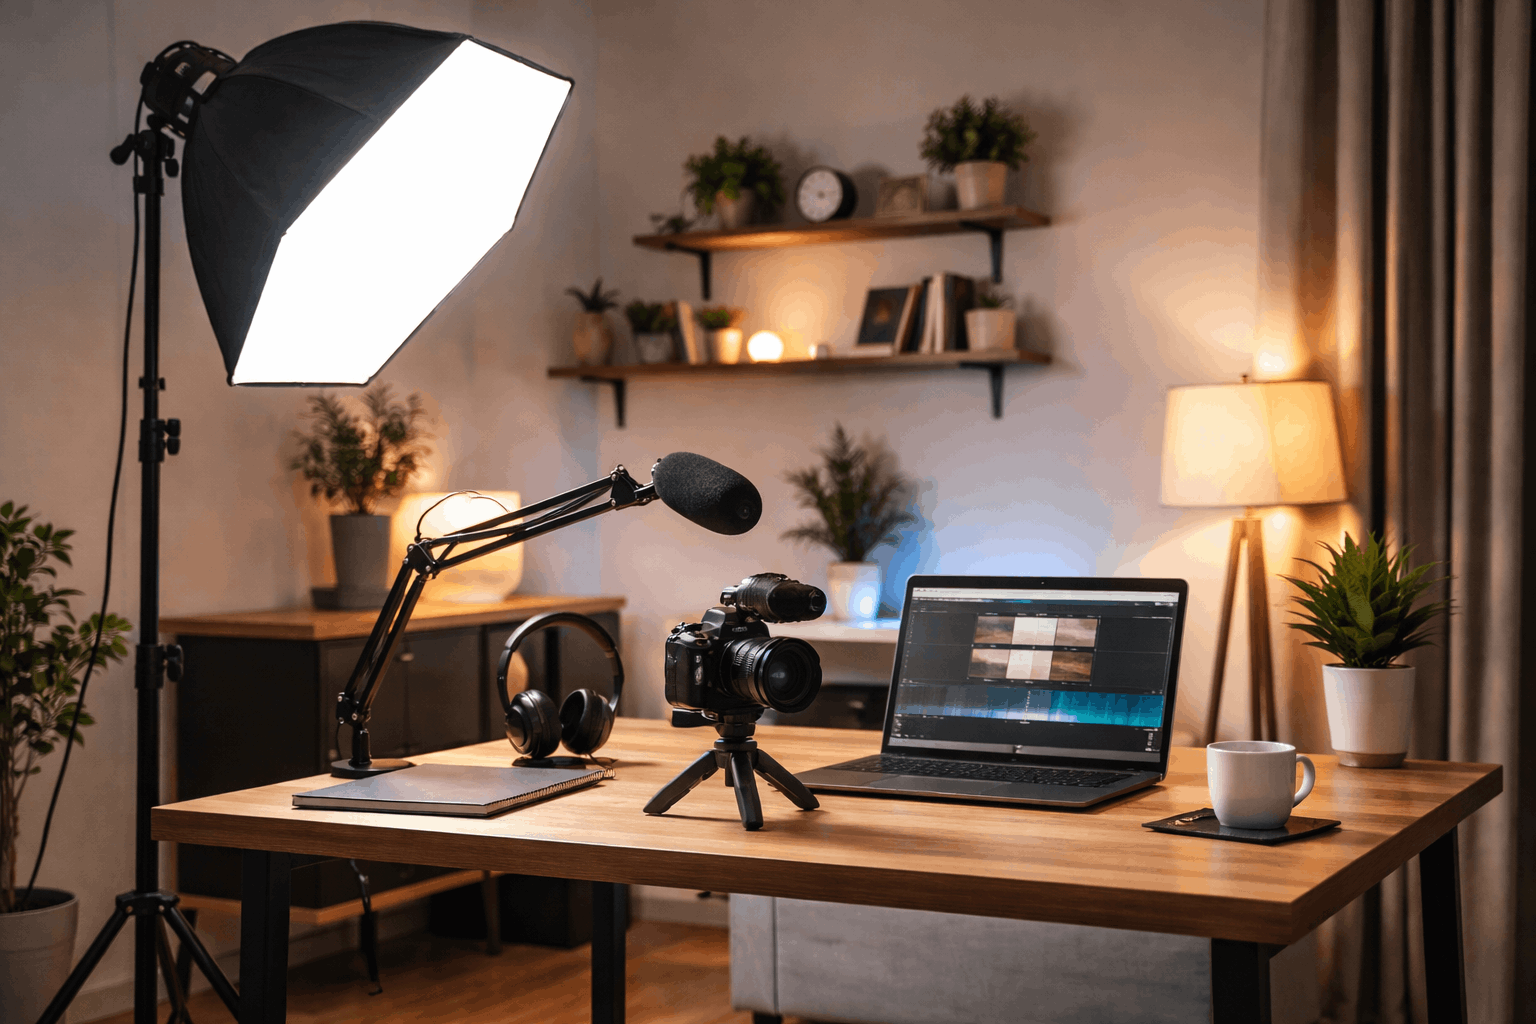
The goal is to help everyday creators build a reliable setup that looks good on camera without unnecessary complexity.
Why a One-Light Setup Makes Sense for Home Creators
A one-light setup makes recording faster and more consistent. It is easier to control and repeat compared to multi-light arrangements.
This approach works well for small rooms and limited desk space. Many successful creators rely on a one light youtube setup every day.
A 1 light setup video environment forces you to focus on placement rather than quantity.
Good placement can shape the face and separate you from the background. This setup minimizes shadows while keeping the image natural.

Choosing the Right Light for a One-Light Setup
Not all lights perform equally in a home recording environment. The right light should offer adjustable brightness and color temperature.
Quiet operation is important for video and audio recording. Soft output reduces harsh shadows on the face.
LED Panel vs Ring Light
LED panels offer more directional control than ring lights. Ring lights create even illumination but can look flat on some faces.
Panels are easier to adapt for a one light setup studio look.
Color Temperature and CRI Matter
A daylight-balanced light keeps skin tones accurate on camera. High CRI ratings help avoid unnatural color shifts.
Consistency matters when recording multiple videos over time.
Power Output and Dimming Control
A dimmable light allows fine adjustment for different rooms. Too much brightness can cause glare and eye strain.
Balanced output keeps exposure stable across recordings.
Best-known Models That Creators Commonly Use
| One-light type | Pros | Cons | Best models (good picks) |
|---|---|---|---|
| App-controlled LED panel (desk key light) | Easy to repeat your look, great for one light youtube setup, soft diffusion for faces, quick brightness/CCT control. | Not as powerful as COB lights for big softboxes, usually needs a desk/stand position, can be pricey for the output. | Elgato Key Light (2800 lumens, 2900–7000K). Elgato Key Light Air (1400 lumens, 2900–7000K). |
| COB light + softbox (true “studio” key light) | Most “cinematic” look for one light setup studio, strong output, easy to soften with a softbox, great subject/background separation. | Needs a stand + modifier space, more setup time, can run hot compared to panels, usually more expensive once you add softbox/stand. | amaran 100d S (100W daylight, strong color quality). Godox SL60IIBi (bi-color 2800–6500K, strong value). |
| Portable mini COB (small rooms, travel) | Very compact, good power for size, bi-color helps match room lighting, great for quick one light setup video in tight spaces. | Less headroom than full COBs, modifier options can be smaller, still needs a stand or clamp solution. | amaran COB 60x S (60W bi-color 2700–6500K, high output with reflector). SmallRig RC 60B (bi-color 2700–6500K). |
| Bi-color LED panels (budget-friendly key) | Simple, lightweight, easy to place, good for beginners building one light setups, works well with webcams. | Can look harder than a softbox unless diffused, less punch than COB+softbox, spill can be harder to control. | Neewer NL660 (660 LEDs, 3200–5600K). |
| Ring light (talking head + beauty) | Very flattering, easy to place around camera, fast setup, consistent for face-heavy content and makeup. | Can look “flat,” circular catchlights are noticeable, less control for shaping shadows, some models rely on filters for color change. | Neewer RL-18 (common 18″ creator ring light; widely reviewed). Neewer RP19H (more adjustable, praised for control/features). |
Matching Lighting With Your Camera and Audio Gear
Lighting should complement your camera rather than fight it. Webcams and mirrorless cameras react differently to light.
Exposure settings should be adjusted after lighting placement.
Audio quality improves when lighting avoids fan noise.
Webcams and One-Light Compatibility
Webcams benefit greatly from controlled lighting. A single soft light improves clarity and color accuracy.
This makes budget webcams look more professional.
Camera Settings That Work With One Light
Lower ISO settings reduce digital noise. Manual exposure keeps brightness consistent. White balance should match your light source.
Avoiding Shadows on Microphones
Light placement should not cast shadows on microphones. Boom arms help keep mics out of the light path.
Clean visuals support a polished final result.
Background Control With a Single Light
A one-light setup can still separate you from the background. The distance between the subject and the background is essential.
Wall color and texture influence the final look. Simple adjustments can enhance depth.
Sitting farther from the background adds natural blur. This works well with webcams and wide lenses. It prevents harsh shadows on walls.
Neutral walls reflect light more evenly. Dark walls absorb light and increase contrast.
Both can work depending on your style.
Turning slightly away from the camera adds dimension. Minor head movement prevents a static look. Lighting remains consistent while depth improves.
Common Mistakes in One-Light Home Setups
Many issues come from overthinking simple setups. Adding more gear often creates new problems.
Understanding common mistakes saves time and money. Simplicity leads to better consistency.
Placing the Light Directly Above the Camera
This position flattens facial features. It removes natural shadows completely. The result often looks artificial.
Using Maximum Brightness at All Times
Overpowering the scene causes harsh highlights. It can strain the eyes during long sessions. Moderate brightness looks more natural.
Ignoring Ambient Light Sources
Mixed lighting creates color inconsistencies. Windows and lamps can disrupt exposure.
Control or eliminate competing light sources.
Building a Repeatable One-Light Setup Studio
Consistency matters for creators publishing regularly. A repeatable setup saves time before each recording.
Marking positions improves efficiency. This approach scales well over time.
Marking Light and Camera Positions
Tape or small markers help maintain alignment. This prevents guesswork between sessions. Setup time drops significantly.
Creating a Simple Pre-Recording Checklist
Check the light angle before recording. Confirm camera exposure and white balance. Test audio briefly to avoid issues.
Adapting the Setup for Different Content Types
Talking head videos need softer light. Product shots may require slight repositioning.
The same light can handle both with adjustments.
Final Thoughts on One-Light Setups
A one-light setup video approach proves that simplicity can deliver professional results.
A well-placed light enhances webcams, microphones, and cameras equally.
This method works for beginners and experienced creators alike. With practice, one light setups become fast, reliable, and visually effective.


