Visual clutter is anything on screen that pulls attention away from you or your subject.
In home video, clutter often happens because the room is doing double duty as a bedroom, office, or living space.
The goal is not a perfect studio, but a clean frame reducing visual clutter on camera that looks intentional and keeps viewers focused.
Use Framing to Hide Mess Before You Clean Anything
You can eliminate visual clutter quickly by adjusting the camera position and crop. Even a tidy room can look busy if the camera sees too much.
Tightening the frame reduces distractions and makes your image look more intentional.
Choose a Simple Background Angle
Pointing a webcam straight into a room often reveals doors, hallways, and random furniture lines.
Turning your setup 20–40 degrees can reduce the number of visible objects. A blank wall, a curtain, or a clean corner usually looks better.
If you cannot change the room layout, move the camera so the background is closer and simpler.
Control the Field of View
Many webcams use a wide-angle lens by default, which captures extra clutter at the edges.
If your webcam software allows it, reduce the field of view or zoom slightly.
If you are using a mirrorless camera, pick a focal length that avoids distortion and keeps the background tighter.
Raise the Camera and Level the Lines
A camera that is too low shows more of the desk, cables, and floor clutter.
Placing the camera at eye level reduces that problem and looks more natural for viewers, allowing visual clutter reduction.
A tripod or a simple desk stand can also help you keep the horizon level. Crooked lines in the background make a scene feel messy even when it is not.

Reduce Background Noise with a “One-Surface Rule”
One practical approach is to keep one surface behind you visually clean. That might be a wall, a curtain, or a bookshelf with only a few items.
If the background has multiple competing areas, the shot can feel crowded. A single clean surface creates visual rest and makes your subject stand out.
If you want a bookshelf look, remove small, high-contrast items first. Many tiny objects create visual noise faster than a few larger ones.
Aim for a small number of items with consistent colors and spacing. This is often easier than trying to “organize” everything.
Use Lighting to Simplify What the Camera Sees
Lighting does more than make your face brighter. It controls contrast, shadows, and the visibility of background detail.
Poor lighting can make clutter look worse by adding harsh shadows and uneven color.
Separate the Subject from the Background
If you can, place yourself a bit farther from the background. Even 50–80 cm of distance helps.
With more separation, your light can focus on you while the background stays darker and less detailed.
This also improves depth if you use a camera that can blur the background slightly.
Pick One Main Light and Keep It Consistent
A single key light is easier to control than several mixed lights.
A softbox, LED panel with diffusion, or a ring light can work, as long as it is not too harsh. Place it slightly above eye level and off to one side for a natural look.
When the lighting is even, the camera will not “hunt” exposure and reveal random background details.
Avoid Mixed Color Temperatures
Mixing daylight from a window with warm indoor bulbs can create odd colors and make the scene feel chaotic.
If you use LED lights, set them to match your room lighting or close the curtains and rely on your key light.
Consistent color makes the image look cleaner and more professional, reducing visual clutter on camera.
Clean Up Cables and Gear Without Hiding the Setup
Home recording setups often look cluttered because of visible cables, mic arms, chargers, and accessories.
You do not need to hide everything, but you should control what is in frame for removing visual clutter
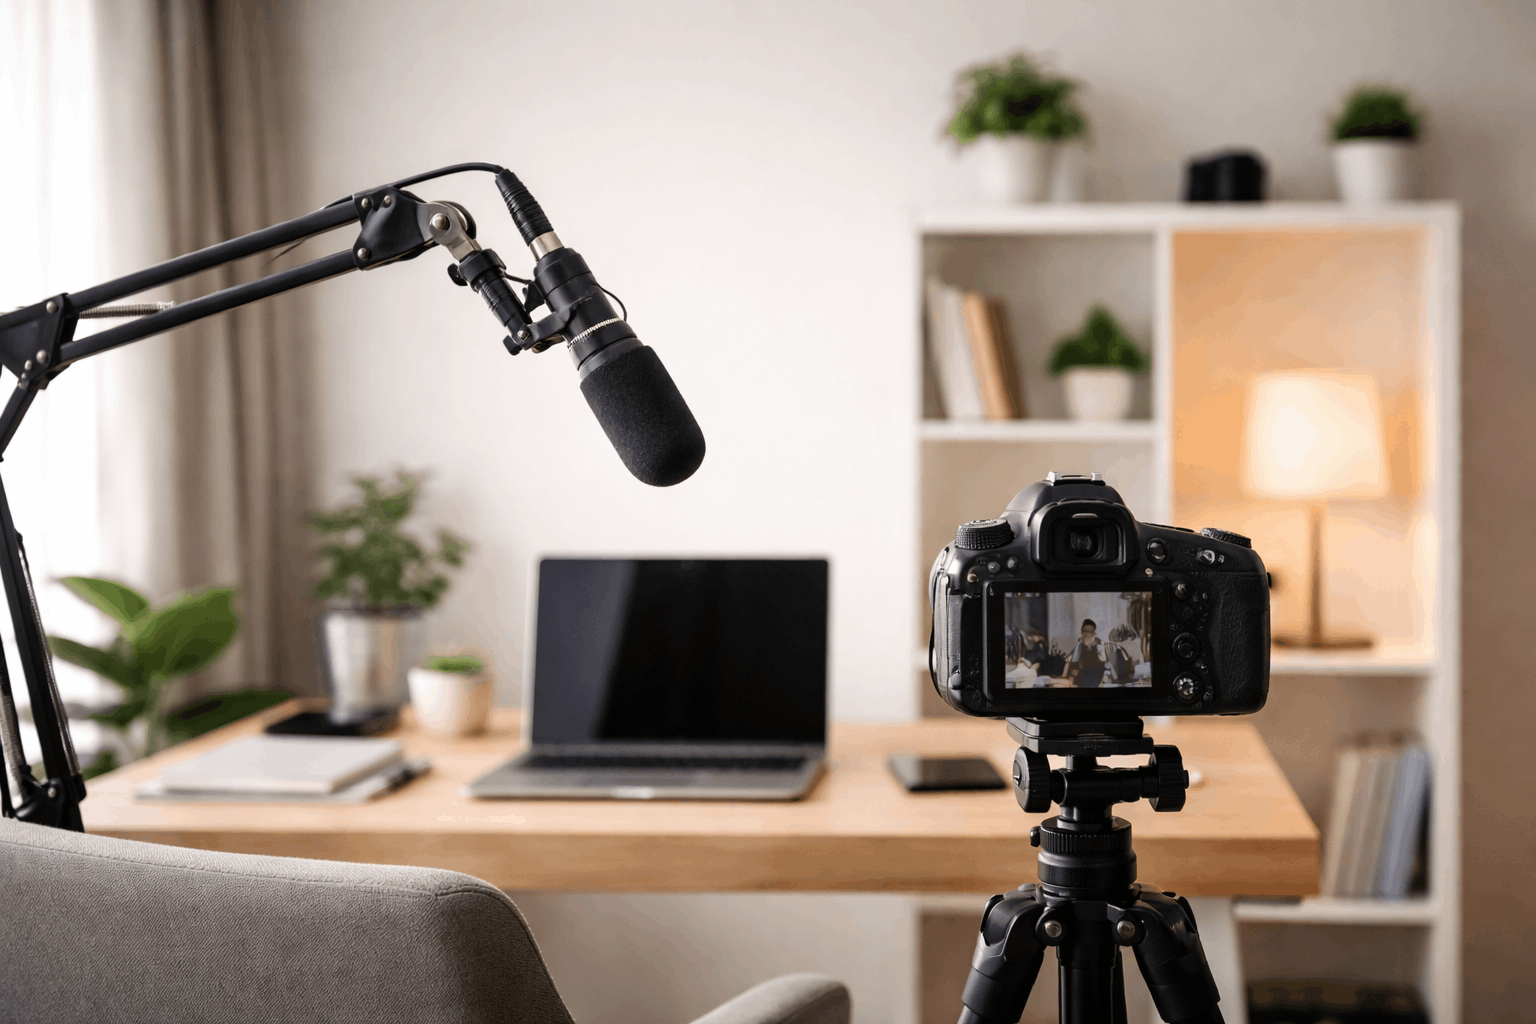
Keep Microphones Present but Not Dominant
A microphone can look professional, but it can also become visual clutter if it blocks your face or takes over the frame.
If you use a dynamic mic on a boom arm, position it so it appears at the edge of the frame and points toward your mouth.
If you use a small USB mic, keep it low enough that it does not become the main subject unless you are reviewing audio gear.
Use a Tripod or Stand That Reduces Desk Mess
A tripod is not only for stability. It can also clear desk space and reduce the number of items the camera sees.
A compact tripod behind the desk can hold a webcam, phone, or small camera without extra mounts scattered around.
If you record at a desk, a clamp arm can also work, but it can add visible metal lines and joints. The best choice is the one that keeps the frame clean.
Bundle and Route Cables
Loose cables look messy on camera even when the room is clean. Route cables behind furniture when possible.
Use simple cable ties or Velcro straps and keep a single “path” down a table leg or behind a monitor.
If you often change gear, use a small cable organizer so the setup stays tidy without extra work.
Use Depth, Blur, and Background Tools Carefully
Some creators use software blur or virtual backgrounds to hide clutter. These can help, but they can also look artificial if the edges are unstable or the lighting is poor.
Prefer Real-World Solutions First
A curtain, a folding screen, or a clean wall is usually more reliable than heavy software effects.
Real backgrounds do not glitch, and they look consistent across platforms.
If you must use background blur, keep it subtle and make sure your lighting is strong enough to separate you from the background.
Add One Controlled Accent, Not Many
If the background feels too plain, add one accent element, like a small lamp or a single LED accent light aimed at the wall.
The point is controlled interest, not decoration overload.
A soft backlight can also help outline your shoulders and reduce the “flat” look without adding more objects.
A Practical Example for Everyday Creators Reducing Visual Clutter on Camera
A basic “decrease visual clutter” setup can be simple.
- Place your webcam or camera on a tripod or stable stand at eye level.
- Use one soft key light to brighten your face and reduce shadows.
- Put your microphone on a boom arm at the edge of frame, or use a lav mic for a minimal look.
- Set the background to a wall or curtain, and remove small objects that catch light.
This approach works for product reviews, video calls, tutorials, and short-form content. It also scales easily as you add accessories.
The key is keeping each addition intentional and out of the main frame unless it supports the content.
Conclusion
Reducing visual clutter on camera is mostly about control, not expensive upgrades.
Microphones, tripods, and other accessories should support the shot without taking it over.
When your frame is clean and repeatable, your videos look more focused, and viewers spend their attention on what you are showing.


