If you are building a simple home recording setup, you will quickly see the term microphone sensitivity in product specs.
It can look intimidating, but it answers a practical question: How strong is the microphone’s signal when it “hears” a sound?
Understanding this one spec helps you pick the right mic, set your gain correctly, and avoid noisy recordings that sound thin, hissy, or distorted.
What Microphone Sensitivity Actually Means
Sensitivity influences how much amplification (gain) you need and how much background noise can sneak into the recording
A more sensitive microphone produces a stronger signal from the same voice or sound.
A less sensitive microphone produces a weaker signal, so your recorder or interface must add more gain to reach a good level.
Sensitivity is not the same thing as “quality.” It does not automatically mean “better.” It is more like how easily the mic “responds” to sound.
How Sensitivity is Shown in Specs (Microphone Sensitivity Check)
Manufacturers commonly list sensitivity in one of these formats.
mV/Pa (millivolts per Pascal) – dBV/Pa (decibels referenced to 1 volt per Pascal) – dB re 1V/Pa (another way of stating dBV/Pa)
You do not need to memorize the science behind “Pascal’s.”
In mic specs, “1 Pa” is a standard reference sound pressure (roughly 94 dB SPL). What matters is comparison.
A quick way to read the numbers
In mV/Pa, higher numbers generally mean more sensitive. Example: 20 mV/Pa is more sensitive than two mV/Pa.
In dBV/Pa, the closer the number is to zero, the more sensitive the mic. Example: -35 dBV/Pa is more sensitive than -55 dBV/Pa.
If you only remember one thing: More sensitive = stronger output = less gain needed.
Sensitivity vs. “Picking Up Background Noise”
A common beginner belief is that “high-sensitivity mics pick up everything.” There is some truth, but the full story is more useful.
A more sensitive mic can make room noise and computer fan noise more noticeable because it produces a stronger signal for whatever it hears.
But what the microphone hears is also affected by distance, directional pattern, and room acoustics.
So sensitivity alone does not decide whether your mic “picks up everything.” In a typical home office or bedroom, these factors often matter more:
- Mic placement (distance to mouth)
- Polar pattern (cardioid, supercardioid, omnidirectional)
- Room treatment (soft furnishings, rugs, curtains, acoustic panels)
- Noise sources (PC fans, air conditioning, street noise)
A sensitive mic used close to your mouth can sound clean and full. A sensitive mic used far away often sounds roomy and noisy.
How Sensitivity Affects Gain, Noise, and Sound Quality at Home
Adjusting microphone sensitivity affects the rest of your audio chain.
Gain staging: the practical impact
If your mic has lower sensitivity, you will turn up the gain more. When you crank gain on a weak preamp, you can raise the audible hiss.
That is why a low-output mic plugged into a noisy input can sound worse than expected.
In home video, a common problem is plugging an external mic into a camera’s 3.5mm input and boosting the camera’s gain too high.
Quiet voices and distant miking
If you speak softly, record whispery narration, or must place the mic farther away, sensitivity becomes more important.
A more sensitive mic can provide a healthier signal without forcing extreme gain.
Loud sources and distortion
Sensitivity is not the same as “handles loud sounds.”
That is usually controlled by max SPL (maximum sound pressure level) and the mic’s internal electronics.
A very sensitive mic can overload inputs if gain is not managed, but a mic’s max SPL is the spec that tells you whether it can handle loud.
Microphone Sensitivity Compared Across Common Types
Here is how sensitivity usually behaves in each category, and what that means for your setup.
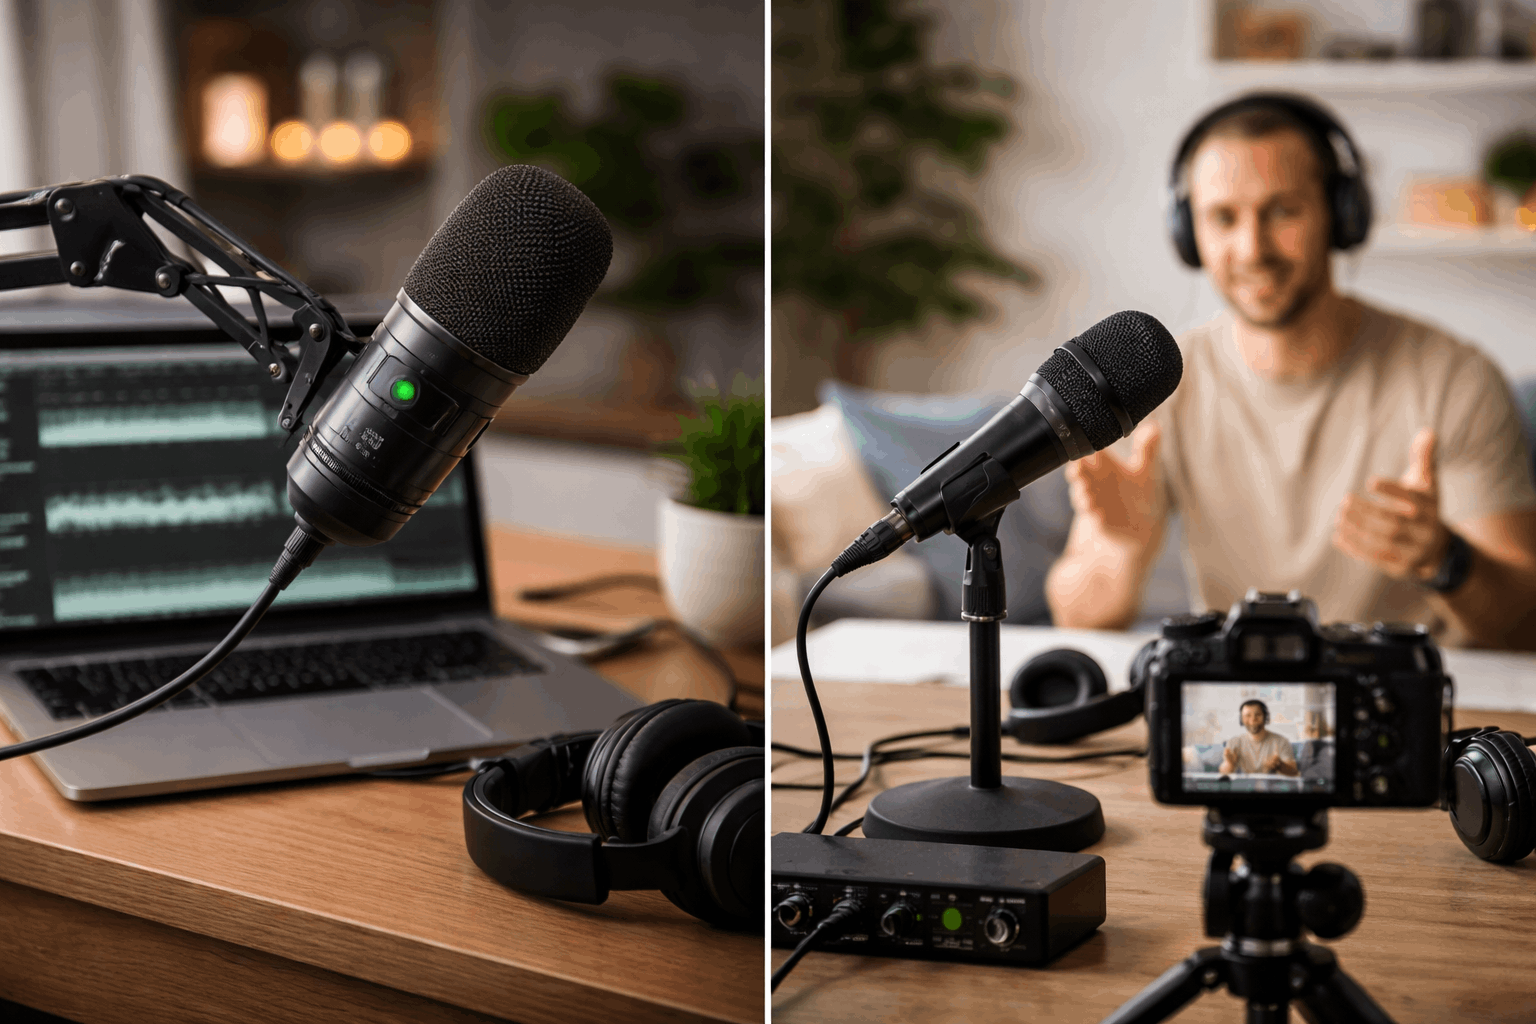
USB condenser microphones
- Often fairly sensitive, designed to give a strong signal straight into a computer
- Can capture detail, but may also capture more room sound if you sit far back
- Best for: desk setups, voiceovers, streaming, Zoom/webcam content—especially if you can keep the mic 6–10 inches from your mouth with a boom arm.
XLR condenser microphones (with an audio interface)
- Frequently sensitive and detailed
- Depend heavily on the quality of your audio interface preamp
- Usually require phantom power (48V)
- Best for: creators who want flexibility, upgrades, and better control over audio—podcasts, narration, multi-person recording.
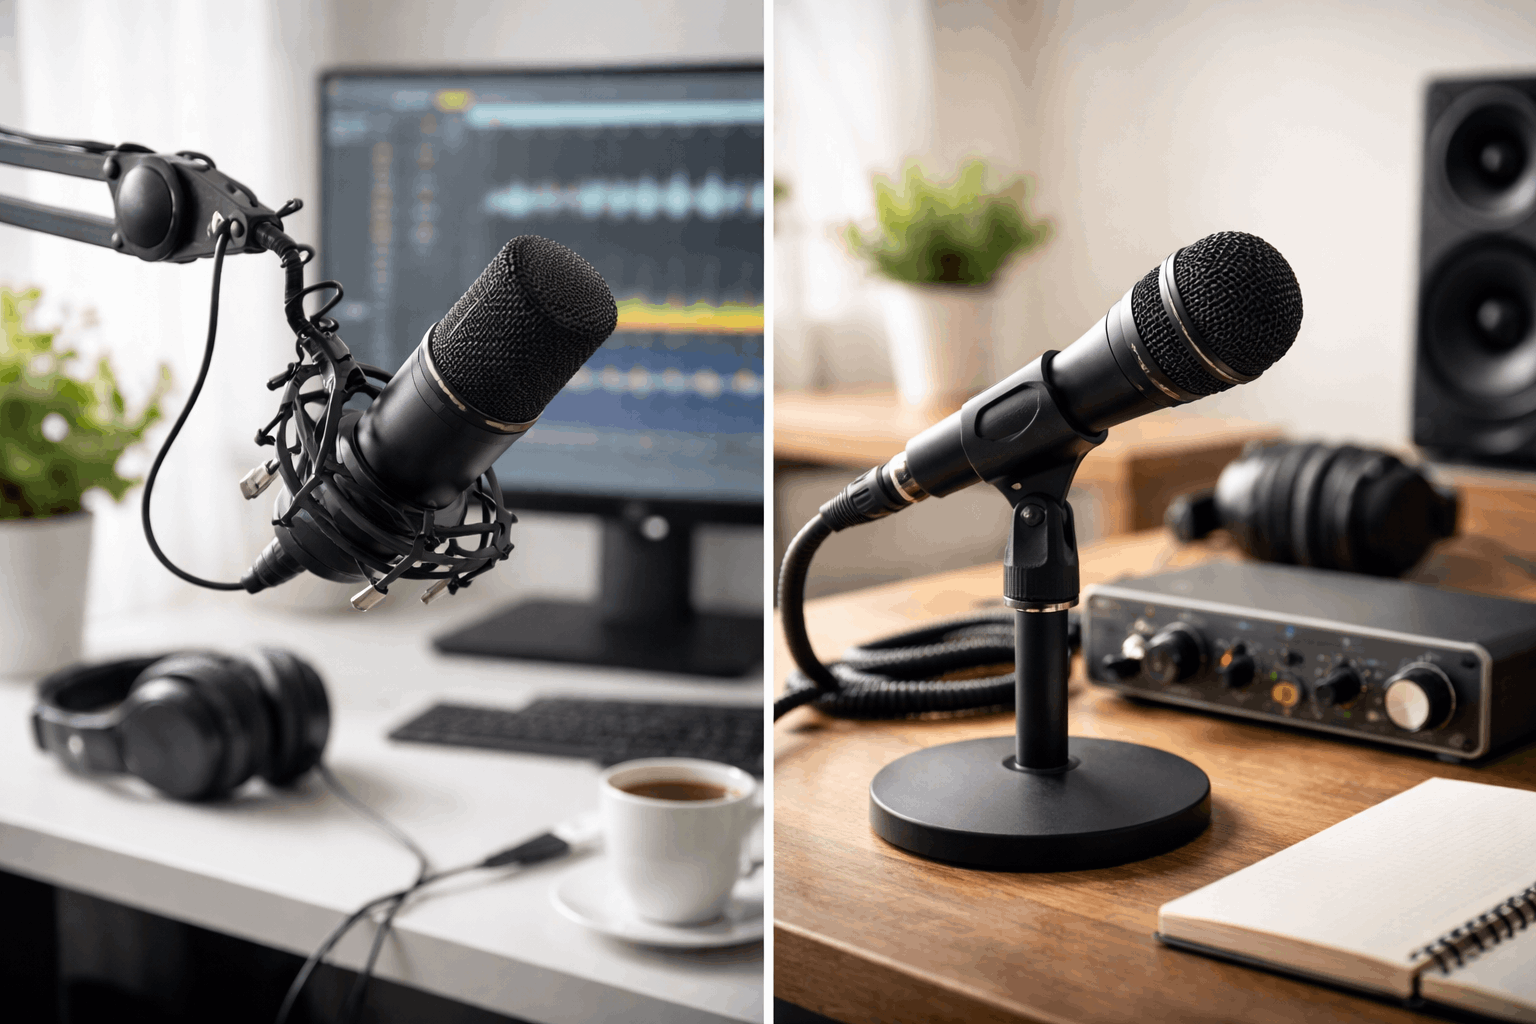
Dynamic broadcast-style microphones (XLR)
- Usually less sensitive than condensers
- Often need more gain, which can stress cheaper interfaces
- Great at focusing on close voice and reducing room sound when used properly
- Best for: untreated rooms, noisy PCs, creators who can speak close to the mic (typically 2–6 inches). If the interface is weak, a clean gain booster can help, but good technique matters first.
Lavalier microphones (clip-on)
- Sensitivity varies widely
- Placement is close to the mouth, so they can work well even when not “high output.”
- Clothing, noise, and placement become the bigger challenge
- Best for: talking head videos, tutorials, cooking videos, standing shots—when you want a clean look and consistent distance.
Shotgun microphones (camera-top or boom)
- Often designed to work at a distance, but not magic
- Sensitivity varies; directionality matters a lot
- Indoors, reflections can reduce the “isolated” sound you expect
- Best for: simple video rigs, run-and-gun recording, and controlled indoor setups when you can place it as close as possible (just out of frame).
Two Specs That Beginners Should Check Alongside Sensitivity
Sensitivity helps, but it is not enough by itself. Two additional specs can prevent surprises.
Self-noise (especially for condensers)
Self-noise is the microphone’s own internal noise, usually measured in dBA. Lower is better for quiet voice-overs and soft speech.
If you record at night or do whispery narration, self-noise matters.
Max SPL (for loud voices, singing, instruments)
If you plan to sing loudly, shout, or record close instruments, check the max SPL.
This spec tells you whether the mic can handle loud sounds without distorting.
Beginner-Friendly Ways to Use Sensitivity in Real Aetup Decisions
Here are practical scenarios that align with common home-creation setups.
Scenario A: Webcam + desk recording for YouTube or streaming
You want a mic that sounds full at close range and does not demand extreme gain.
If your room is echoey, a mic type that tolerates close speaking (often dynamic) can be easier.
Keep the mic close, use a boom arm, add a pop filter, and lower your input gain.
Scenario B: Talking head videos with simple lighting and a tripod
A lavalier mic keeps distance consistent while you move naturally.
Sensitivity matters less than placement and avoiding clothing rub.
Pair it with good levels and basic noise control (turn off loud fans, close windows).
Scenario C: Camera recording (no computer) for tutorials
Camera preamps can be the weak link.
A mic with adequate output can help, but the bigger improvement often comes from using an external recorder or an adapter/interface designed for clean gain.
Set levels so your loudest speech peaks safely without clipping.
Conclusion
Microphone sensitivity is a simple concept with big impact. It tells you how strong your mic’s signal will be and how hard your setup must work.
For home creators, the best results usually come from pairing the right mic type with good placement, clean gain, and a quiet room.


