Bedroom studios are common because they are private, quiet, and already set up for daily life.
The hard part is making light look clean without buying pro gear or rebuilding your room.
A good bedroom setup is about placement, softness, and control, not raw brightness.
Why Bedrooms Are Tricky to Light
Bedrooms are usually small, so lights bounce off walls and create uneven hotspots fast.
Most bedrooms have mixed light sources, so your camera can shift colors from shot to shot.
You often face a wall or a corner, which makes shadows stronger and backgrounds flatter.
You also need lighting that is quiet, cool, and easy to pack away when you are done.
Common Problems You Will See on Camera
Overhead ceiling lights make eye sockets dark and create sharp nose shadows.
A window behind you can turn you into a silhouette even when the room feels bright.
A single desk lamp can cause orange skin tones and harsh shine on your forehead.
What Good Bedroom Lighting Should Do
It should make your face bright and soft while keeping the room behind you slightly darker.
It should stay consistent so your exposure and color do not jump between takes.
It should be simple to repeat, so every recording day starts with the same look.
Pick a Key Light That Flatters Your Face
Your key light is the main light, and it does most of the work in any bedroom setup.
A soft key light reduces texture and makes skin look smoother at normal webcam distances.
A controllable key light helps when your room color, wall distance, and desk size change.
For most bedrooms, one solid key light beats three weak lights aimed the wrong way.
Softbox LED vs Ring Light vs Panel Light
A small LED softbox is usually the most natural for talking head videos at a desk.
A ring light is fast and compact, but it can make a flat look and round catchlights.
A bi-color LED panel is flexible, but it needs diffusion to avoid harsh shadows.
Key Light Placement That Works in Tight Spaces
Place the key light about 30 to 45 degrees to one side of your camera for a natural shape.
Raise it slightly above eye level and angle it down to reduce under-chin shadows.
Keep it as close as you can without entering the frame, because closer light looks softer.
Add Fill Light Without Making It Look Flat
Fill light is not there to brighten everything, because it is there to control contrast.
Good fill keeps one side of your face from going too dark while still leaving some shape.
In a bedroom, fill is often easier with reflection than with a second powered light.
If your fill is too strong, your face looks pasted onto the background and your video loses depth.
Easy Fill Options That Cost Less
A white foam board or reflector panel can bounce key light and soften shadows gently.
A dimmable desk lamp with a daylight bulb can work as fill if it is diffused and placed carefully.
A second small LED panel can work as fill when kept low power and aimed wide.
Control Color Temperature and Flicker
Color consistency is the difference between “home video” and “clean creator setup” in a bedroom.
Mixing daylight from a window with warm bulbs makes your camera struggle and your skin can look gray.
Flicker can appear even when your eyes do not see it, especially on cheaper LEDs and at high shutter speeds.
A stable setup means choosing one “light world” and sticking to it for the whole recording.
Daylight vs Warm Light in Bedrooms
If you record in daytime, commit to daylight and block warm room lamps that contaminate the scene.
If you record at night, commit to your LEDs and close curtains to stop streetlight color shifts.
Match bulbs and LEDs to the same Kelvin range so your camera does not chase color.
Camera Settings That Help Your Lights Look Better
Lock your white balance instead of leaving it on auto when your light color is stable.
Use a shutter speed that matches your power frequency when possible to reduce flicker risk.
Set your exposure using your face, then adjust light brightness instead of pushing ISO too high.
Two Bedroom Lighting Setups You Can Copy
You do not need a complex grid, because you need a repeatable layout that fits your desk.
These setups assume you also run a microphone, a webcam, and a simple tripod or monitor mount.
Pick one layout, mark your light positions with tape, and you will save time every recording day.
Once your lighting is steady, your audio gear and camera settings become easier to dial in.
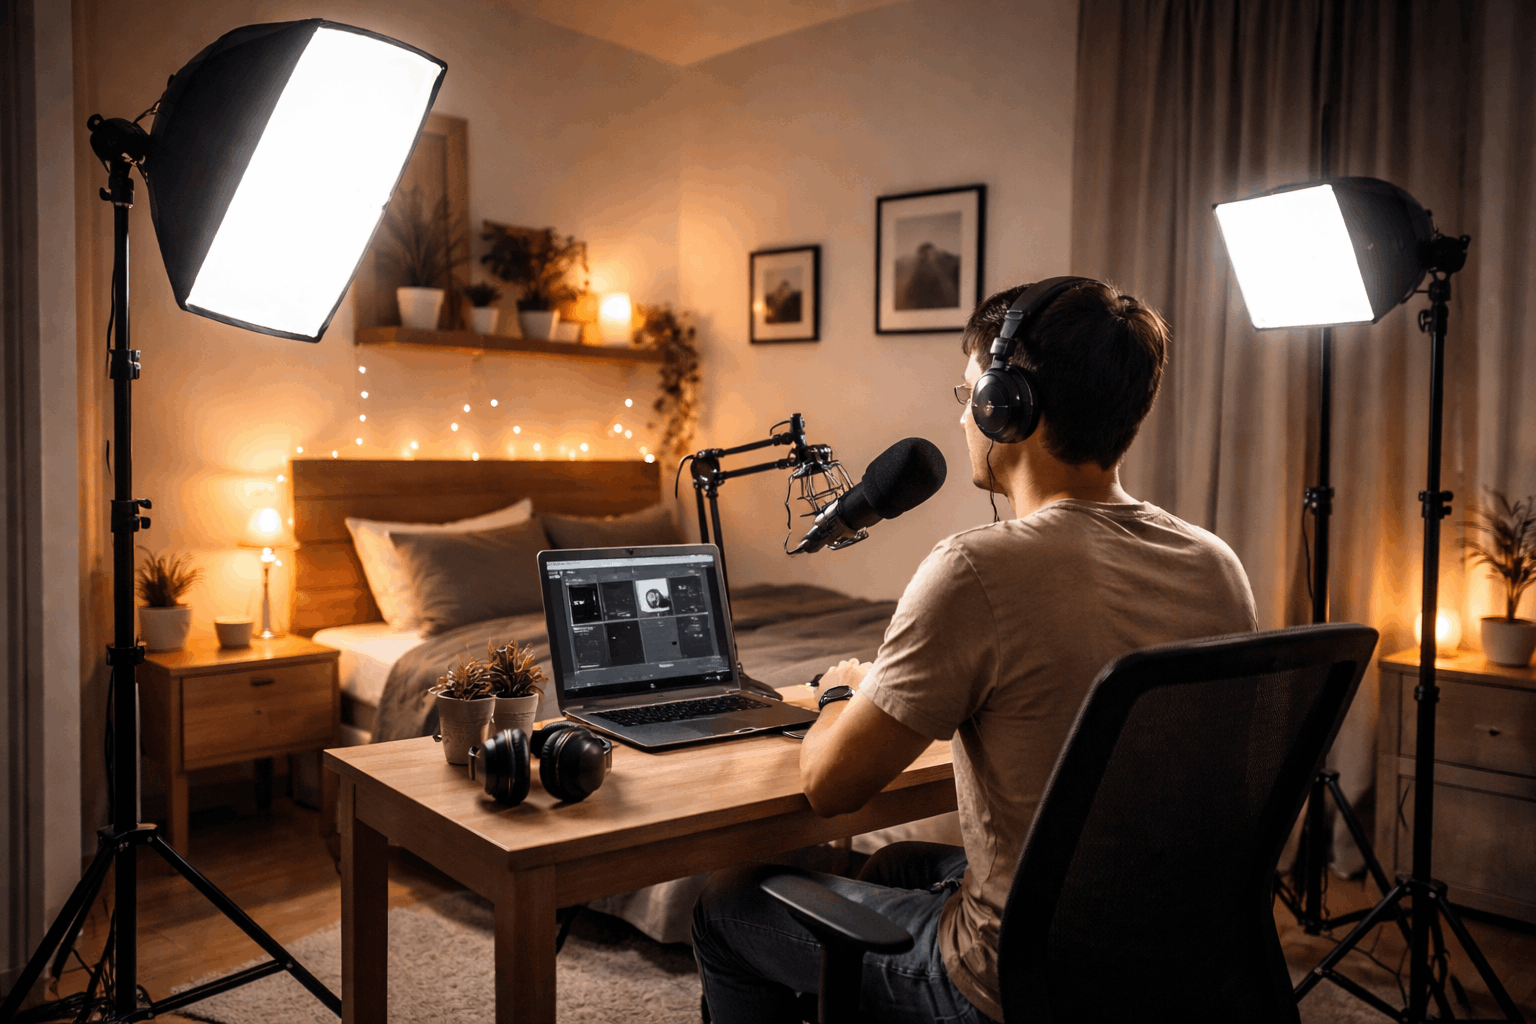
Setup 1: Desk Creator With One Key and Reflector
Put a small softbox key light to the left or right of your webcam and slightly above your eye line.
Place a white board on the opposite side to bounce light back as gentle fill.
Add a tiny background light on a shelf or aimed at the wall, keeping it low brightness.
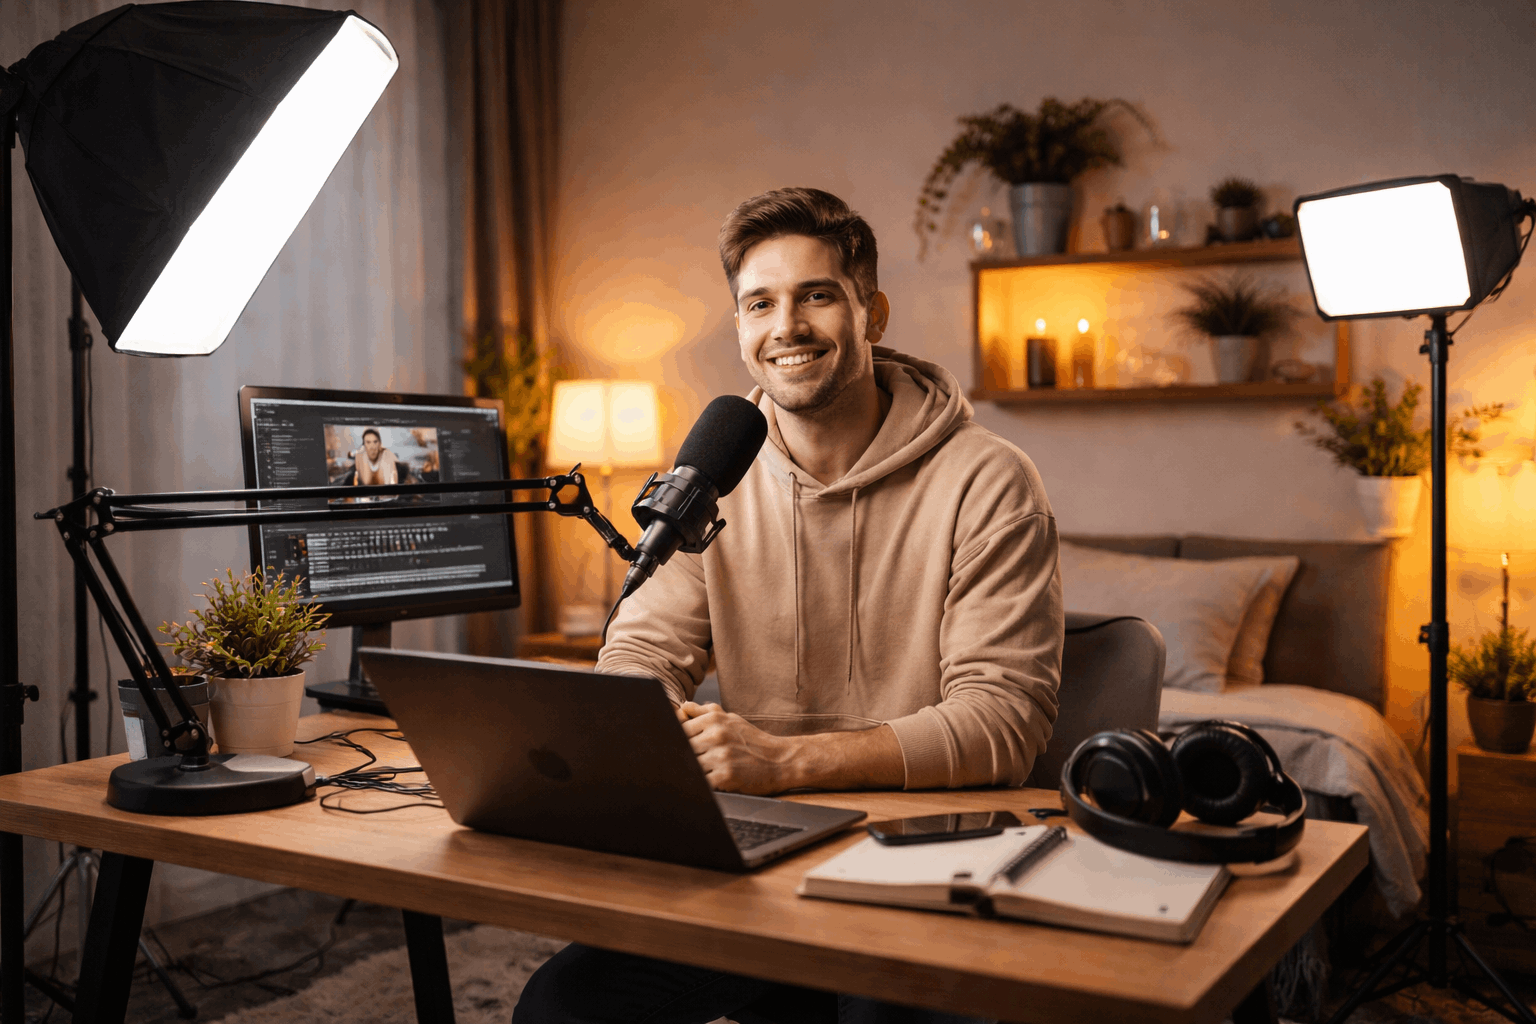
Setup 2: Bedside or Standing Shot With Two Small LEDs
Place one diffused LED panel as your key light at a 45 degree angle and close to your face.
Place a second dim LED panel as fill on the opposite side, kept lower and aimed wide.
Use a rim light only if you have space behind you, and keep it subtle to avoid lens flare.
What to Buy First and What to Skip
Start with one reliable light, because a strong key light improves video more than any extra accessory.
Look for dimming, diffusion, and bi-color control, because bedrooms need flexibility.
Skip huge lights if you cannot place them close, because distance makes light hard and inefficient.
Buy for your routine, because the best setup is the one you will actually use every day.
A Simple Bedroom Lighting Checklist
A dimmable key light with diffusion is your first purchase if you record talking head content.
A reflector or foam board is the cheapest upgrade for shadow control and comfort.
A small background light is optional, but it helps your scene feel clean and separated.
Conclusion
Bedroom lighting works best when you focus on softness, placement, and consistency instead of power.
A single well-placed key light and simple fill can outperform complex setups in small rooms.
Once lighting is steady, your webcam, microphone, and overall setup become easier to manage every time you record.


