Creating videos at home requires consistent and balanced lighting to ensure your face appears clear, natural, and professional on camera.
Even lighting reduces harsh shadows, minimizes distractions, and helps viewers focus on what you are saying rather than visual imperfections.
For home creators, understanding basic lighting equipment and placement is more important than buying expensive gear.
Why Even Face Lighting Matters on Camera
Even lighting improves how facial features appear on video.
- It reduces deep shadows that can make expressions harder to read.
- It creates a more natural skin tone across different camera angles.
- It helps maintain visual consistency across multiple recordings.
Uneven lighting often exaggerates blemishes or texture. Strong shadows can make videos look unpolished or distracting.
Poor lighting can reduce perceived video quality regardless of camera resolution. Balanced light supports clearer communication and viewer trust.

Main Causes of Uneven Face Lighting
Light coming from only one side, which creates shadows on the opposite side of the face.
Lighting positioned too low or too high, causing shadows under the eyes, nose, or chin.
A single small light source, which produces hard shadows instead of soft, even illumination.
Lack of light diffusion, making highlights too strong and shadows too sharp.
Understanding the Basics of Light Direction
Light direction determines where shadows fall on your face.
- Front-facing light produces the most even and neutral look.
- Side lighting adds depth but can create uneven contrast.
- Top-down lighting often causes eye and nose shadows.
Light placed too low creates unnatural upward shadows. Light placed too far to one side emphasizes facial asymmetry.
A controlled angle allows you to soften features without flattening them. Consistent direction is key for repeatable results.
Types of Video Lighting Equipment for Home Creators
Different lighting tools produce different results. Choosing the right type depends on space, budget, and content style.
Most home creators rely on continuous lighting rather than flash. Consistency matters more than power.
Ring Lights for Face-Centered Videos
Ring lights provide direct and symmetrical illumination.
They reduce shadows by surrounding the lens with light and are popular for talking-head and beauty content.
Ring lights create even light but limited depth. They work best when positioned at eye level and can produce reflections in glasses or eyes.
Softbox Lights for Natural-Looking Illumination
Softboxes diffuse light across a larger surface area. They create softer shadows and smoother skin tones.
They are common in interviews and educational videos.
Softboxes require more space than ring lights. They allow flexible positioning around the subject and produce a more cinematic and natural appearance.
LED Panel Lights for Flexible Control
LED panels offer adjustable brightness and color temperature. They can be mounted on stands or desks and work well in small or shared spaces.
Panels allow precise control over light direction. They can be used singly or in pairs. They adapt easily to different recording setups.
Choosing the Right Color Temperature
Color temperature affects how natural your skin looks. Balanced temperature prevents your face from looking too blue or orange.
Most video lighting supports adjustable white balance. Consistency matters more than the exact number.
Warm light creates a softer and more relaxed look. Cool light appears sharper and more clinical. Mixed color temperatures cause uneven skin tones.
Matching lights avoids color correction issues in editing.
The Importance of Light Diffusion
Diffusion softens harsh light sources. It spreads light evenly across the face and reduces strong highlights and deep shadows.
Most professional-looking videos use diffused light. Undiffused light emphasizes texture and imperfections.
Diffusers can be built into lights or added separately. Soft materials scatter light more evenly.
Diffusion improves comfort during long recordings.
Proper Light Placement for Even Face Lighting
Placement determines how light interacts with facial features. Correct positioning reduces shadows under the eyes and chin.
Small adjustments can significantly improve results. Symmetry helps maintain balance.
Front and Slightly Above Eye Level
This position reduces under-eye shadows. It avoids dramatic contrast across the face.
It works well for most face shapes.
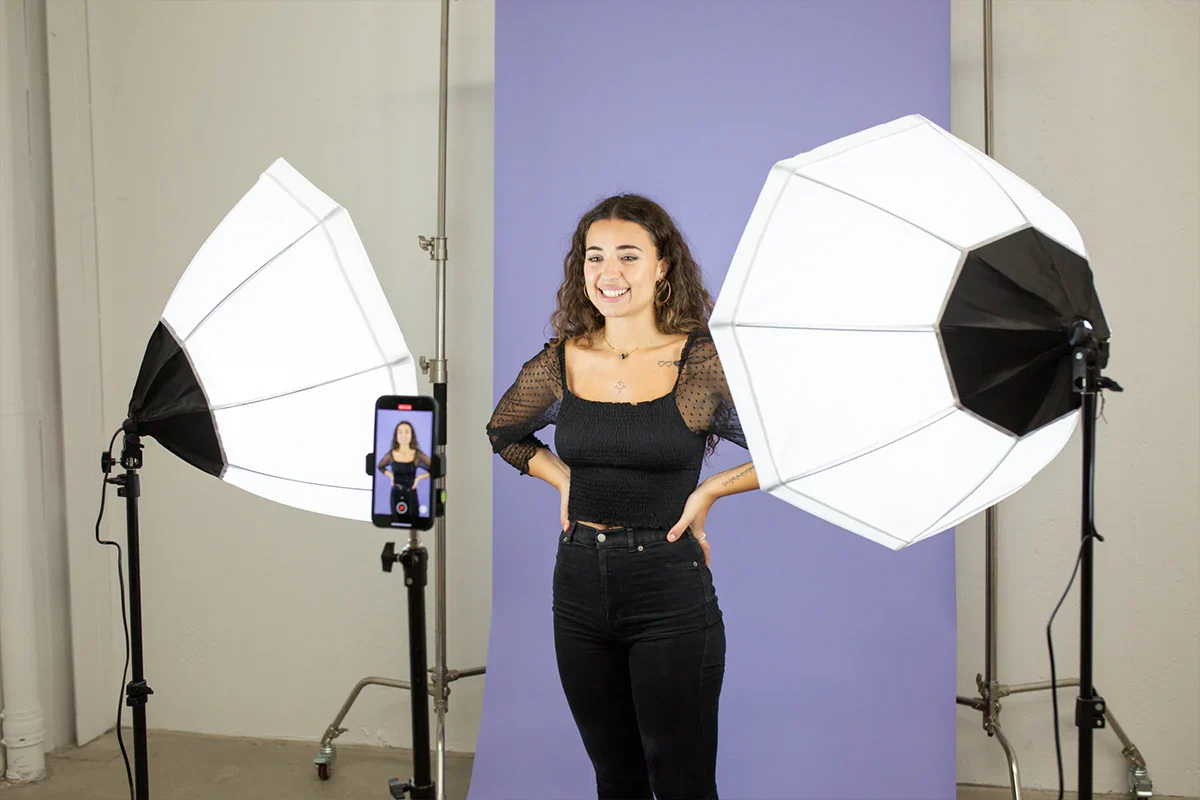
Using Two Lights for Better Balance
Two lights create more even coverage. They reduce shadows caused by a single source. They improve consistency when you move slightly.
Lights should be placed at equal angles. Brightness should be balanced on both sides.
This setup works well for longer recordings.
Managing Shadows and Contrast
Shadows add depth but must be controlled. Too much contrast distracts from your message.
Balanced lighting keeps focus on expression. Subtle shadows create dimension without distraction.
Harsh shadows often come from small light sources. Moving lights farther away softens contrast.
Diffusion reduces sharp edges. Testing helps find the right balance.
Using Natural Light Alongside Equipment
Natural light can complement artificial lighting. Windows provide broad and soft illumination.
Consistency depends on time of day and weather. Control is more limited than with equipment. Positioning yourself facing a window helps.
Combining natural and artificial light requires matching color temperature. Inconsistent daylight can cause exposure changes.
Artificial light ensures stability.
Avoiding Common Home Lighting Mistakes
Many issues come from incorrect setup. Simple mistakes can undermine good equipment. Awareness helps prevent uneven results.
Testing before recording is essential. Lights placed behind the subject cause silhouettes. Overhead room lights create unflattering shadows.
Mixing bulb types causes color imbalance. Ignoring background lighting reduces depth.
Adapting Lighting for Small Spaces
Small rooms require careful planning. Large lights may overwhelm the space. Compact equipment works better in tight areas.
Flexibility is key. Wall reflections can affect exposure. Close light placement increases intensity quickly.
Lower brightness with diffusion helps. Minimal setups can still be effective.
Maintaining Consistency Across Videos
Consistency improves channel appearance. Viewers recognize stable visual quality. Lighting should remain similar between sessions.
Repeatable setups save time. Marking light positions helps. Using fixed brightness settings improves continuity.
Recording at the same time of day reduces variation. Documentation supports consistency.
Final Thoughts on Lighting Your Face Evenly
Even face lighting depends more on understanding than on expensive equipment.
Proper light type, placement, and diffusion work together to create balanced results.
Home creators can achieve professional visuals with simple and consistent setups. Testing and adjustment remain the most important steps before recording.


