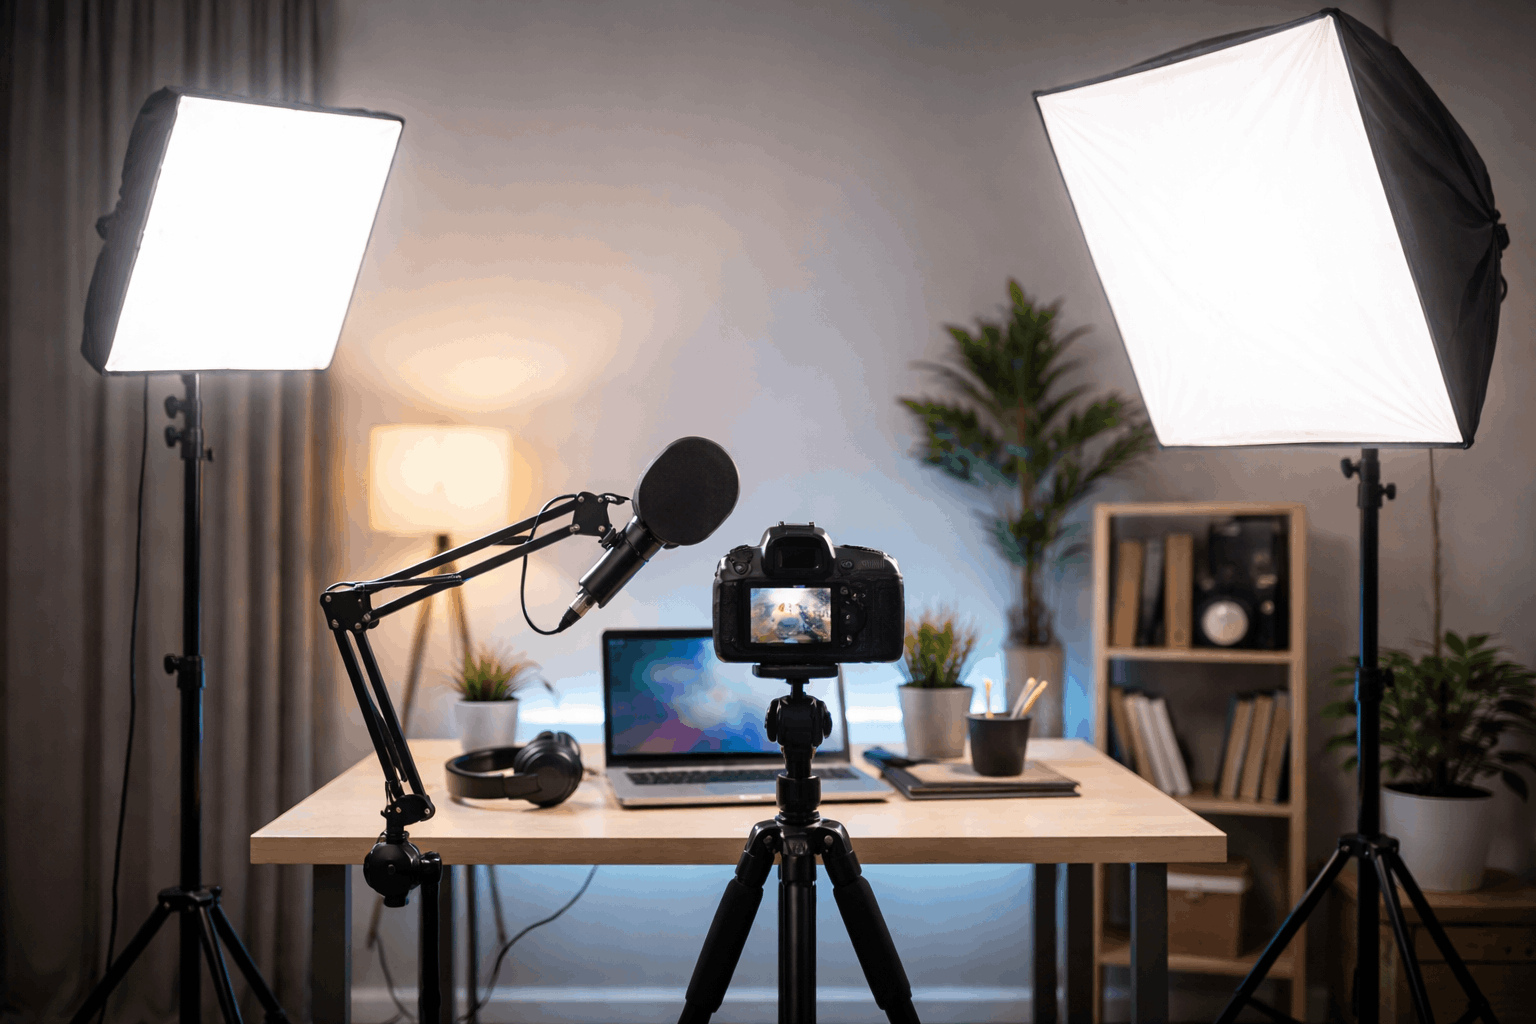
Good lighting is one of the fastest ways to make a home video look more professional, even if you’re using a basic webcam and a simple microphone.
The camera can only capture what it can see, and most indoor rooms are darker and more unevenly lit than they feel to your eyes.
Two common options for home recording are LED lights and fluorescent lights. Both can work, but they behave differently.
What “good light” means for recording
Enough light so your camera can use a lower ISO (less grain) and a faster shutter (less blur).
Light that renders skin tones and clothes naturally, without strange green or magenta shifts.
Ilumination that doesn’t pulse in a way the camera can “see,” causing bands or exposure pulsing.
Light that looks the same every time you record, so your videos match across sessions.
LEDs for home recording
LED lights are now the most popular choice for creators because they’re compact, efficient, and available in many form factors.
Most modern creator lights also include useful controls like dimming, adjustable color temperature, and mounting options.
Strengths of LED lighting
- High efficiency and low heat: LEDs usually run cooler than fluorescents, which makes long recording sessions more comfortable.
- Easy brightness control: Many LED panels dim smoothly, helping you match different camera settings and room conditions.
- Flexible color options: Bi-color LEDs can switch between warm and cool tones, and RGB models can create colored accents.
- Small, clean setups: LED panels and ring lights can sit on a desk stand or mount to a tripod without taking over the room.
- Quick start and stable output: Good LEDs reach full brightness instantly and stay consistent.
Common LED pitfalls
- Flicker from cheap drivers: Budget LEDs can flicker at certain dim levels or camera settings, even if your eyes don’t notice it.
- Harsh light without diffusion: Small LED sources can create sharp shadows and shiny hotspots on skin.
- Color accuracy varies: Not all LEDs render skin tones well. Two “white” LEDs can look very different on camera.
- Possible electrical noise: Some LEDs and power supplies can create a faint whine or interference that sensitive microphones may pick up.
In practice, LEDs work best when you choose a light made for video (or at least a higher-quality LED bulb) and soften it with diffusion.
Fluorescent lights for home recording
Fluorescent lighting includes tube fixtures (like ceiling lights), compact fluorescent bulbs (CFLs), and some softbox kits that use fluorescent spiral bulbs.
It have been used for years in offices and studios because they can be bright and relatively soft when spread across a large surface.
Strengths of fluorescent lighting
- Broad, softer source in larger fixtures: A fluorescent softbox can be flattering because the light comes from a larger area.
- Even room fill: Ceiling fluorescents can brighten a space evenly, which may help if you’re recording wide shots.
- Affordable used gear: Older kits can be found cheaply, and replacement bulbs are often easy to source.
Common fluorescent pitfalls
- Flicker and banding risk: Fluorescents are more likely to produce visible flicker on camera, depending on the ballast type and your camera settings.
- Color cast issues: Many fluorescents have a greenish tint that can make skin look sickly or dull.
- Warm-up and aging: Some bulbs shift color as they warm up, and older bulbs may change color over time.
- Audible buzz: Ballasts can hum, and that sound can sneak into your recordings, especially with sensitive mics.
- Bulkier setups: Fluorescent softboxes and fixtures can be larger and less convenient for tight home spaces.
Fluorescents can still work, but they often require more effort to keep the image consistent and natural.
The biggest difference on camera: flicker control
For creators, flicker is often the deciding factor. Even if the room looks fine in person, your camera may capture pulsing brightness or rolling dark bands.
LEDs from reputable video-light brands tend to handle flicker better, especially at normal dim levels.
Fluorescents vary widely depending on fixture quality and ballast design, and they can be harder to predict.
If you see a flicker, try matching your camera to your local power frequency. If you can’t fully eliminate flicker through settings, the light itself is the problem.
Color and skin tones: LEDs usually win today
Modern LED video lights often prioritize color rendering because creators care about skin tones.
With fluorescents, color can be inconsistent, and mixed bulbs in the same room can create uneven color patches.
If your background looks one color and your face looks another, it’s harder to fix than people expect.
To keep the color clean
Pick one color temperature as your “base” (warm or cool) and stick to it.
Avoid mixing ceiling fluorescents with a separate lamp unless you deliberately control both.
If you use a webcam, lock white balance if possible, or keep lighting consistent so auto white balance doesn’t drift.
Audio side effects: don’t ignore noise
Some fluorescent fixtures and ballasts emit a hum that microphones can capture.
Low-quality LED power supplies can introduce noise into nearby cables or audio interfaces.
You can reduce risk with simple habits:
- Keep lights and their power bricks away from your microphone and audio interface.
- Avoid running audio cables parallel to power cords when possible.
- Use balanced connections (like XLR) if your setup supports it.
- If you hear a new buzz after adding a light, test by turning the light off to confirm the source.
Cost, heat, and convenience: LEDs are the better long-term fit
For most home creators, LEDs are easier to live with, they draw less power and run cooler.
They’re widely available in creator-focused designs (panels, ring lights, small key lights).
Fluorescents can still be useful if you already have a working kit and your camera settings don’t show flicker.
However, they’re less flexible for modern “turn it on and go” workflows.
Simple recommendations for everyday creator setups
Choose LED if you want the most reliable option for modern cameras/webcams, easy dimming, and compact gear.
Consider fluorescent only if you already own a good-quality kit, your recordings show no flicker, and you can control the room color.
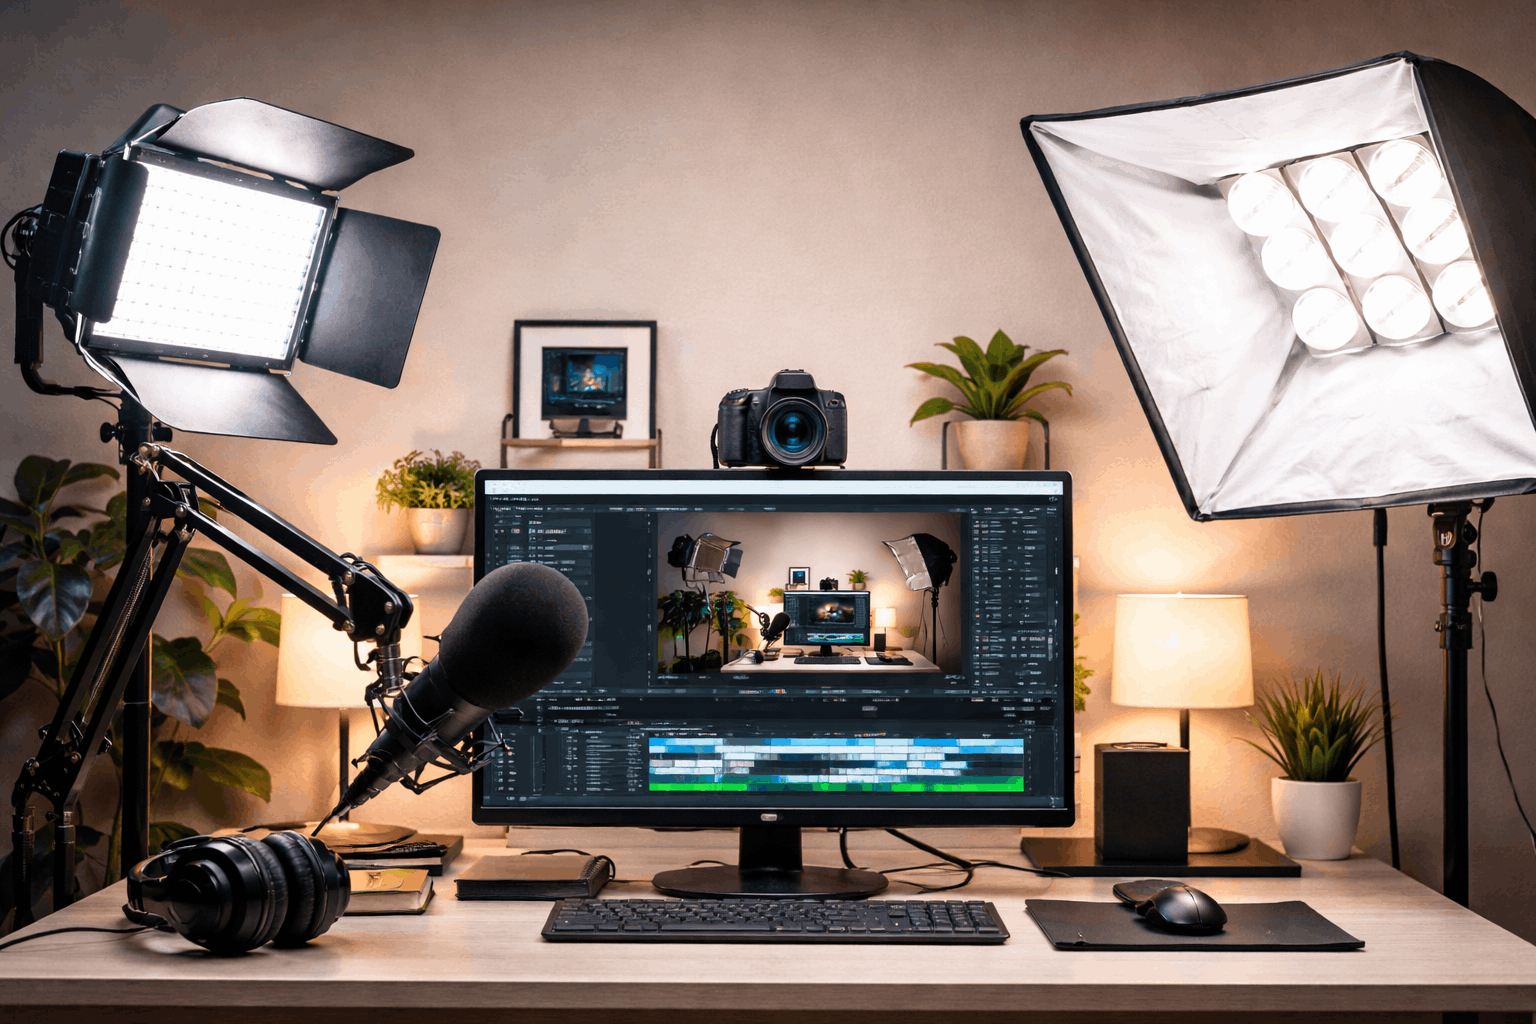
A basic setup that works for most people
One LED panel or ring light slightly above eye level, angled 30–45 degrees from the side.
A reflector (even a whiteboard) on the opposite side, or a second dim LED at lower brightness.
Keep it darker than your face, or add a small LED accent light behind you for separation.
Final takeaway
For home recording focused on simple, repeatable results, LED lighting is usually the best choice
It offers better control, better color options, and fewer flicker headaches.
Fluorescent lighting can still work, but it’s more likely to create issues that show up on camera or get picked up by your microphone.


