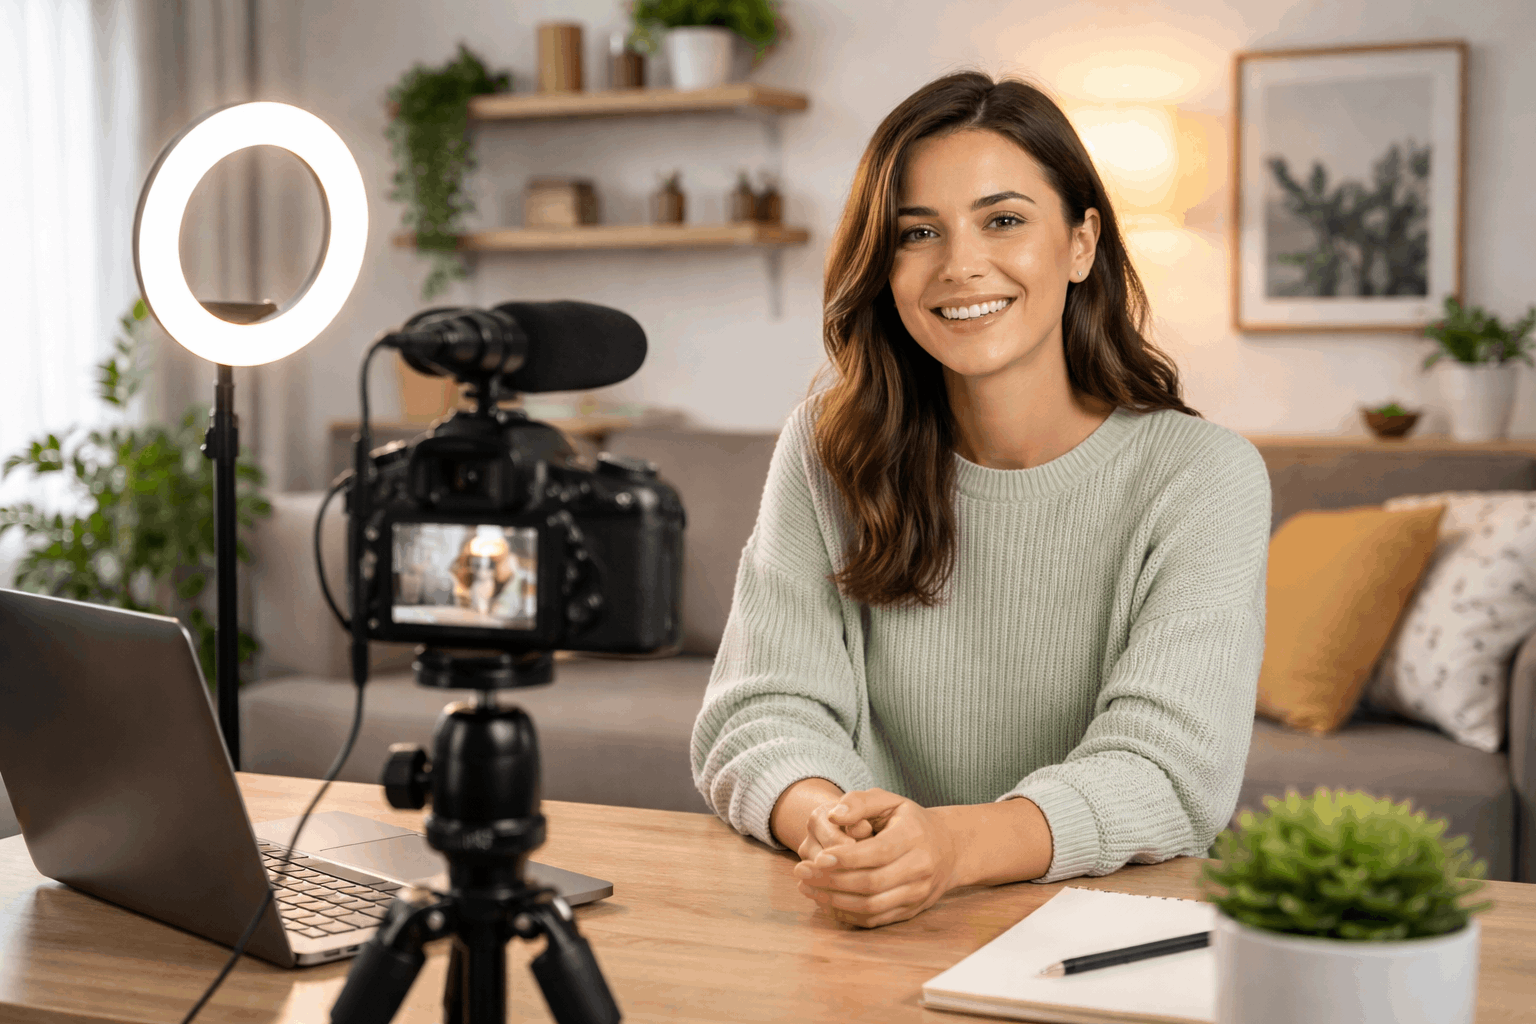
Filming yourself at home is easier than it looks when you set up a simple system you can repeat.
The goal is not to own “pro” gear, but to build a setup that keeps your camera steady, your voice clear, and your lighting consistent.
Once those basics are locked in, you can press record and focus on what you’re saying or doing.
Pick a Dedicated Filming Spot
Choose one place you can reuse every time. A corner of a room is enough if it stays tidy. Keep the background simple and not distracting.
Try to avoid a bright window behind you. A repeatable spot saves time and reduces mistakes.
You stop rearranging furniture for every shoot. Your videos also look more consistent from episode to episode.
That consistency helps viewers trust your content.
Choose Your Camera: Phone, Webcam, or Camera
A smartphone is the easiest starting point for most creators. It can shoot sharp video and is quick to set up.
Use the rear camera if you can, because it often looks better. A solid mount matters more than fancy settings.
A webcam is great for desk setups and everyday recording. It works well for streaming, meetings, and tutorials.
Pair it with good lighting and it can look very clean. The biggest advantage is speed and reliability.
Get a Natural Frame
Place the camera at eye level for a flattering angle. Keep your eyes near the top third of the frame. Leave a little space above your head.
Make sure your face is the brightest thing in the shot. Use a simple background that fits your content style.
Remove clutter that pulls attention away. Avoid bright screens or reflective objects behind you. Small changes can make your shot look more intentional.
Prioritize Audio Before Video
Bad audio ruins a good video fast. Viewers will leave if your voice sounds far away. Clear sound makes your content feel more professional.
This is why a microphone upgrade often beats a camera upgrade. Keep the mic as close as possible without showing it.
Distance increases room echo and background noise. Your goal is a strong voice signal with less room sound.
Easy Microphone Options for Solo Filming
A lavalier mic is simple and stays close as you move. It works well for standing videos and casual speaking.
A small shotgun mic can work on a desk or camera mount. Point it toward your mouth and keep it fairly close.
A USB mic can sound good for desk content. Place it close, slightly off to the side, and aim it toward your mouth.
Reduce Echo With Simple Room Fixes
Echo usually comes from hard, empty rooms. Add a rug, curtains, or soft furniture near you. Even a blanket off-camera can help.
Turn off anything noisy before you record. Fans, AC, and buzzing lights can ruin audio. Close windows if street noise is loud.
Record a 10-second test and listen with headphones.
Lighting That Looks Good Every Time
Lighting affects your image more than your camera does. A bright, soft light makes skin look cleaner. It also helps webcams and phones look sharper.
Consistent lighting prevents your video from changing mid-take. Window light can be nice but it changes a lot.
Clouds and sunset will shift your look. If you want repeatable results, use artificial light.
A basic LED key light is enough to start.
A Simple One-Light Setup
Place your key light slightly to one side of the camera. Keep it a bit above eye level and angle it down.
Use a softbox or diffuser for a softer look. If the light is harsh, move it farther away and increase brightness.
Keep color temperature consistent if possible. Mixing warm lamps with cool LEDs can look odd.
Add a Small Fill or Bounce
A second light is optional. You can also use a white wall or board to bounce light. This reduces strong shadows on one side of your face.
It’s a simple way to look more balanced on camera.
Tripods and Mounts for Stable Shots
A steady shot instantly looks more polished. Use a tripod for standing videos and a desk stand for seated videos.
Make sure your support is stable and not easy to bump. Stability also helps your camera keep focus.
For phones, use a strong phone clamp. For cameras, use a quick-release plate if you film often.
For webcams, use a mount that holds the angle securely. Small accessories can prevent constant slipping.
Pick the Right Support for Your Space
If you film standing, choose a tripod that reaches eye level. Avoid extending the center column too high, because it can wobble.
If you film at a desk, a compact tripod is often enough. For tight rooms, a light stand with a phone mount can be easier than a wide tripod.
If you do overhead shots, use a horizontal arm or overhead mount. Make sure it locks firmly and won’t drift.
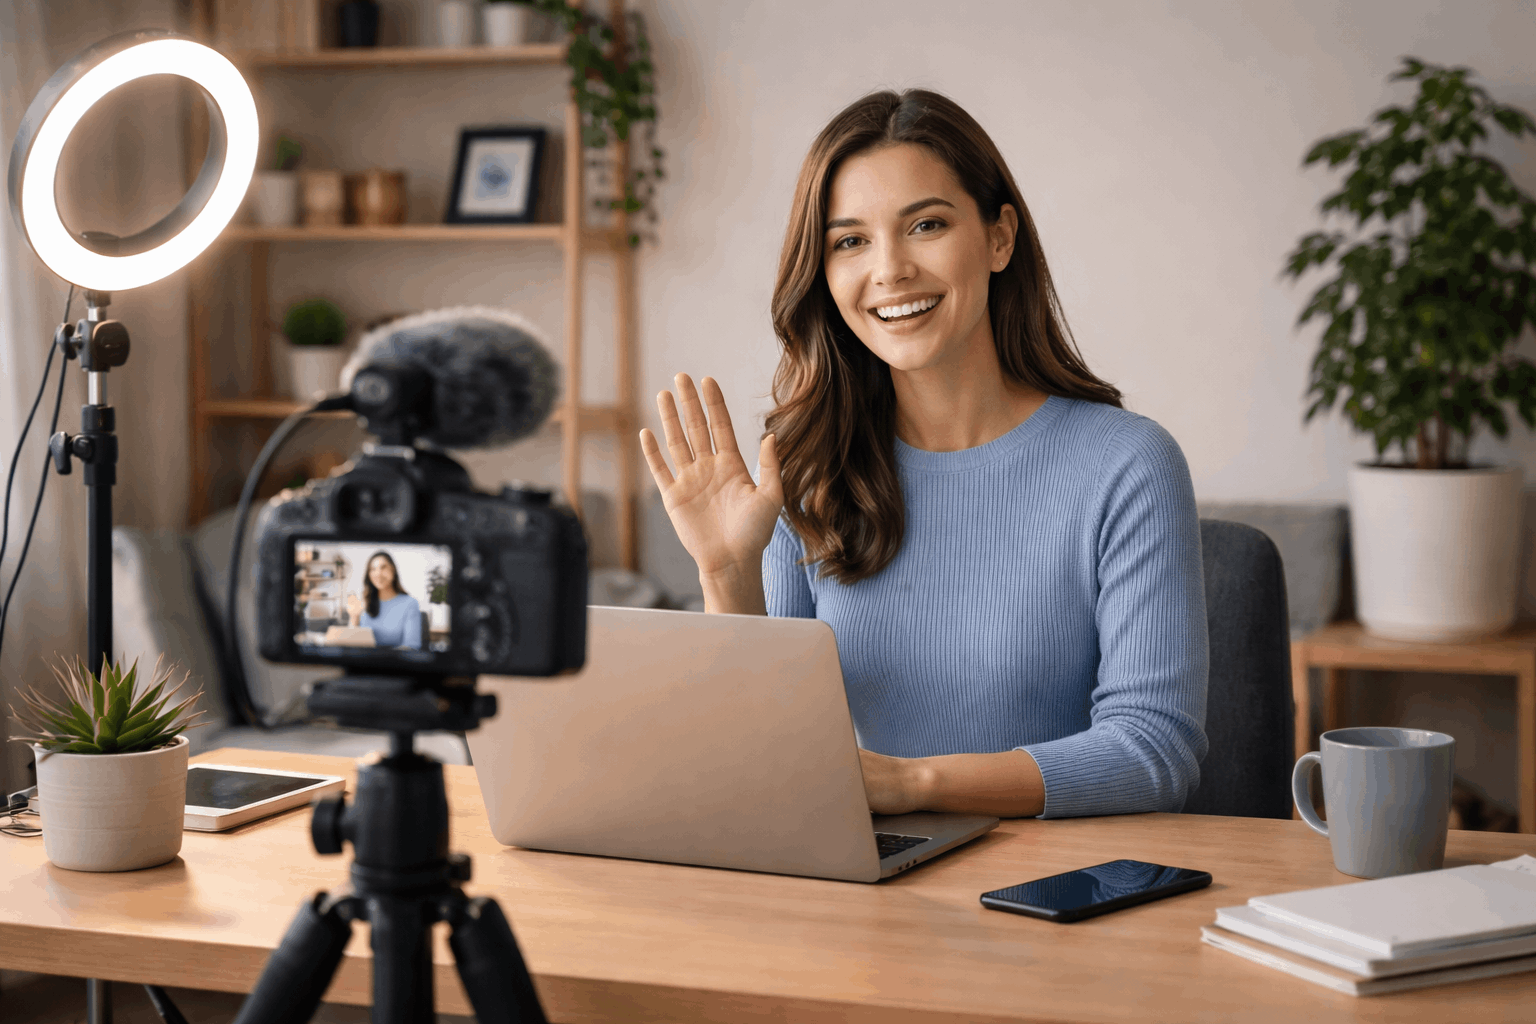
See Yourself While You Record
Solo filming is easier when you can see the frame. Use a flip-out screen, a webcam preview, or a phone as a monitor.
This helps you check posture, framing, and focus. It also saves time on retakes.
Use a remote, shortcut, or easy record button if possible. Walking back and forth breaks your flow.
You want a start/stop method you can use quickly. Consistency helps you stay confident on camera.
A Simple Solo Filming Routine
Set up your tripod and frame the shot first. Turn on your lighting and adjust it for your face.
Then set your microphone and record a short test. Fix any issues before the full take.
Start recording and pause for one second before speaking. That pause helps editing and prevents clipped words.
After the first minute, stop and review a short clip. Then record the full take once you confirm everything looks and sounds right.
Common Problems and Fast Fixes
If your video looks grainy, add more light first. Don’t rely on digital brightness alone. More light usually means a cleaner image.
If your audio sounds echoey, move the mic closer. Add soft materials in the room to reduce reflections.
If you hear hum, change cables or move away from power adapters. Quick tests prevent wasted sessions.
If focus keeps shifting, lock focus when possible. Stand or sit at a consistent distance. Avoid moving too much if your camera struggles.
Keep It Simple, Then Upgrade
A strong home setup is built in layers. Start with stability, then audio, then lighting. Your camera choice matters less once those are solid.
Once you film a few sessions, you’ll know what to upgrade next. Your workflow will show the weak point.
If you tell me your filming style and device, I can suggest a simple gear layout that matches your site’s focus.


