Uneven lighting usually comes from a single bright source hitting one side of your face or background.
Start by watching your footage and noting where highlights clip and where shadows lose detail.
Do a quick test recording while you slowly turn your head to see how light wraps across your face.
Shape the light with placement and ratios
Most “uneven” footage improves when you control the key-to-fill balance instead of adding more brightness.
A simple two-light approach is easier to repeat than chasing perfect exposure with random lamps.
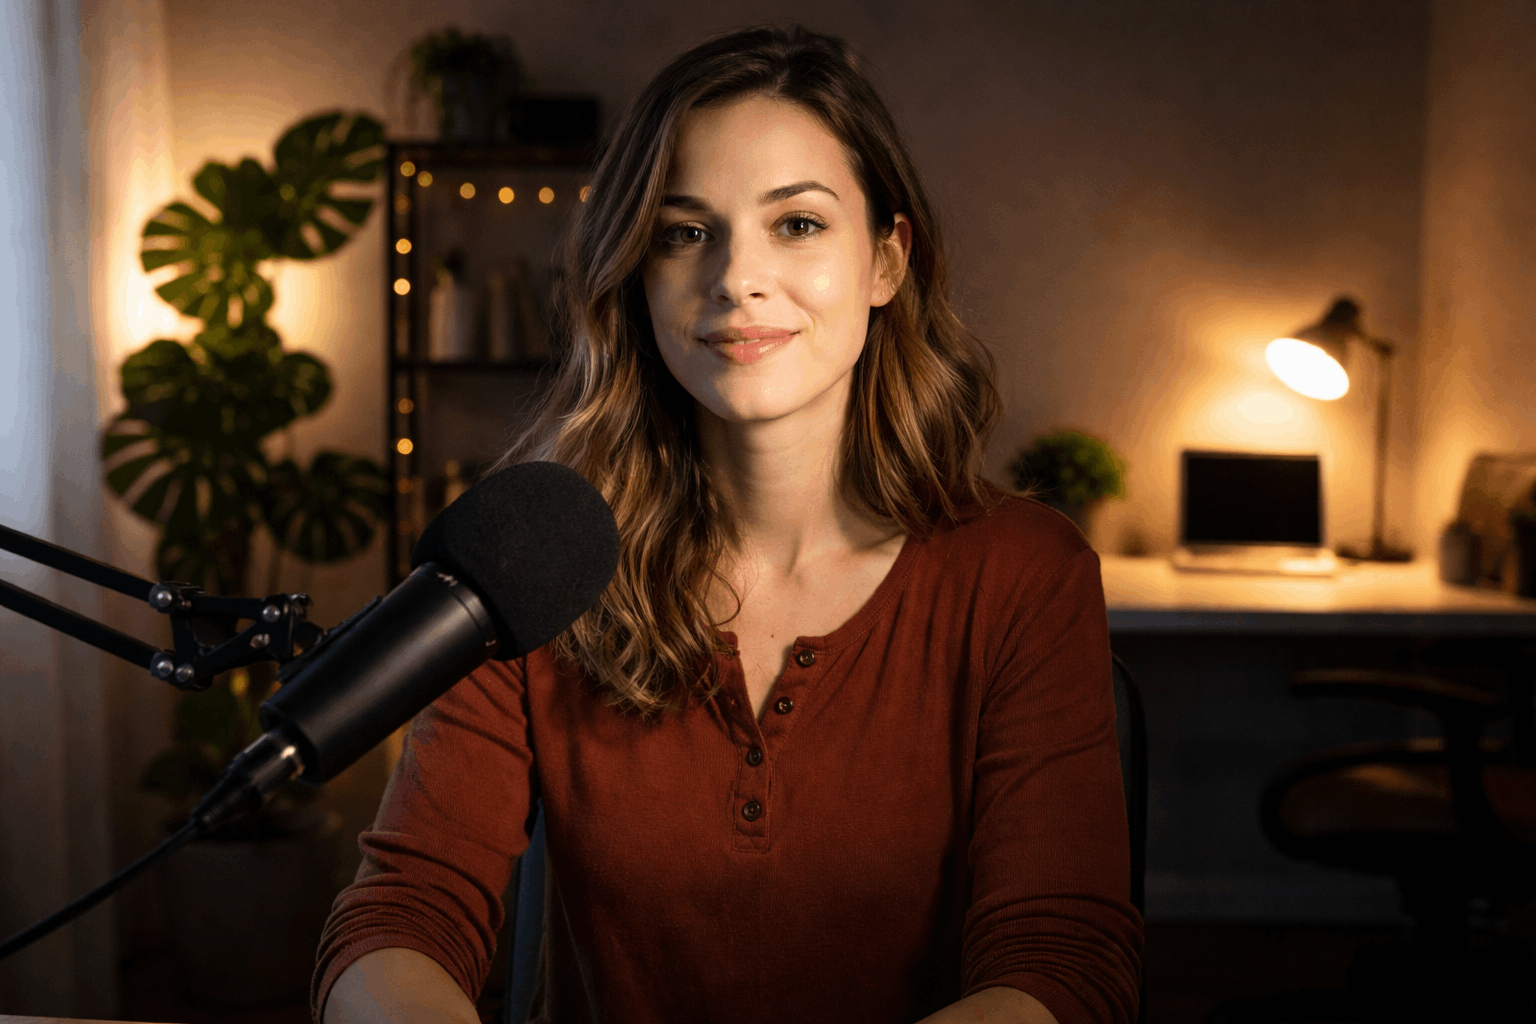
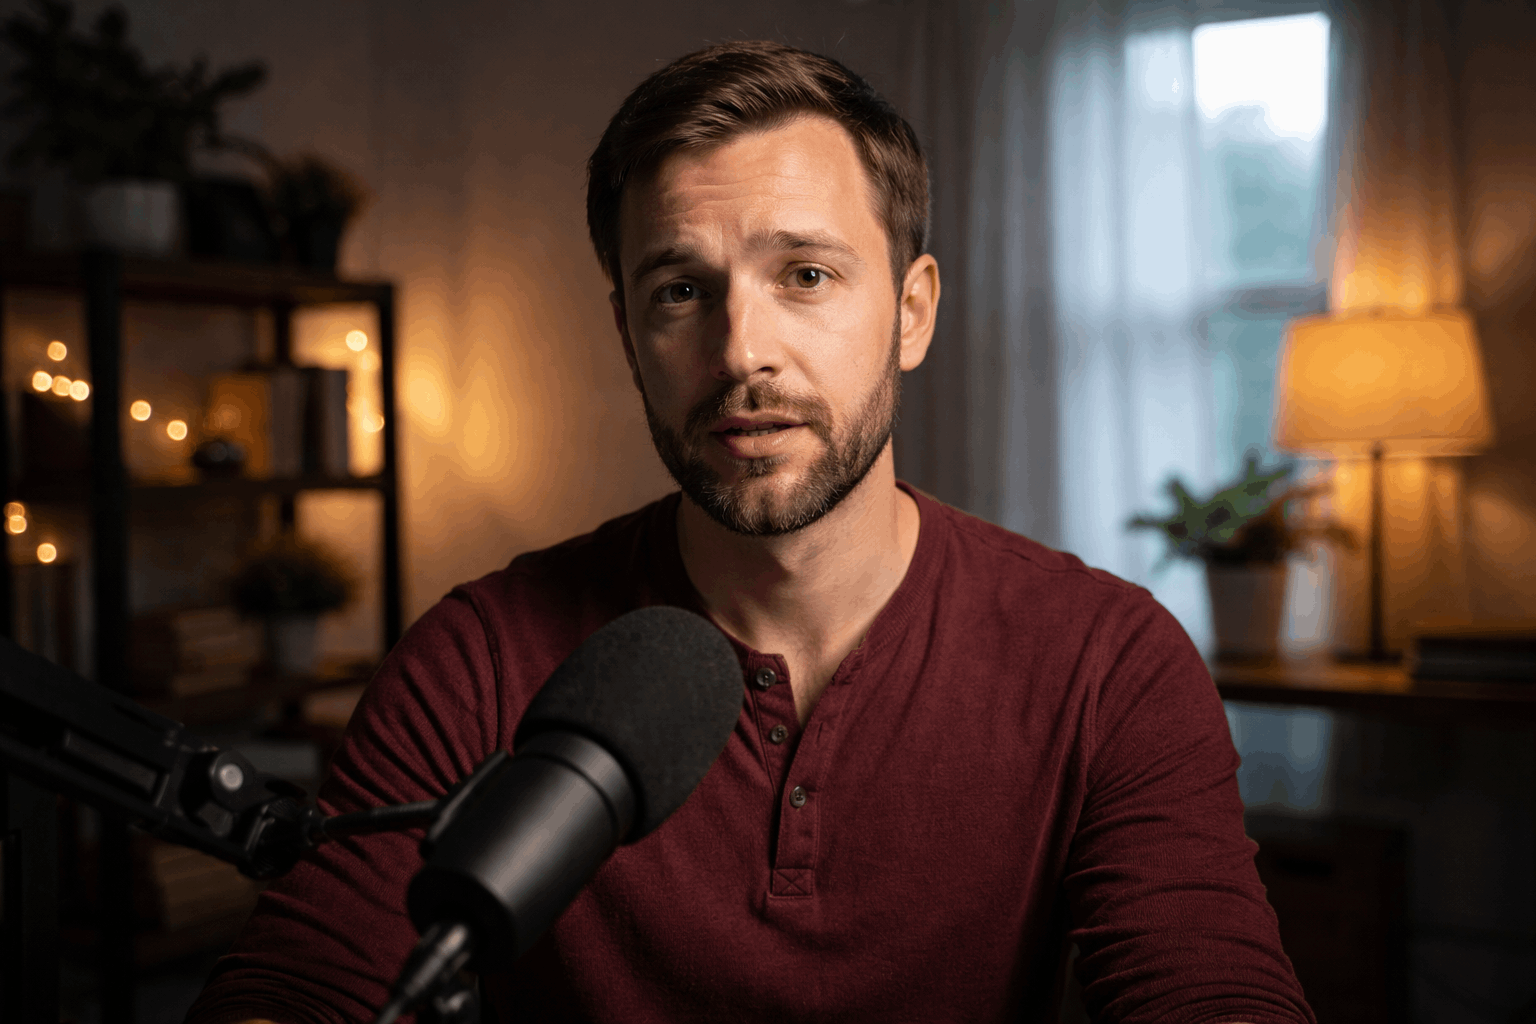
Place your lights first, then place your microphone, so shadows from booms and stands do not appear.
Use a stable tripod height and a consistent camera-to-subject distance so your lighting stays predictable.
Build a simple key + fill setup
Add a fill light on the opposite side at a lower intensity, or use a reflector to lift shadows softly.
If you only have one light, bounce it off a wall or ceiling to create a wider, gentler fill.
Use the backlight and practicals carefully
A small backlight can separate you from the background, but it can also create bright edges and flare.
Keep backlights dim and higher than head level so they do not compete with your key exposure.
If you use lamps in the background, dim them or move them so they do not pull attention or clip.
Control the room before you add gear
Room light is often the real cause, because windows and overhead fixtures create uneven patches.
You get better results by subtracting and shaping ambient light than by blasting more LEDs.
Choose one “main” direction for light and make the rest of the room support it.
Block and bounce ambient light
Use blackout fabric or reposition so the window is not blasting one side of your face.
If you like window light, face the window and use a curtain or diffuser to soften it.
Use a white foam board to bounce light back into the shadow side without adding another fixture.
Choose backgrounds that do not fight exposure
A bright wall or reflective artwork behind you can force the camera to underexpose your face.
Pick a slightly darker, matte background so your subject stays the brightest, controlled element.
Avoid glossy surfaces that catch your key light and create uneven hotspots that look like mistakes.
Choose the right lights and modifiers for small spaces
The best home setup is usually one strong, soft key and a simple way to control spills.
Small lights look harsh when used bare, so diffusion and bounce matter more than raw output.
Think about your camera type, because webcams and phones react differently to bright highlights.
Plan your light stands around your tripod and mic stand so you do not cast accidental shadows.
Diffuse and soften without losing too much output
Use a softbox, umbrella, or diffusion sheet so the light source becomes larger relative to your face.
If your light is weak, move diffusion a little farther from the fixture to keep more brightness.
Add a simple grid or flag to stop the softened light from washing one side of the background.
Lock exposure and color on your camera or webcam
Uneven lighting looks worse when auto exposure “hunts” and keeps changing mid-sentence.
Locking exposure makes your lighting choices visible and stable, which makes fixes easier.
Set color consistently so skin tones do not shift between warm and cool from shot to shot.
Once exposure is stable, your microphone choice and placement become the main upgrade for perceived quality.
Manual exposure basics for cameras
Set your ISO as low as practical, then adjust aperture and shutter to keep highlights from clipping.
Use zebras or a histogram if you have them, and expose for skin rather than the brightest background.
If one side is still too dark, raise fill gently instead of increasing ISO and adding noise.
Webcam and phone settings that actually help
Disable auto white balance and auto exposure when possible, because they exaggerate uneven rooms.
Lower “brightness” and “contrast” first, then add real light, because digital gain looks messy fast.
If your webcam app allows it, set a fixed exposure and a fixed color temperature for consistency.
Fix what remains with fast workflow tweaks
Some uneven lighting is unavoidable in small rooms, so build a simple correction step into your workflow.
Aim for a natural look, because aggressive fixes can make faces look plastic and backgrounds look fake.
Treat lighting and audio as a pair, because a clean mic track plus steady lighting feels instantly professional.
Save your setup positions with tape marks for the tripod and light stands so you can repeat your best result.
Quick in-edit corrections without overdoing it
Use a basic exposure or curves adjustment to lift shadows slightly and pull highlights down gently.
If one side of the frame is brighter, try a subtle vignette or a soft mask instead of global changes.
Match clips by eye using skin tone as your reference, then stop before the image looks unnatural.
A repeatable pre-record checklist
Check your frame with the tripod locked, then confirm your key light angle and distance.
Record a ten-second test, listen for mic placement issues, and watch for bright patches on walls.
Lock exposure and white balance, then do not change your room lights until you finish the session.
Conclusion
Uneven lighting is usually a setup problem you can solve with placement, diffusion, and controlled ambient light.
A stable tripod, a consistent key-and-fill plan, and locked exposure will do more than buying extra gadgets.
Once your light is even, your microphone and simple accessories like stands and reflectors become the next big gains.


