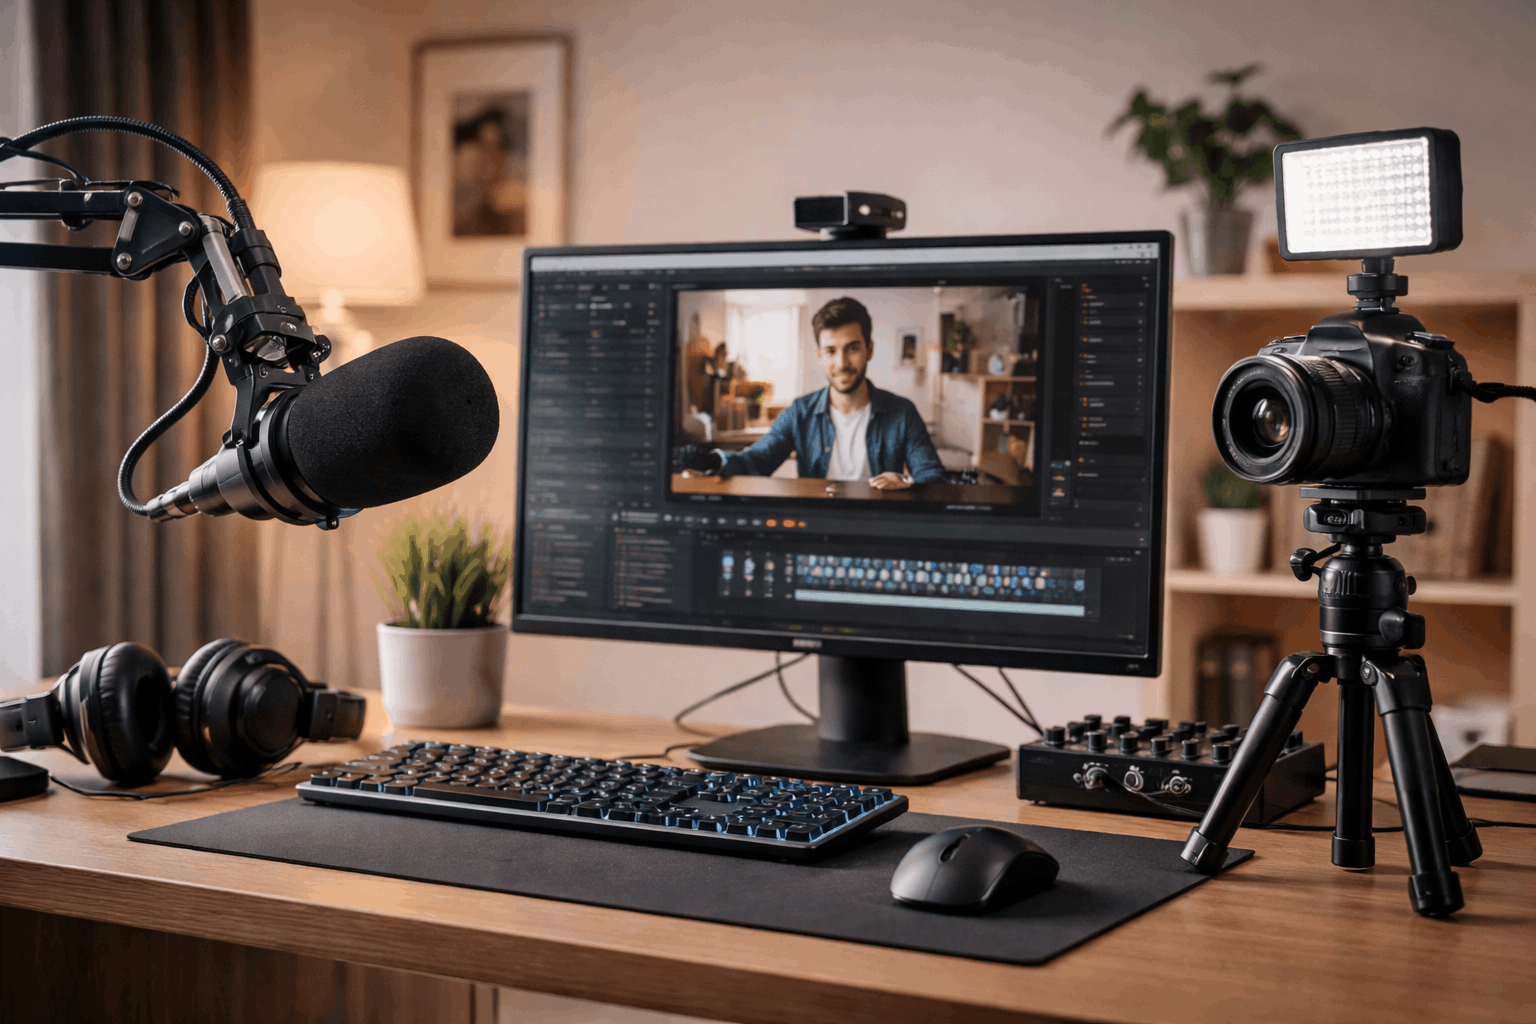
Starting a home setup for video and audio recording does not need to be complicated or expensive.
You can get clean sound and flattering video with a few smart choices, even if you are filming in a bedroom, a small office, or a shared space.
This checklist focuses on the gear that makes difference: microphones, lighting, webcams, tripods, and a simple workflow.
Step 1: Pick Your Recording Goal and Your Space
Before buying anything, decide what you will record most often and where you will record it.
A setup for streaming games is different from a setup for interviews, voiceovers, or tutorial videos.
Your room matters, too, because echo, background noise, and harsh overhead lighting can ruin quality faster than a “bad camera.”
Step 2: Microphone First (Because Audio Is What People Quit Over)
If your audio is hard to understand, people leave, even if your video looks great.
The good news is that you do not need a studio mic to sound professional.
You need the right type of mic for your voice and your room, and you need it placed correctly.
Choose the mic type that matches your setup
USB microphones are the easiest starting point. They plug into your computer and work with most recording apps right away.
XLR microphones require an audio interface (or mixer), but they can scale with you over time.
This route is useful if you plan to add multiple mics, upgrade preamps, or record two people in the same space.
Pick a microphone style: dynamic vs condenser
Dynamic mics are usually better for untreated rooms because they reject more background sound and reduce room echo.
Condenser mics can sound detailed and “open,” but they often pick up more room noise, keyboard clicks, and reverb.
If your room is lively (bare walls, tile floors, lots of echo), a dynamic mic is often the safer choice.
Step 3: Lighting That Makes Your Camera Look Better Instantly
Lighting is the fastest way to make your video look “high quality” without buying a new camera.
Most beginners rely on ceiling lights, which create shadows under the eyes and an unflattering look. A simple two-light approach can fix this.
Start with one good key light
A soft light placed slightly above eye level is the main upgrade. Many creators start with a ring light or a small LED panel with diffusion.
The goal is not “bright,” it is even and soft.
Add simple fill and background separation (optional, but helpful)
If your face still has heavy shadows, add a weaker fill light on the opposite side.
If you want more depth, add a small background light aimed at the wall behind you to create separation.
Putting the main light too low or directly under your face creates an unnatural look. Keep your light slightly higher than your eyes.
Step 4: Webcam or Camera Setup (Keep It Simple and Consistent)
For everyday creators, a quality webcam is often the easiest path. It avoids complicated settings and makes going live or recording quick.
If you already have a camera, you can still build a simple setup, but the best “starter win” is stable framing and clean exposure.
Step 5: Tripods and Mounts (Stability = Professional)
Shaky video feels amateur, even if the audio is good. A tripod or solid mount also saves time because your framing stays the same every session.
Check height range (can it reach eye level when you sit or stand?). Choose a stable base (wider legs usually mean less wobble).
Use a quick-release plate if you set up and pack away often.
Step 6: Cables, Power, and Small Accessories That Prevent Headaches
Small accessories do not look exciting, but they prevent failed recordings.
Must-have accessory
- Extra USB cable (and the right USB standard for your mic/webcam).
- Extension cord and a surge protector.
- Headphones for monitoring audio (avoid speaker feedback).
- Simple cable management (Velcro straps or clips).
- Spare batteries or a power solution for any device that is not always plugged in.
Step 7: Simple Test Routine Before You Record
Consistency is what makes a home setup feel professional. Use the same short routine every time.
Record 10 seconds and listen back on headphones and check mic input level (avoid peaking into distortion).
Confirm camera framing and focus, and if lighting is on and color looks natural. Silence notifications on your phone and computer.
Save or name your file before you start, so you do not lose it.
Final Home Setup Checklist (Copy and Use)
Microphone
- Mic chosen for your room (dynamic if echo/noise is an issue)
- Stable mount (boom arm or stand)
- Pop filter or windscreen
- Correct placement (close, aimed properly, low gain)
Lighting
- One soft key light, placed slightly above eye level
- Color temperature matched across lights
- Optional fill/background light for depth
Webcam/Camera
- Eye-level position
- Stable framing and focus
- Exposure and white balance locked if possible
Tripod/Mount
- Right support for your device and recording style
- Stable base, correct height range
- Quick setup method if you pack away often
Accessories + Workflow
- Headphones for monitoring
- Spare cables and power solution
- Two-minute test recording routine
- Notifications silenced and files named
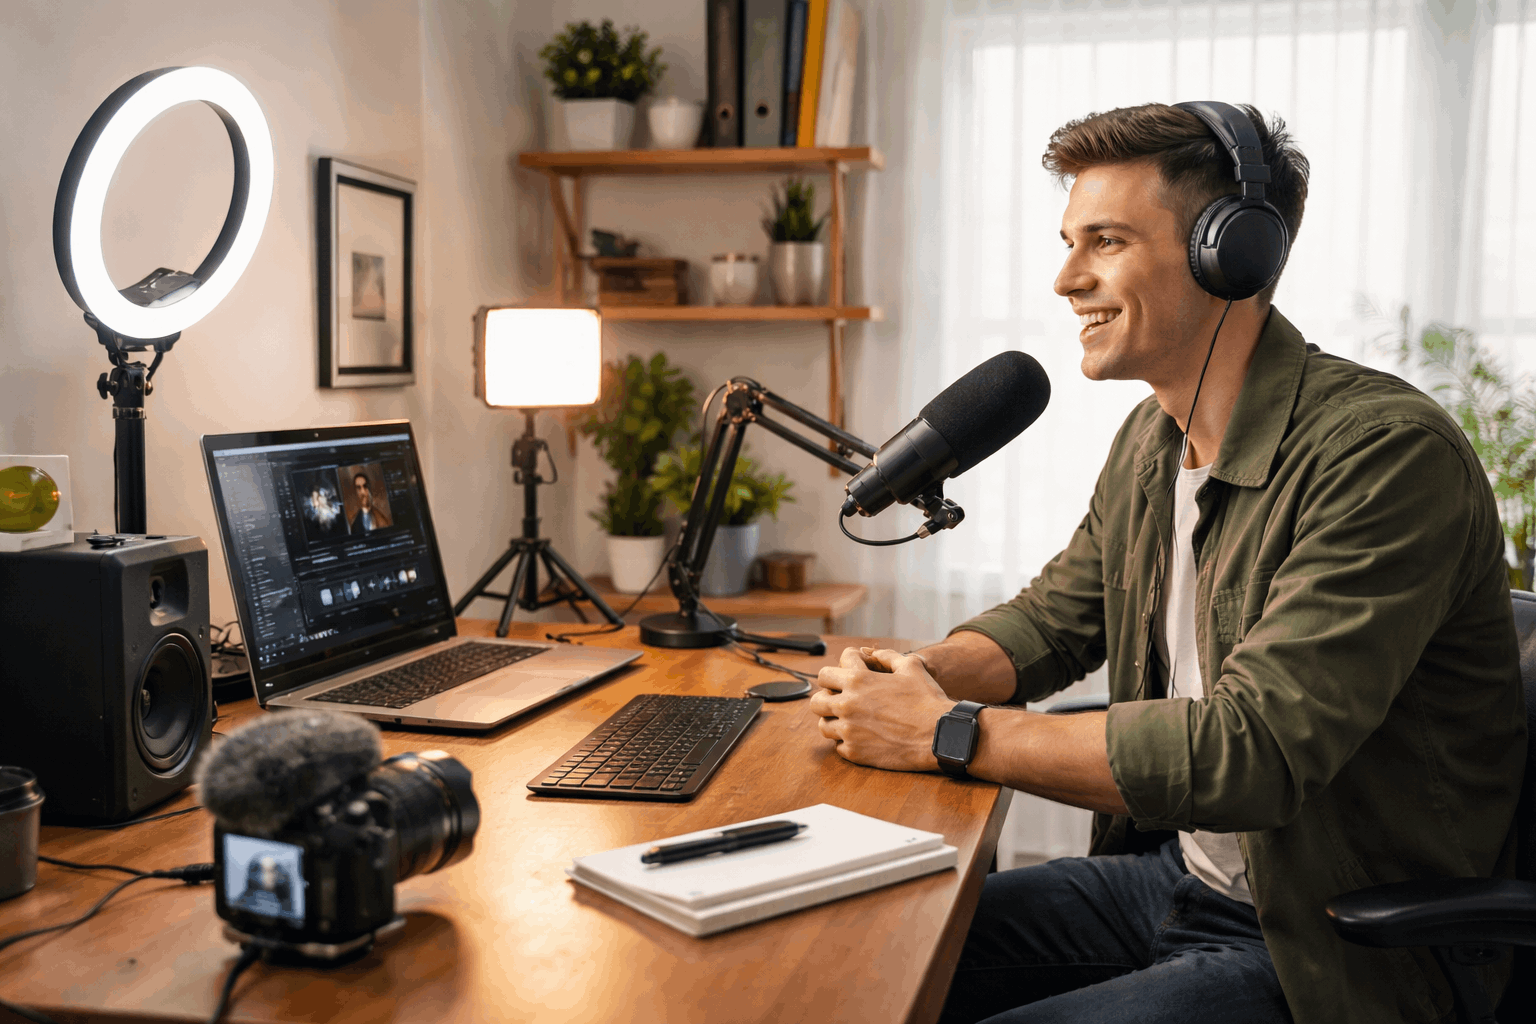
Three Starter Setups You Can Build Fast
Setup A: Minimal Desk Setup (fastest)
Use a USB mic on a small stand or boom arm, with one soft key light
Include a webcam at eye level and headphones for monitoring.
Setup B: Better Audio and Clean Look
Dynamic mic with boom arm + pop filter. Key light + small fill light.
Choose a webcam with locked exposure/white balance and a basic cable management and consistent background.
Setup C: Flexible Creator Setup
XLR mic + audio interface. Key light + background light.
Use a full-size tripod for camera or phone in a room tweaks to reduce echo (rug, curtains, soft furniture).
Conclusion
A good home setup is not about owning the most gear. It is about choosing a few reliable tools and using them the same way every time.
So, your audio is clear, your lighting is flattering, and your camera stays stable.


