You don’t need a full studio to make clear videos and clean audio at home.
You need a small area you can control, a simple gear plan, and a setup you can repeat without thinking.
In one afternoon, you can build a recording corner that looks consistent, sounds solid, and stays easy to use.
Pick a Quiet, Repeatable Spot
Start by choosing a place that reduces noise and makes your results consistent.
A smaller room with soft items often works better than a large empty room because it produces less echo.
If you can, avoid areas near the kitchen, street-facing windows, or loud appliances.
A corner of a bedroom, a home office, or even a calm living-room section can work if you control what’s behind you.
Set Up
Try to set up so you face into the room rather than sitting with your back close to a bare wall.
That small change can reduce the “boxy” sound that happens when your voice bounces straight back into the mic.
Also pay attention to whether you can leave the setup in place, even partially, because speed matters when you record frequently.
Reduce Echo Using What You Already Have
Echo makes recordings sound cheap faster than almost anything else.
Before buying acoustic foam or fancy panels, use items you already own to soften hard surfaces.
A rug or thick blanket helps if you have tile or wood floors. Curtains, a spare comforter, or even a clothing rack with hanging jackets can reduce reflections.
If the room still sounds “hollow”
Add softness behind you and near the microphone, not just somewhere random.
The idea is to reduce the reflections that return to the mic a moment after your voice, because that creates the roomy sound.
You don’t need to eliminate echo completely, but you do want to reduce it enough that your voice stays direct and close.
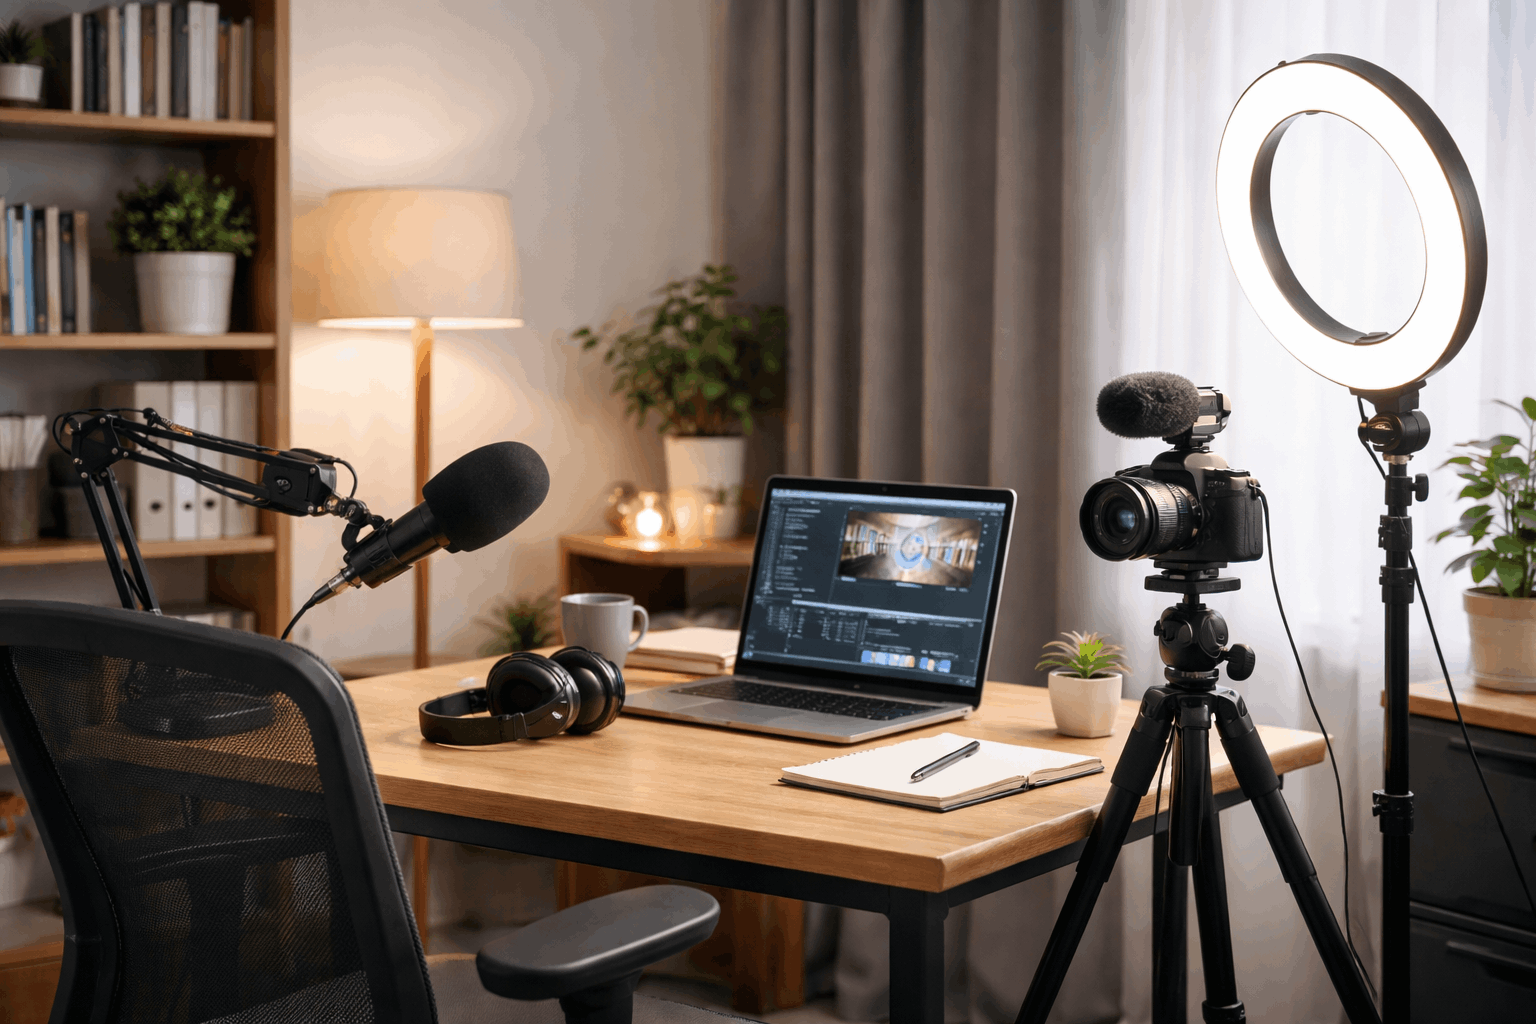
Choose a Simple Gear Plan That Matches Your Content
A home setup works best when it is minimal and consistent. For most creators, the core is audio, a stable camera position, and one dependable light.
You can record good content with a phone or webcam if your sound and lighting are controlled.
That’s why most upgrades should start with the microphone, not the camera.
Personal Considerations
If you record at a desk, a USB microphone is usually the easiest path because it is plug-and-play and works with most computers.
If you move around while filming, a lavalier mic can keep your voice clear because it stays close to your mouth.
If you prefer a camera-mounted approach, a shotgun microphone can work, but placement still matters and it won’t automatically fix room echo.
Set Up Audio First and Make It Consistent
Audio should be your first technical step because it affects where you sit and how the rest of the setup fits together.
Start by placing the mic close enough to capture your voice without forcing you to crank the gain.
In many home setups, six to ten inches from your mouth is a strong starting range, and it usually beats turning up the microphone.
Turn off or reduce what you can before recording
Fans, air conditioners, and open windows often create constant noise that becomes hard to remove later.
Put your phone on silent and disable desktop notifications, because even small alerts can ruin an otherwise good take.
If your mic is on the desk and you hear bumps, move it to a stand or boom arm so vibrations don’t travel into the recording.
Testing
Record a quick ten-second test in your normal speaking voice and listen back with headphones.
If the voice is too quiet, move closer first instead of pushing the gain higher. If the voice is echoey, add softness behind you and near the mic.
If the noise floor is high, reposition away from the source and reduce the room noise before trying software fixes.
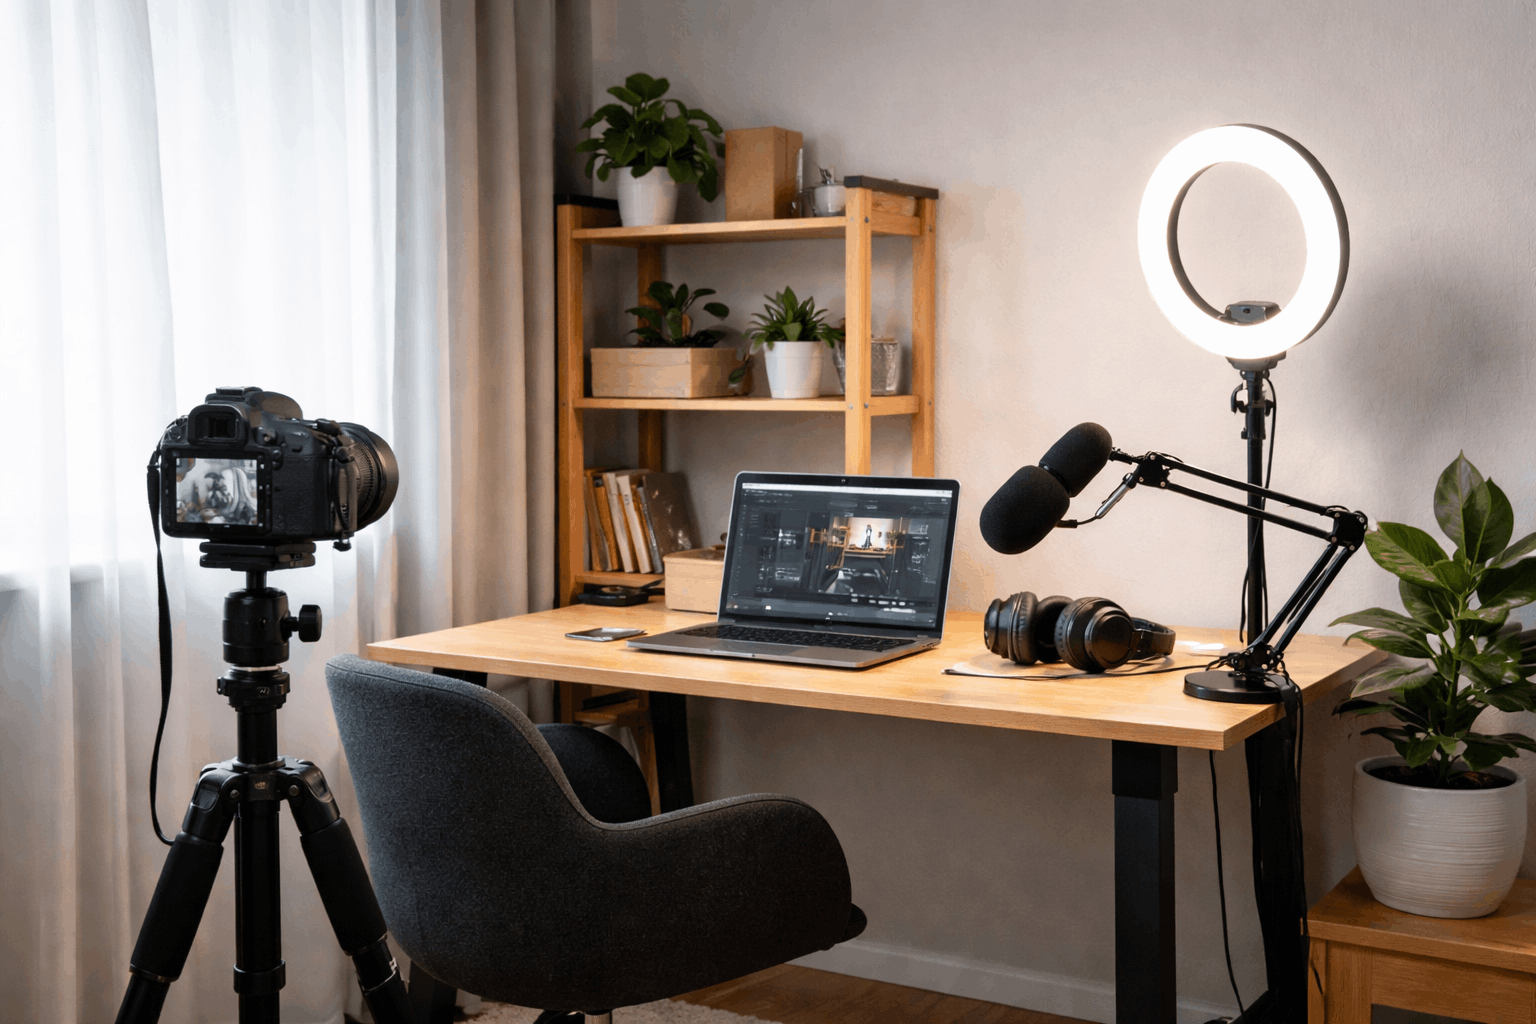
Add Lighting That Flatters Without Complicating Things
Lighting makes your video look cleaner, even if you’re using a basic camera.
You can get far with one light placed in front of you, slightly above eye level, angled down.
This positioning usually reduces harsh shadows and keeps your face evenly lit.
If the light looks too strong, soften it by diffusing it or bouncing it off a wall so it spreads more gently.
Avoid
Avoid placing your main light behind you because it turns you into a silhouette and forces the camera to choose between your face and the background.
Also try not to rely only on ceiling lights, since they often create dark shadows under the eyes.
Keep the color temperature consistent if you can, because mixing warm lamps with cool LED lighting can create odd skin tones.
Frame Your Shot and Control the Background
Once audio and lighting are stable, set your camera angle so you can repeat it every time.
Eye-level framing tends to look natural and confident, whether you use a webcam, phone, or camera.
Keep the camera steady with a tripod, clamp, or stable mount, because small shakes distract viewers and make your video feel less intentional.
Background
A clean background matters more than a fancy background. Remove clutter and bright distractions that pull attention away from your face.
If the wall is plain, one simple item like a plant, shelf, or lamp can add depth without turning into a mess.
Try to create a little distance between you and the background if possible, because separation makes the shot look less flat.
Build a Fast Workflow So You Actually Use the Setup
A good home recording space is one you can start in minutes. The easiest way to keep it fast is to create a short routine you follow every time.
Silence notifications, confirm your mic is selected, do a short test recording, and check framing.
Keep a small spot for cables and accessories so you’re not hunting for adapters or mounts when you should be recording.
If you plan to record regularly, consider leaving your mic and light in place or marking positions with small tape indicators.
A Realistic One-Afternoon Setup Flow
Start by choosing the spot and reducing echo using rugs, curtains, and soft items.
Next, set up your microphone and do test recordings until the voice sounds clear and close.
Then place one light, adjust for even facial lighting, and set your camera to a stable, repeatable angle.
Finally, do a short test video and apply only the most important fixes, then record something real the same day.
Conclusion: A Simple Space That Keeps You Creating
A home recording setup doesn’t need to be perfect to look and sound professional.
Clear audio, stable framing, and consistent lighting do most of the work for everyday creators.
Set it up in one afternoon, then publish a small piece of content right away so the space becomes a habit, not just a project.


