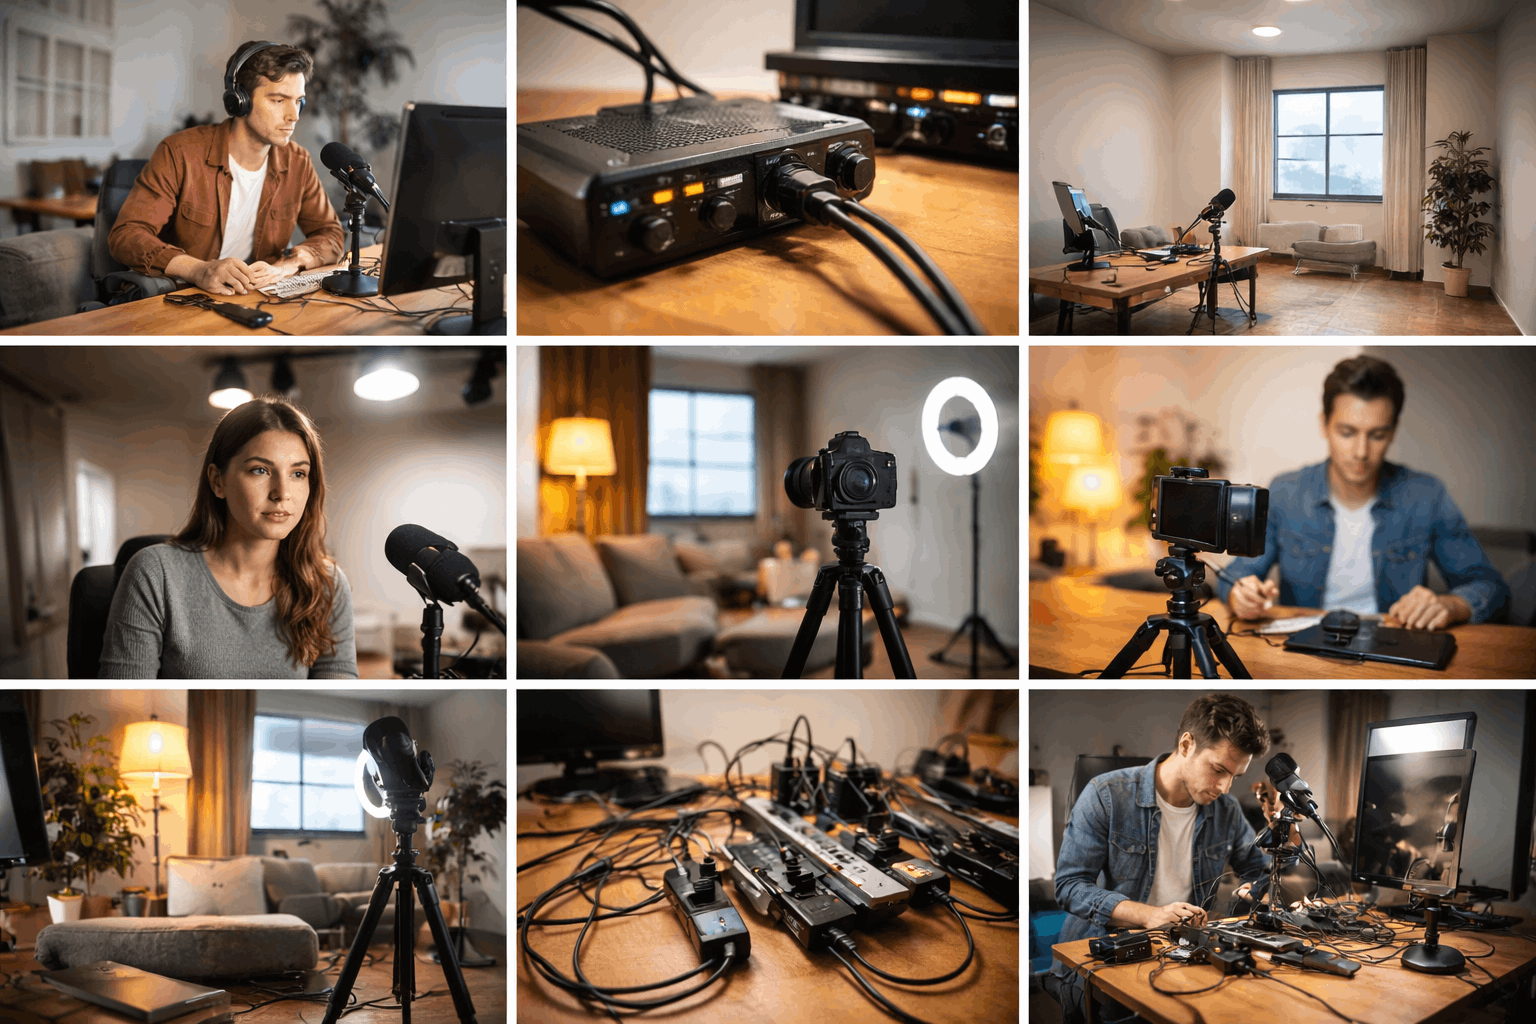
A beginner creator setup can look “good enough” and still produce audio that sounds distant, video that looks flat, or footage that feels shaky.
Most of those issues come from a few repeated mistakes with microphones, lighting, webcams/cameras, tripods, and basic workflow habits.
This guide explains what to do instead, using simple fixes that work in small rooms and everyday home spaces.
Mistake 1: Buying the Wrong Mic for the Room, Not the Job
Many beginners pick a microphone based on hype or price, then get frustrated when it captures echo, keyboard noise, or street sound.
A mic is not “better” in a vacuum; it has to match your recording space and how you speak on camera.
A sensitive mic in a reflective room often makes things worse by picking up every bounce and background detail.
Better approach: Choose for the situation
In echo-prone rooms, a dynamic microphone placed close to your mouth often sounds cleaner than a sensitive condenser far away.
If you need distance (standing, moving, or filming wide shots), consider a lavalier mic or a shotgun mic used correctly, with realistic expectations.
If you are recording voice at a desk, prioritize consistent placement over fancy specs.
Mistake 2: Placing the Mic Too Far Away
Distance is one of the fastest ways to ruin sound quality.
When the mic is far from your mouth, it captures more room noise than voice, and your recording sounds thin or “hollow.”
Beginners often set a mic on the desk or mount it out of frame, and hope software will fix it later.
Better approach: Get close, stay consistent
Aim for a close speaking distance (often roughly a hand’s width, depending on the mic).
Use a simple boom arm or small stand to keep placement steady.
Add a pop filter or foam windscreen to reduce harsh “P” and “B” sounds when you move closer.
Mistake 3: Recording in a Bare Room and Blaming The Microphone
Hard surfaces—bare walls, tile, windows—create reflections that make your voice sound roomy and unfocused.
Beginners often try to “upgrade” microphones again and again when the real issue is the space.
Even a great mic will capture bad acoustics if the room is loud and reflective.
Better approach: Treat the space before replacing the gear
Put soft items near your recording area: a rug, curtains, a thick blanket on a stand, or a bookshelf with uneven surfaces.
Record closer to soft furnishings and farther from large bare walls.
Turn off noisy devices like fans, air conditioners, and buzzing lights when possible.
Mistake 4: Setting the Gain Too High and “Fixing” Clipping Later
When audio input levels are too high, the signal clips and creates harsh distortion that editing cannot truly remove.
Beginners push gain up to “make it louder” and end up with broken peaks.
Others record too quietly, then boost it aggressively and reveal a layer of hiss and room noise.
Better approach: Record clean, then adjust
Set levels so normal speech sits safely below clipping with headroom for louder moments.
Use headphones to monitor your mic while recording, not after.
If your mic or interface has a pad, limiter, or basic level control, learn what it does before relying on software.
Mistake 5: Ignoring Monitoring and Discovering Problems After the Shoot
Creators often record a full take and only then hear hum, a loose cable, or a mic that was pointing the wrong direction.
This happens because monitoring feels optional, especially when everything “looks connected.”
Audio problems are easier to prevent than to repair.
Better approach: Make monitoring part of your routine
Wear closed-back headphones during setup to catch noise and interference.
Do a short test recording and play it back before filming the full segment.
Watch for common issues: a buzzing power adapter, cable crackle, or the mic being blocked by a desk edge.
Mistake 6: Bad Lighting Placement that Creates Shadows, Glare, or Flat Faces
Lighting mistakes can make high-quality cameras look cheap. A single light directly overhead often creates harsh shadows under the eyes.
A bright light behind you turns your face into a silhouette.
Shiny skin, glasses glare, and uneven brightness usually come from placement, not from a lack of expensive gear.
Better approach: Use simple, predictable lighting
Start with a key light in front of you at a slight angle, raised above eye level and aimed down gently.
Soften the light with diffusion (a softbox, umbrella, or a simple diffuser) to reduce harsh lines.
Add a small fill (a weaker light or reflected light from a wall) to lift deep shadows without making the scene look artificial.
Mistake 7: Mixing Color Temperatures and Ending up With “Weird” Skin Tones
A common beginner setup combines a daylight LED, a warm lamp, and a window, then the scene looks inconsistent and hard to correct.
Cameras struggle when the room has multiple competing color temperatures.
Skin tones can shift green, orange, or gray depending on what dominates the frame.
Better approach: Make your light sources match
Choose one main “look” (daylight or warm) and remove the sources that conflict.
If your lights support adjustable temperature, set them to the same value and stick with it.
Avoid filming with a strong window light behind you unless you control it with curtains.
Mistake 8: Relying on a Webcam’s Auto Settings Without Controlling the Scene
Webcams and entry-level cameras often default to auto exposure, auto white balance, and aggressive sharpening.
The result can be brightness pumping, shifting colors, and a “crunchy” image.
Beginners also place the camera too low or too wide, which can distort proportions and make the shot feel casual in an unhelpful way.
Better approach: Lock down the basics
Stabilize exposure by controlling your lighting first, then reduce how often the camera has to “guess.”
Set a consistent framing: eye-level camera height, a comfortable crop, and a clean background.
If you have manual options, aim for consistency over perfection, especially with white balance.
Mistake 9: A Shaky or Undersized Tripod that Ruins Utherwise Good Footage
A cheap, lightweight tripod can wobble when you touch the desk, adjust focus, or walk nearby.
Beginners also extend the center column too high, which reduces stability. The camera may look level at first, but drift or tilt with small movements.
Better approach: Prioritize stability
Use a tripod rated for more than the weight you plan to mount, especially if you add lights or accessories.
Keep legs wider and the center column lower when possible.
For desk setups, a compact tabletop tripod can be more stable than a tall tripod squeezed into a corner.
Conclusion
Beginner setup mistakes are rarely about talent, and they are rarely solved by buying more gear.
Most problems come from distance, placement, and consistency across microphones, lighting, webcams, and tripods.
If you want quicker improvement, pick one area—audio or lighting—fix it this week, and then build the rest of your setup around what works.


