Color temperature is one of the fastest ways to make your home videos look either clean and professional or oddly tinted.
It describes whether your light looks warm and orange or cool and blue, and it is measured in Kelvin (K).
When your camera’s white balance, color temperature and wavelength match, skin tones look natural and products look accurate.
What Color Temperature Means in Practical Home Setups
Color temperature is the “shade of white” your light produces, and it shifts everything your camera sees.
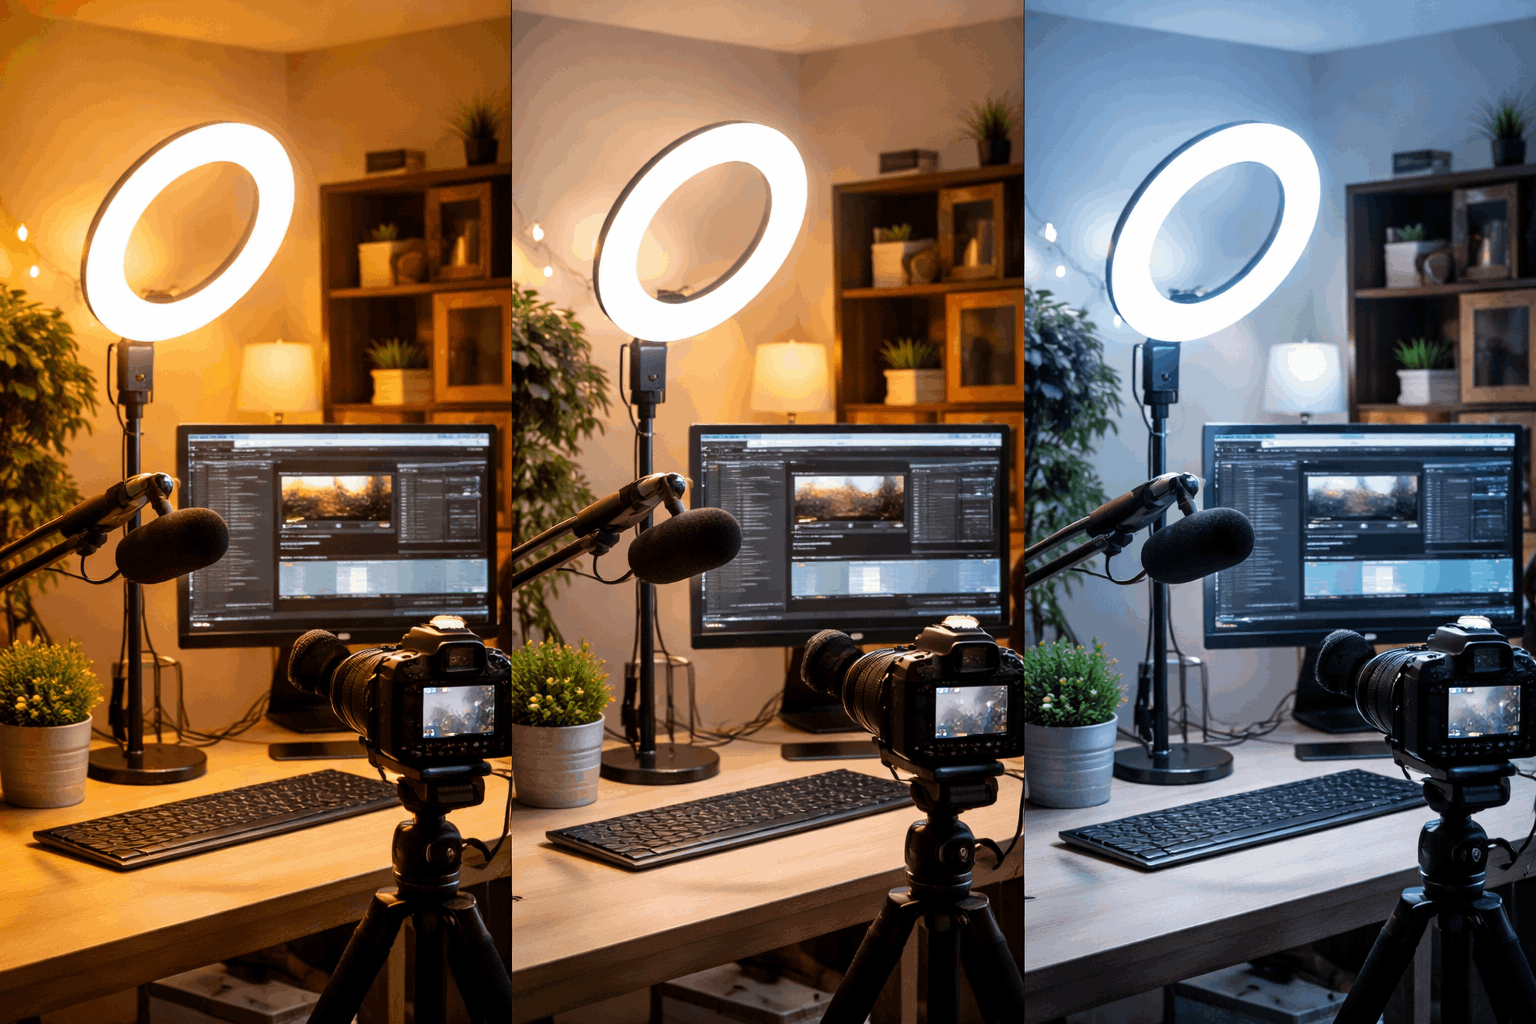
Lower Kelvin numbers look warmer, like a cozy lamp or sunset, while higher Kelvin numbers look cooler, like daylight or an overcast sky.
Most home creators run into problems when they mix different bulbs and LEDs that each have a different Kelvin rating.
If you understand a few common ranges, you can pick lighting that flatters faces and keeps your background consistent.
The Kelvin Color Temperature Ranges You Will Actually Use
Around 2700K–3200K looks warm and is typical of household lamps and many soft “cozy” bulbs.
Around 4000K–4500K looks neutral and often works well for desk setups where you want a balanced, calm look.
Around 5000K–6500K looks like daylight and is a popular target for clean YouTube-style talking head videos.
Why Your Camera Cares About It So Much
Your camera or webcam tries to guess what “white” looks like, and it uses that guess to color everything else.
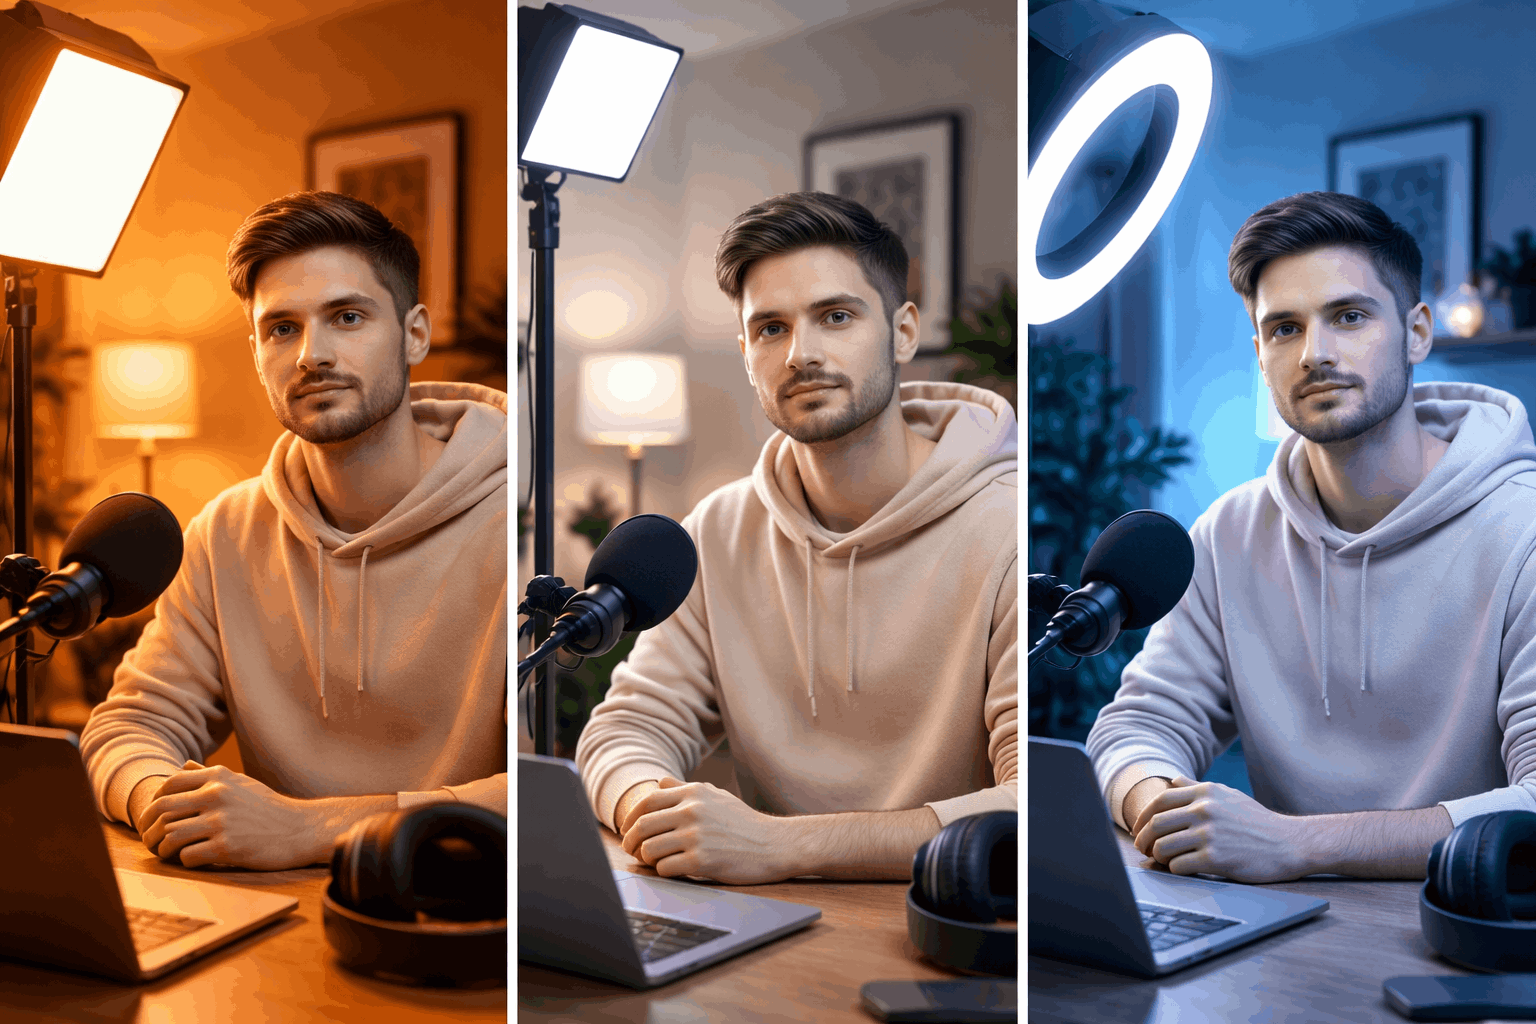
If the guess is wrong, faces can go orange, backgrounds can turn blue, and white shirts can look gray or tinted.
Locking your lighting to one color temperature makes your camera’s job easy and your footage more consistent.
Choosing Lights for Webcams and Cameras
Good lighting for home video is not only about brightness, because the same brightness can look totally different at different Kelvin values.
A light that matches your room’s look will feel intentional, while a light that fights the room will look like a mistake.
For creators, the simplest goal is to use one main color temperature and build the whole setup around it.
When you do that, you spend less time fixing color in editing and more time recording.
Ring Lights, LED Panels, and Bulbs Compared
A ring light often gives a flattering, front-facing look, but it can create flat lighting if it is your only source.
A small LED panel can be placed off to the side for more shape, and many panels let you dial in a specific Kelvin value.
A adjustable color temperature LED bulb can look great, but only if you know the bulb’s Kelvin rating and keep other room lights under control.
Picking a Default Temperature for Everyday Creator Content
If you want a modern, bright look, many creators choose 5600K or another daylight setting and keep everything matched to it.
If you want a warmer, more relaxed look, you can choose 3200K and commit to warm practicals in the background.
If your room lighting is mixed and you cannot control it, a neutral target like 4300K can reduce extremes and make balancing easier.
Color Temperature and White Balance Basics for Clean Skin Tones
White balance is the camera setting that tells your device what “white” should look like under your current lighting.
Auto white balance can work, but it can also drift mid-recording when you move or when a screen changes brightness.
A stable home setup usually looks better when you set white balance once and keep it fixed for the session.
This matters even more when you record multiple clips that you want to cut together without visible color shifts.
Auto vs Manual White Balance for Webcams
Many webcams rely heavily on auto settings, which can cause your face to change color when you hold something up to the lens.
If your webcam software allows it, set a manual white balance that matches your light’s Kelvin rating and then disable auto adjustments.
If you cannot set Kelvin directly, use a “Daylight,” “Tungsten,” or “Fluorescent” preset and test which one matches your key light best.
A Simple White Balance Routine Before You Record
Turn on every light you plan to use, including your key light and any background lamps, before you adjust anything.
Place something neutral in frame, like a gray card or a plain white sheet of paper, and watch whether it looks tinted.
Set your white balance, record a ten-second test clip, and keep that clip as a reference when you edit later.
Mixing Lights Without Making Your Scene Look Weird
Mixed color temperatures are the number one reason home videos look yellow in one corner and blue in another.
Your camera can only balance for one “white” at a time, so the rest of the scene will shift if it is lit differently.
The easiest fix is to remove or replace lights that do not match your main Kelvin choice.
If you cannot remove them, you can still manage the mix by controlling where each light hits and what it lights up.
How to Handle Window Light and Room Lamps Together
Window light usually reads as cooler daylight, while many room lamps read as warmer tungsten-like light.
If you shoot in the daytime, either turn off the lamps or swap them for daylight bulbs so the room matches the window.
If you shoot at night, block the window reflections, turn off daylight sources, and build a consistent warm setup from your video lights.
Using Gels and Diffusion in Basic Creator Gear
A simple CTO gel can warm a daylight LED, and a CTB gel can cool a warm light when you need a match.
Diffusion softens harsh LEDs, which helps skin look smoother without changing the Kelvin number in a meaningful way.
If your lights are bi-color, matching their Kelvin settings is usually easier than using gels, but gels are useful for fixing practical lamps.
Conclusion
Pick one Kelvin target, match all your lights to it, and then set your camera or webcam white balance to that same value.
Avoid mixing daylight windows with warm lamps unless you intentionally match them using bulbs, bi-color LEDs, or simple gels.
When your color temperature is consistent, your lighting looks intentional, your gear feels easier to use, and your videos look more professional.


