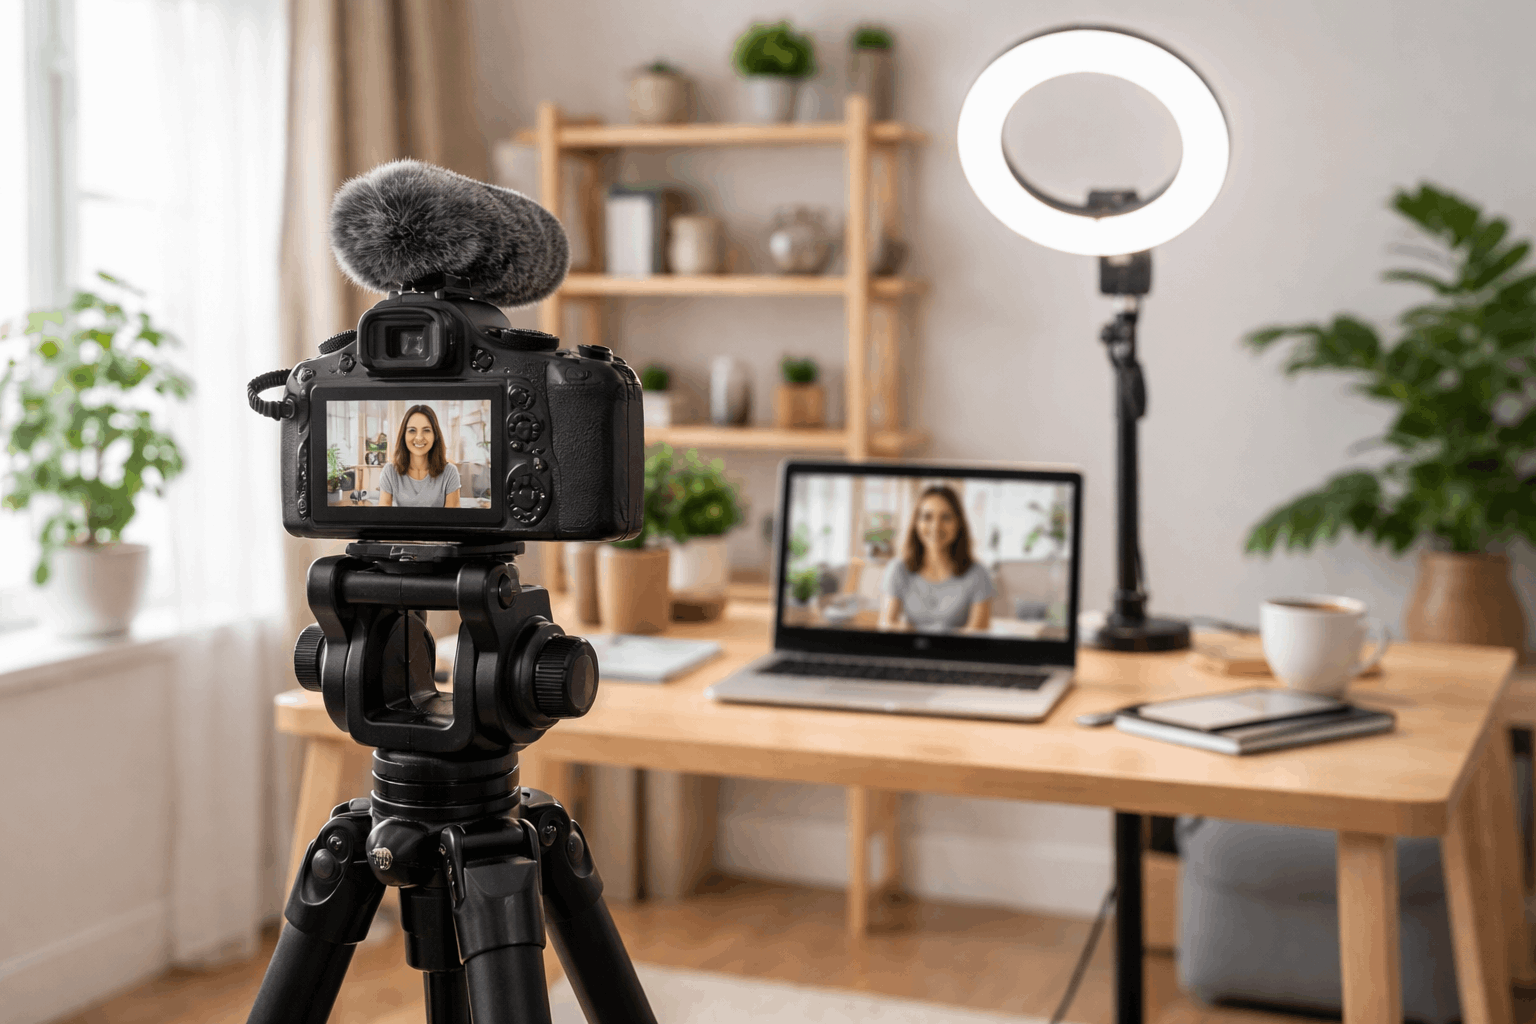
Home videos look more “professional” less because of an expensive camera and more because the camera is placed well. Camera placement tips let viewers focus on what you are saying or doing.
With simple gear—like a tripod, a webcam, a small light, and a basic microphone—you can create footage that looks consistent and easy to watch.
Start With Your Video Purpose and Your Space
Before moving a tripod an inch, decide what the video needs to show.
A talking-head update, a cooking demo, and a product unboxing all require different framing and distances.
Walk around the room and check what’s behind you, where the windows are, and where you can place lights without glare.
Many “best camera placement” decisions are really “best placement for this room and this type of video.”
Do a quick test recording first
Record 10–15 seconds and watch it back with sound on.
Look for shaky framing, awkward headroom, harsh shadows, and background distractions. This small step often saves a full reshoot.
It also helps you confirm that your lighting and microphone placement work with the camera position you chose.
Pick a Comfortable Camera Height and Distance
One of the most reliable camera angle tips for everyday creators is simple: keep the lens near eye level for face-to-camera videos.
Eye-level framing tends to look natural and reduces unflattering distortions.
If the camera is too low, it can exaggerate the chin and nostrils; too high can feel like a security camera view.
A practical starting point for talking videos
Height: lens at eye level while you sit or stand in your recording spot
Distance: far enough to avoid wide-angle distortion, close enough to keep your face clear
Framing: include head and shoulders, with a little space above your head
Use Simple Composition Rules That Always Help
You do not need advanced filmmaking knowledge to improve framing. A few composition habits make home videos look intentional.
Rule of thirds and headroom
Place your eyes roughly in the upper third of the frame.
Leave a small amount of space above your head, but not so much that you look “low” in the shot.
This is one of the easiest camera angle tips to apply across different video styles.
Keep the horizon and vertical lines straight
If a shelf, doorframe, or wall line tilts, the video can feel messy even if everything else is fine.
Use a tripod bubble level if you have one, or enable grid lines on your camera or phone.
Straightening the camera takes seconds and changes the perceived quality immediately.
Choose Your Background on Purpose
Backgrounds affect how “clean” your video feels. A busy background can distract viewers, while a simple background helps the subject stand out.
Aim for clear separation, less clutter and depth.
If your room is small, you can still create separation by using a small light behind you.
Or by repositioning so the camera looks across the room instead of directly at a wall.
Match Camera Placement With Your Lighting
Camera placement tips and lighting should be planned together. A great frame can look bad if the light is behind you.
When people ask “where should cameras be placed,” the answer often depends on where your main light source is.
A simple lighting-first method
Identify your main light source (window or key light).
Place the camera so that the light hits your face from the front or slightly to the side.
Avoid putting bright windows directly behind you unless you can control exposure and add stronger front light.
Stabilize the Shot With the Right Support
Even small shakes make home footage look less polished. Tripods, desktop stands, and clamps are not just accessories; they are quality tools.
If you must handhold, use both hands and lean against something stable, but for most creators, a basic tripod is the quickest quality upgrade.
Tripod and stand basics
Full-size tripod is best for standing videos and flexible height changes
Desk tripod or clamp mount, useful for webcam-style setups
Phone tripod mount keeps framing consistent across recordings
Consider Audio Before Locking the Camera Position
Audio is tied to camera placement more than people expect. If you place the camera far away, your built-in mic will usually sound distant and echoey.
Planning microphone position early makes it easier to keep the frame clean.
Do a quick test to ensure the mic is not picking up tripod bumps, desk vibrations, or camera handling noise.
Simple mic approaches that work
Lavalier mic must stays close to your mouth and keeps audio consistent.
Shotgun mic on a small stand can sit just out of frame, aimed toward you.
USB mic for desk videos works well if you stay in one spot and speak toward it.
Camera Setting Tips That Support Better Placement
Good placement helps, but a few camera setting tips keep your image stable when lighting changes or when you move slightly.
Settings to check on phones, webcams, and cameras:
- Lock exposure when possible: prevents the image from “pumping” brighter and darker
- Set white balance: keeps skin tones consistent across clips
- Choose a stable frame rate: 30 fps is common for general home video
- Avoid extreme wide-angle: it can warp faces and rooms
Best Camera Placement for Common Home Setups
Different rooms push you toward different solutions. These starting points help you set up quickly without overthinking.
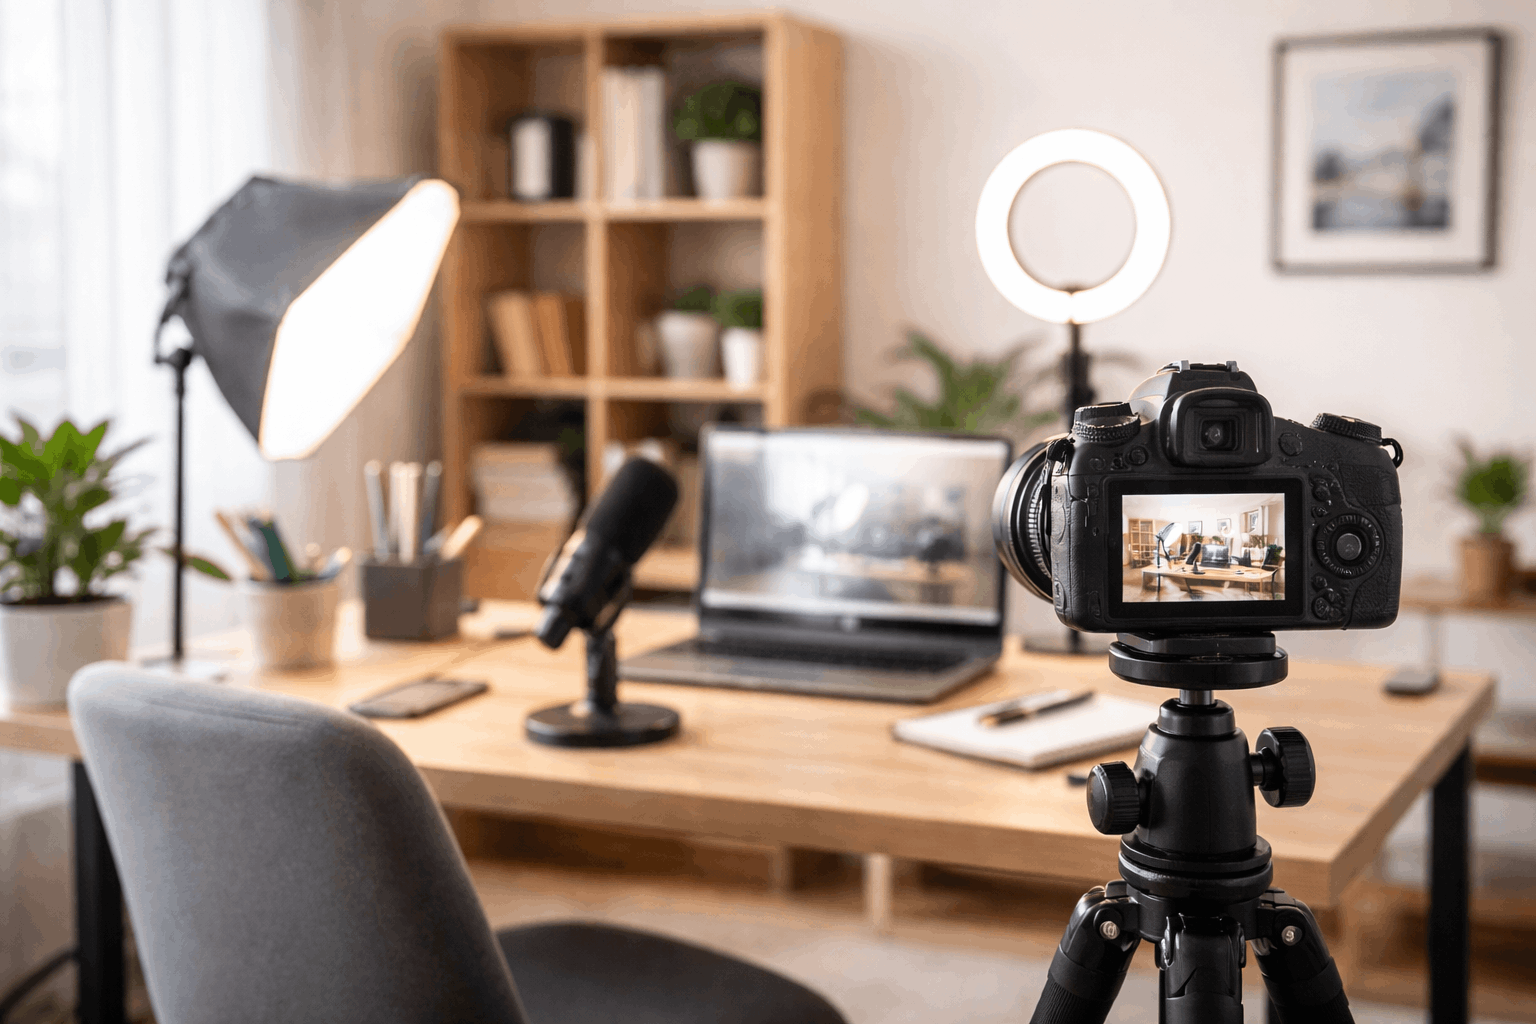
Desk or webcam-style videos
Place the camera at eye level, centered, and slightly above your monitor if possible. Use a small light behind or beside the camera to brighten your face.
Keep the microphone close and consistent, especially if you turn your head toward a second screen.
Standing tutorials or fitness-style videos
Back the camera up to capture full body movement, but avoid placing it so far away that details are lost.
Use a tripod at chest height, then adjust slightly depending on the action.
If you need to show footwork, tilt down a touch and test framing before starting.
Overhead shots for crafts or unboxing
Use an overhead arm mount or a sturdy tripod with a horizontal boom if available.
Keep the lens directly above the work area to reduce distortion. Add light from the side to avoid your hands casting heavy shadows.
Conclusion
Camera placement tips are one of the easiest ways to improve home videos without buying complex gear.
When you combine stable framing, intentional lighting, and clean audio, viewers notice the difference right away.
With a few test clips and small adjustments, you can find the best camera placement for your room and your style.


