Home creators usually get the biggest quality jump by improving the setup instead of chasing the most expensive webcam.
Viewers notice clear audio, stable framing, and good lighting before they notice 4K.
A reliable home kit should be fast to turn on, easy to repeat, and simple enough that you actually use it every time you record.
What matters most in a home recording setup
A strong baseline is 1080p at 30–60 fps, a soft key light aimed at your face, and a mic placed close enough to capture voice clearly without boosting noise.
Platforms compress video, so lighting and framing often create more visible improvement than jumping from 1080p to 4K.
If your room is dim, most webcams will raise gain and produce a grainy image, which is why light tends to outperform “more resolution.”
Before you buy anything, check your room and workflow
A bright window behind you will turn you into a silhouette unless you add a key light.
A small desk may favor a monitor mount or compact tripod over full stands.
A talking-head channel needs consistent face lighting, while product demos often need a second angle or an overhead mount.

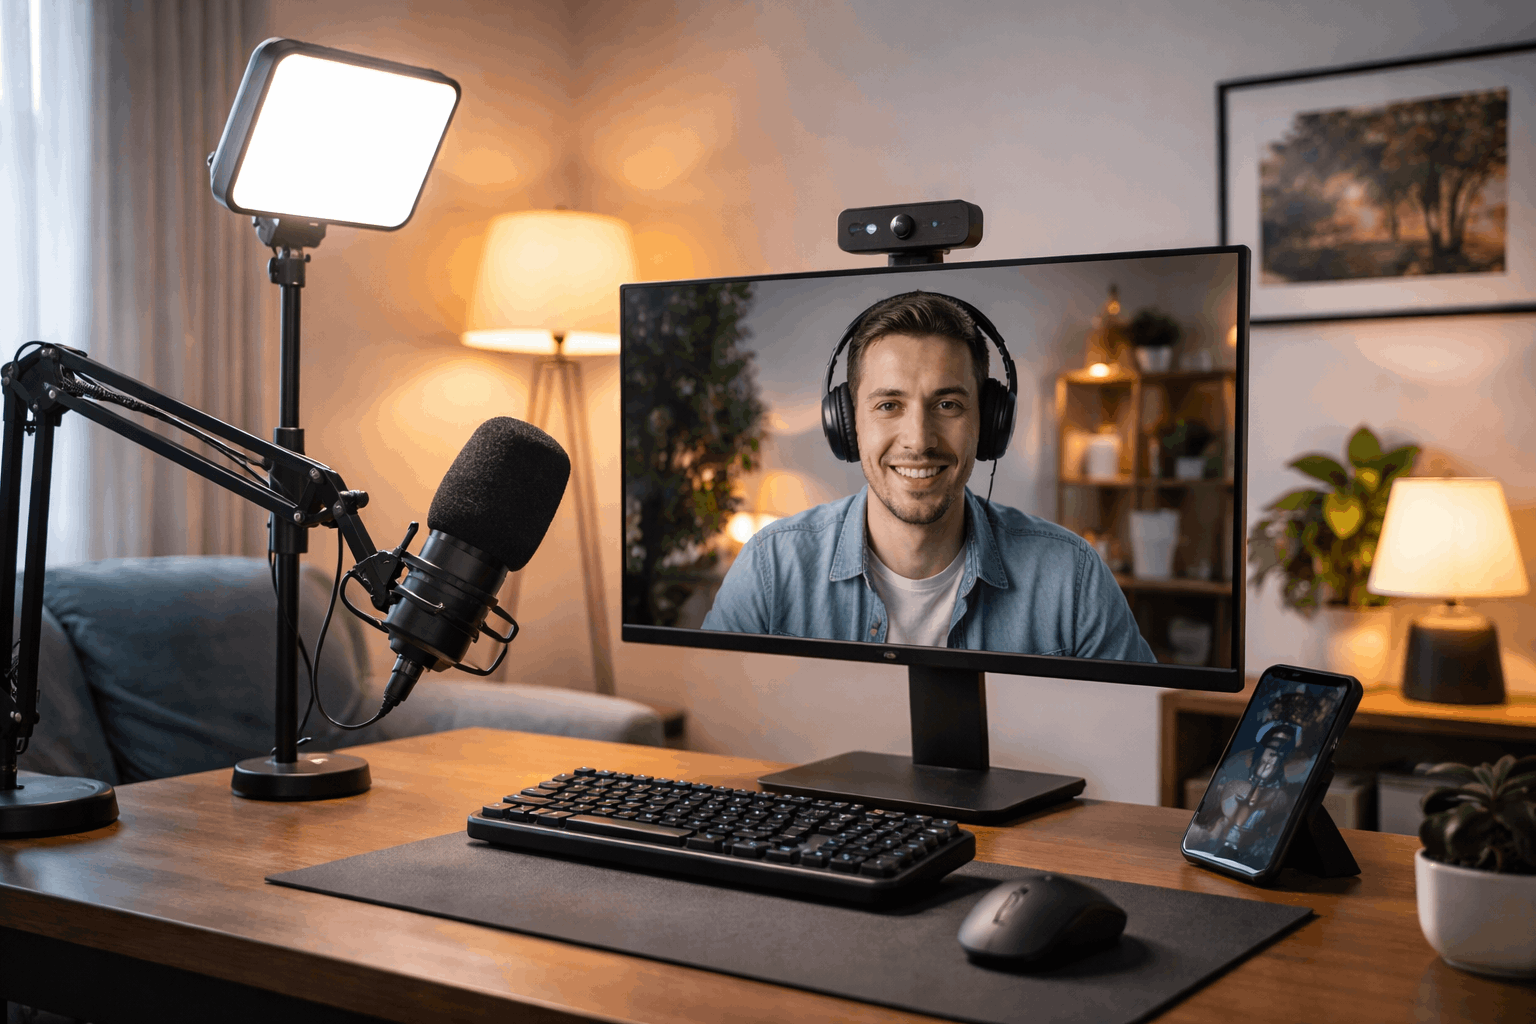
Setup 1: The simple starter setup that looks “clean” on camera
This setup is built for beginners, coaching calls, and creators who want something that looks good without tuning settings.
A common choice here is the Logitech C922, which is designed around easy 1080p capture and a straightforward workflow.
Pair it with a basic USB microphone and a small LED light or ring light and you already solve the most common issues.
Low light, weak laptop audio, and shaky framing.
The main rule is placement
Put the webcam at eye level, not on a low laptop lid.
Place the light slightly above eye height and off to one side, so your face has shape instead of flat brightness.
Keep the mic close enough that your voice sounds direct, because distance is what turns “fine” mics into echo and keyboard noise.
Setup 2: The sharper upgrade for weekly creators
If you record regularly and want a noticeable jump in clarity, this setup prioritizes a webcam that can deliver crisp detail and smoother motion.
The Logitech Brio 4K is often used for this because it supports 4K at 30 fps and can run 1080p at higher frame rates-
For audio, a clean plug-and-play option is the RØDE NT-USB+, which is built around a simple USB connection while aiming for a more polished voice.
Add a single key light and a stable mount, and this becomes a “turn it on and go” setup that still looks and sounds upgraded.
Use the Brio’s flexibility wisely
If your room is bright and you move your hands often, 1080p at a higher frame rate may look better than 4K at 30.
If you want a clean crop or a wider shot, 4K can give extra room while keeping detail.
Either way, lighting remains the deciding factor for skin tone and overall sharpness.
Setup 3: The movement-friendly setup for demos and teaching
Many home creators don’t sit still. You may stand, point at a whiteboard, turn to grab something, or show a product closer to the camera.
In those cases, a tracking webcam can reduce the need to constantly reframe your shot.
The Insta360 Link is designed for AI tracking, features a 3-axis gimbal, and supports 4K up to 30 fps, making it a popular choice.
Audio in a movement setup should stay consistent even when you shift your body. A desktop USB mic like the Elgato Wave:3 is commonly used.
Use one key light and, if your background is dark, consider a small fill light to avoid harsh shadows when you turn your head.
Setup 4: The small-room, low-light setup for consistent face clarity
If you record in a dark place, the setup should prioritize a strong key light and gear that handles difficult lighting without falling apart.
A webcam positioned for low-light performance is the Razer Kiyo Pro Ultra, which uses a larger 1/1.2″ Sony STARVIS 2 sensor.
For lighting, the Elgato Key Light Air is a practical pick for home desks because it’s designed for creators and offers adjustable brightness.
For voice, a versatile option is the Shure MV7+, which includes USB-C and XLR outputs, giving you a simple start and an upgrade path later.
This setup is less about specs and more about repeatability
Set your light temperature to match your room so skin tones look natural, not overly blue or orange.
Keep your mic close enough that you do not need heavy noise reduction, because aggressive cleanup often makes your voice sound thin or robotic.
Setup 5: The “real camera as webcam” setup for the highest image ceiling
If you want the most cinematic look, or you already own a mirrorless camera, the best path is often to use it as your webcam.
The missing link is a capture device that brings the camera’s HDMI output into your computer.
The Elgato Cam Link 4K is a widely used option for this kind of workflow and supports common creator formats.
Consider
This setup takes more effort than a webcam because you need stable mounting, reliable power, and consistent camera settings.
But it gives you control over lens choice, background separation, and dynamic range in a way most webcams cannot match.
If you rely on high visual polish, this can be the most future-proof investment, especially when combined with strong lighting and good audio.
The most important technical habit here is locking the look
Set exposure and white balance once you like the result, because auto modes can change mid-recording when you move your hands or the screen brightens.
That consistency is what makes a “home creator” setup feel like a studio.
Conclusion
A demo creator should prioritize a stable mount and, if you move a lot, a tracking camera.
A night recorder should prioritize a real key light and a mic that works well close-up.
A creator chasing the most polished look should consider a camera plus capture card, but only if you’re willing to keep the setup consistent.


