A solid desk setup for home content creators is not about owning the most gear.
For everyday creators, the biggest improvements usually come from microphones, one reliable light, and a camera placed correctly.
When those three elements work together, your videos and voice tracks feel more professional without adding complexity.
Build Around Your Main Content Type
Start by matching your setup to what you record most often.
A talking-head video, a podcast-style voice track, a livestream, or a tutorial with a desk view will not use the same priorities.
Your desk size also matters, because the best gear in the world will still feel frustrating if it blocks your keyboard, your mouse space, or your workflow.
- If you record mostly voice, your microphone and room sound control should lead the setup.
- If you record mostly video, lighting and framing should be your first focus.
- If you do both equally, plan your desk so the mic can sit close to your mouth while the camera stays at eye level and does not force you into an awkward posture.
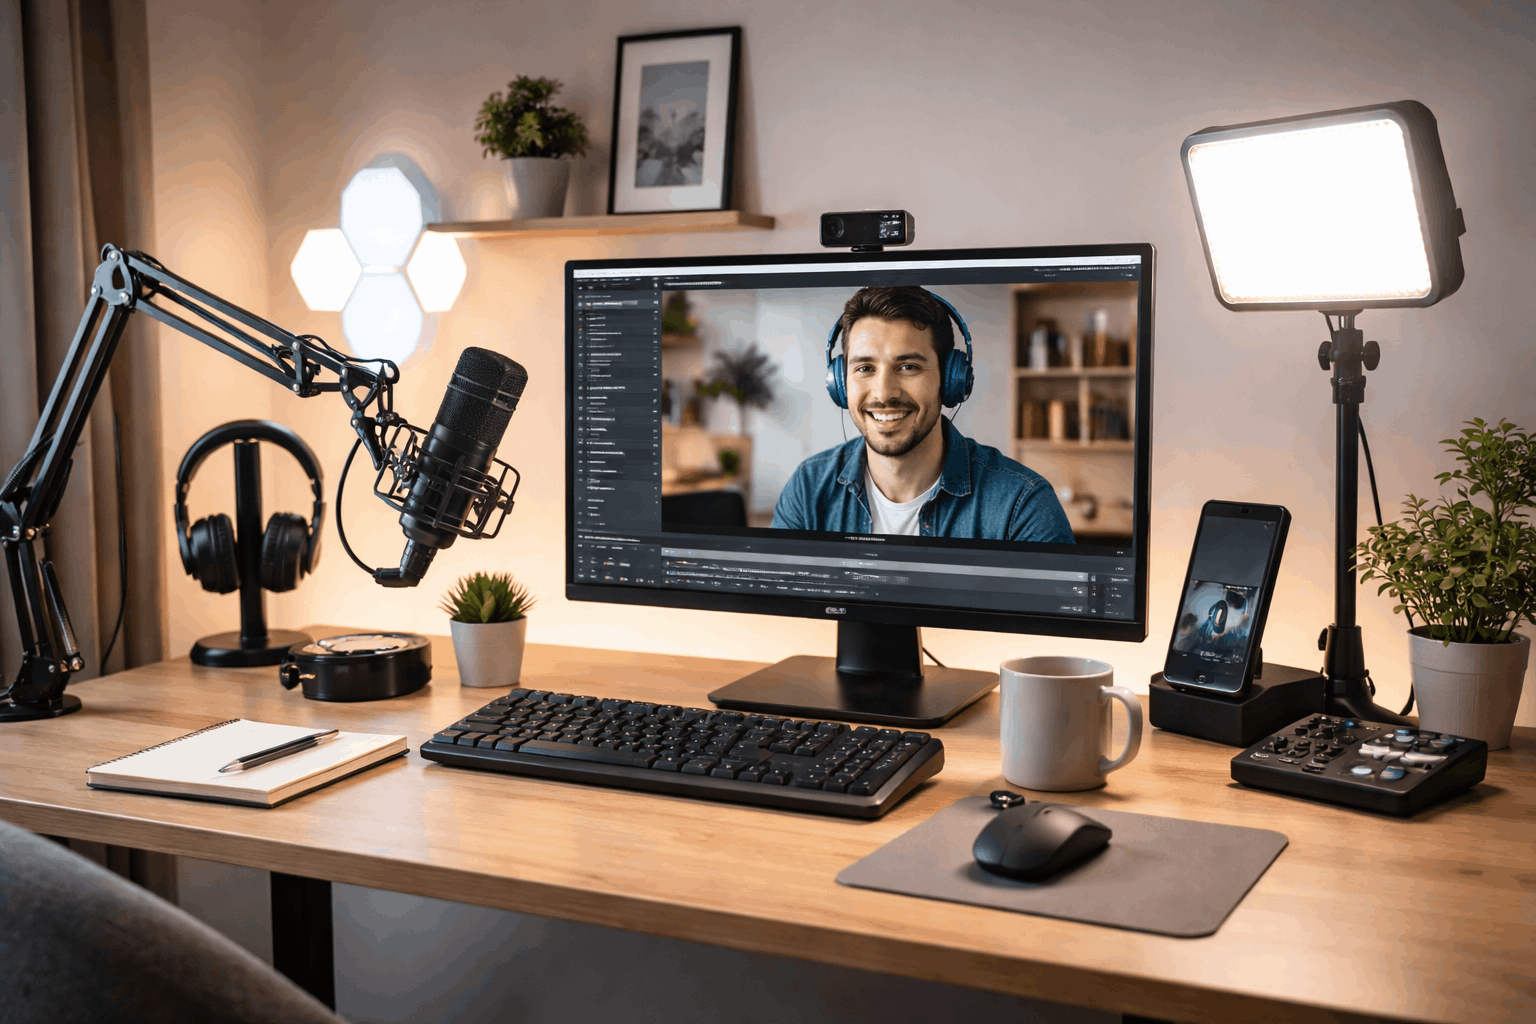
The Core Triangle That Makes Everything Easier
Most simple creator desks work best when you keep a consistent “triangle” between the camera, microphone, and key light.
Your camera should be centered and at eye level. Your microphone should be close enough to capture your voice without high gain.
Your key light should be placed slightly off to one side so your face looks natural and not flat.
When you keep this triangle consistent, you stop re-adjusting equipment and you record faster.
A common mistake
Placing the camera too low and the mic too far away.
That combination creates an unflattering angle and noisy audio that sounds distant.
Correcting those two issues often makes a bigger difference than upgrading to a more expensive device.
Microphone Setup: The Fastest Quality Upgrade
Bad audio loses viewers quickly, so your microphone is often the smartest first upgrade.
Many home creators do well with a USB microphone because it keeps the system simple.
You plug it in, select it in your recording software, and you are ready.
XLR microphones can be excellent too, but they require an audio interface, and the extra gear adds steps you might not need if you are building a basic setup.
Placement matters more than price
For voice content, keep the microphone roughly 15–25 cm from your mouth.
Speak slightly across the mic instead of directly into it, especially if you have strong “P” and “B” sounds.
If the mic is far away, your room will become louder in the recording, and you will be tempted to raise gain, which often introduces hiss and harshness.
Mic accesories
A boom arm is one of the most practical desk accessories for creators because it lets you keep the mic close without taking up desk space.
A pop filter or foam windscreen helps reduce plosives and breath noise.
If your desk vibrates when you type, a shock mount can reduce that mechanical rumble and keep your audio cleaner.
Control Room Sound With Simple Changes
Soft materials are your friend. A rug can help if you have hard floors. Curtains can reduce reflections from windows or bare walls.
If you are recording in a small room with a lot of flat surfaces, placing thicker fabric behind or to the sides of your recording position can make a noticeable difference.
Even small improvements here can make your mic sound like it “leveled up” without spending more money.
Lighting That Flatters Without Complication
Lighting is what makes average webcams look better. One good key light can transform your footage, even before you upgrade your camera.
For most desk creators, the simplest path is a reliable LED light that is easy to aim, does not flicker, and can be used at any time of day.
A ring light is popular because it is compact. It can look good for face-forward videos, but it may create flatter lighting if it is your only source.
LED panels are flexible and can be positioned to shape the face more naturally. Small softbox-style LED lights can look very smooth.
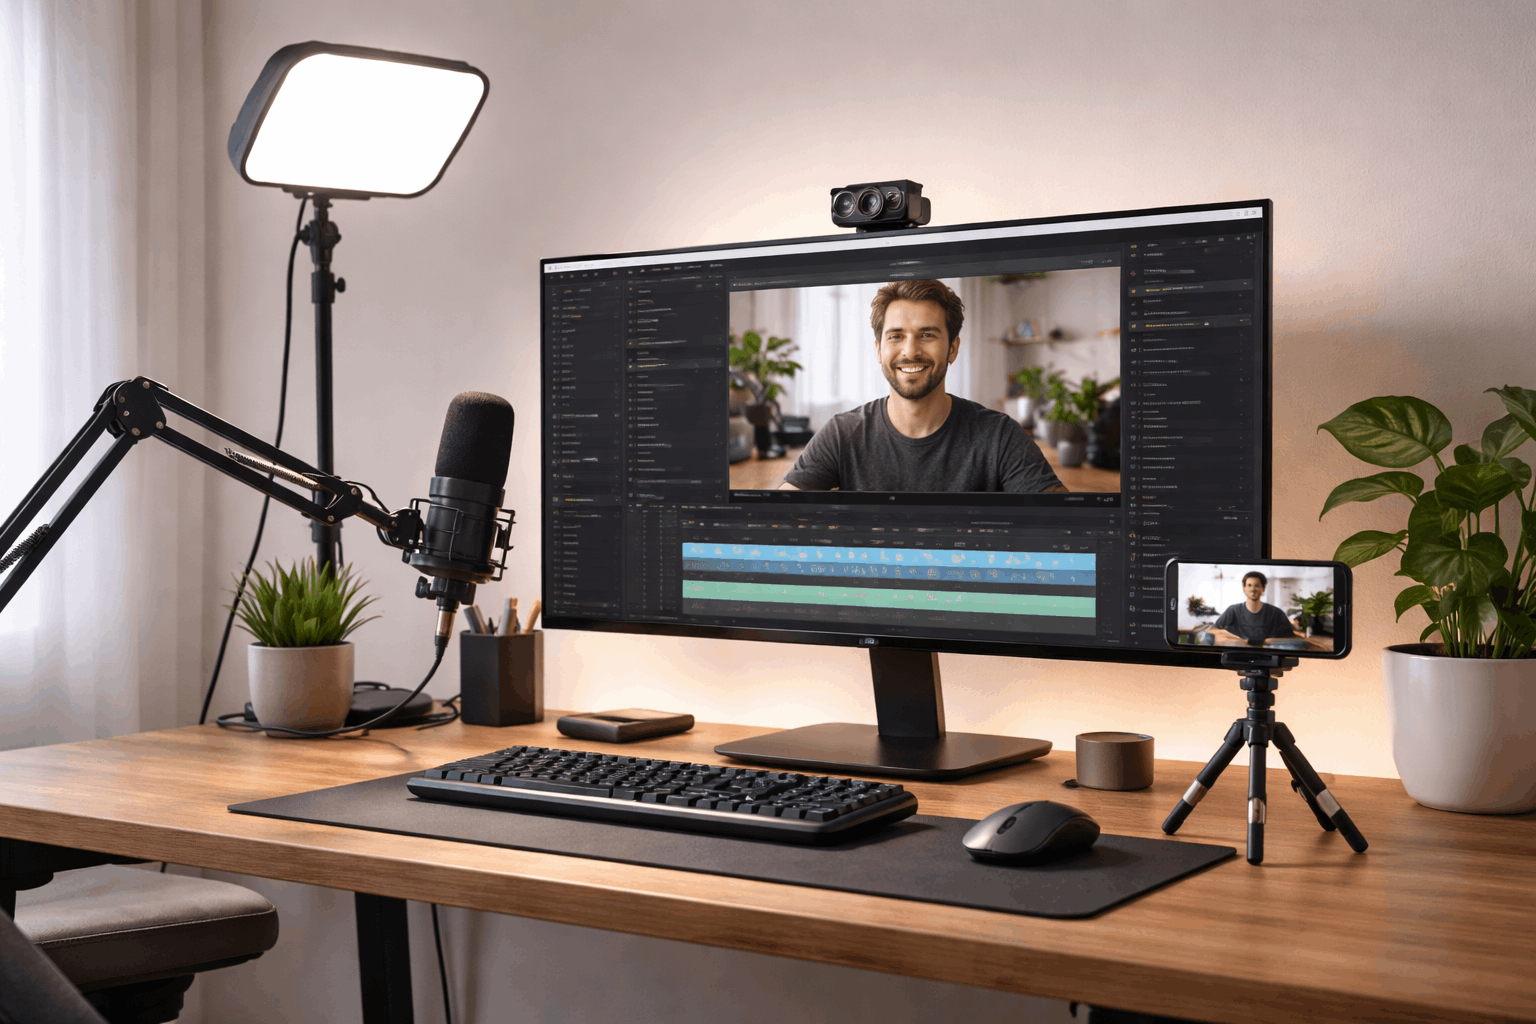
Webcam, Phone Camera, and Framing
If you use a webcam, place it at the top of your monitor and adjust your chair height so your eyes align naturally with the lens.
If you use a phone camera, treat it the same way. Mount it on a small tripod or a clamp so it stays stable and centered.
For framing, keep a small amount of space above your head and avoid placing your face too low in the frame.
A common guideline is to keep your eyes around the upper third of the shot.
Tripods and Mounts: Stability Is the Real Benefit
Tripods are not only for outdoor shoots. At a desk, a small tripod, clamp, or monitor mount is about stability.
When you want to switch from face view to desk view for a demonstration, a mount that can tilt and reposition quickly saves time.
A desk tripod should not wobble when you type. It should allow enough height adjustment to reach eye level.
It should also hold position without slowly drooping over time. Even a simple stand can be enough if it holds your camera steady.
Cable Management That Keeps Your Setup Usable
Cable mess is a hidden reason creators avoid recording. When your cables are tangled, every adjustment becomes annoying, and troubleshooting becomes slow.
A clean desk setup does not need perfect cable routing, but it should be organized enough that you can identify what connects where.
Run your cables along the back edge of the desk when possible. Use simple Velcro ties to group audio cables and power cables separately.
If you use adapters, keep them in one place so you do not lose time searching when you need to swap devices.
Practical Simple Creator Setups
1) Starter desk setup (about $150–$250)
This is for creators who want better sound and cleaner video calls immediately.
- USB mic in the $50–$150 range (example: FIFINE A8 at $46.99, or a higher-tier USB mic).
- Small key light around $70 (example: Litra Glow $69.99).
- Entry webcam around $70–$100 (example: C920s $69.99 or C922 $99.99).
2) Balanced creator setup (about $350–$600)
This is the “most people should start here” level if you publish weekly.
- Better webcam (example: Facecam $139.99).
- Stronger light (example: Key Light $138.99).
- Better mic positioning (a mic arm around $100) so your mic stays close without blocking your screen.
3) Upgrade-ready setup (about $700–$1,200+)
This is for creators who want a clear path into “studio sound” at home.
- Hybrid or XLR-capable mic (example: MV7+ listed at $299).
- Audio interface (example: Scarlett Solo listed at $149.99).
- Strong key light (example: amaran 100d S listed at $159) plus a modifier later if you want softer light.
Conclusion
The best desk setup for home content creators is the one that stays simple, consistent, and ready to record.
Prioritize a microphone that can sit close, a key light that makes your face look clean, and a camera placed at eye level for a natural angle.
Keep the layout stable, reduce room reflections with small changes, and manage cables so your desk stays easy to use.


